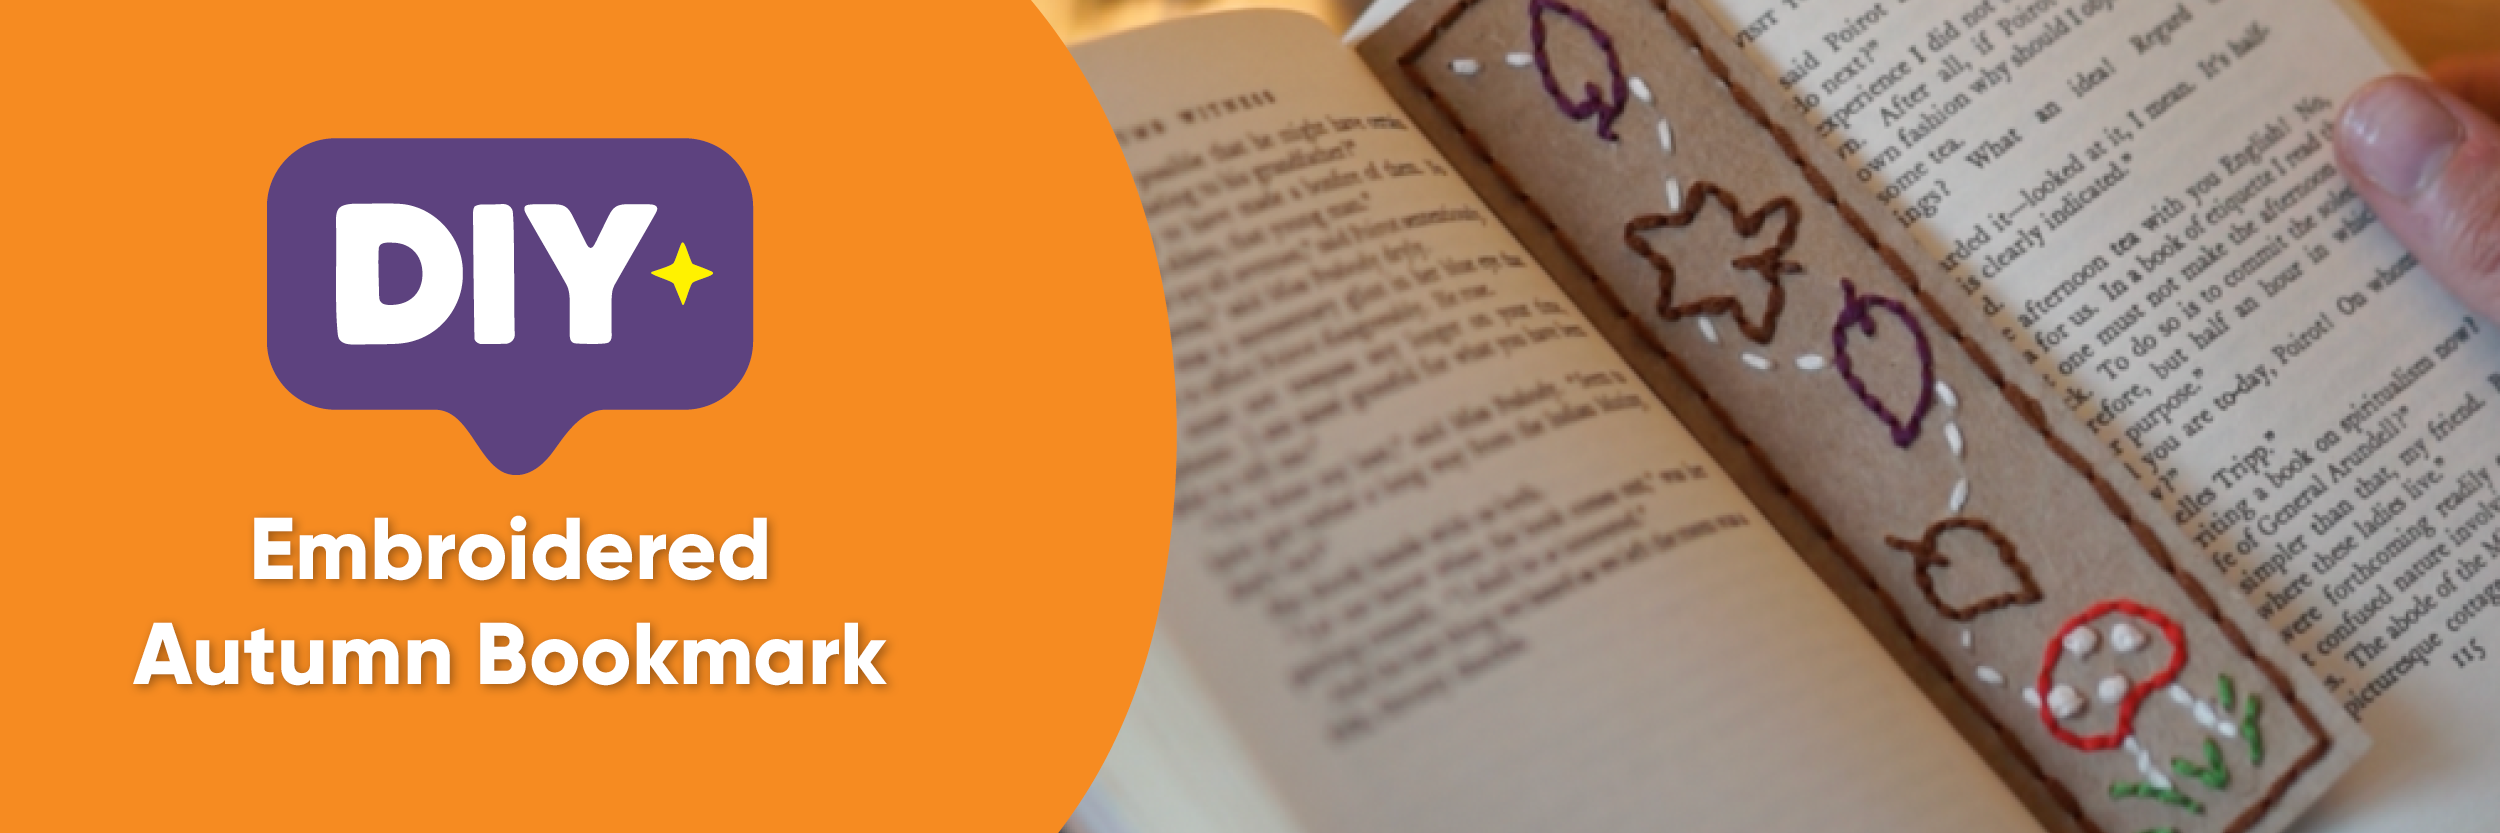
How to Make a Simple Cosy Autumn Embroidery Bookmark
Made by Bethany Edwards

Step-by-Step Instructions
1. Cut two bookmark-sized rectangles out of card. These will be the front and back of your bookmark.

2. On the front piece, use a ruler to draw a border around the edge. This will mark where you’ll stitch the front and back together later.
3. Still on the front piece, lightly sketch your embroidery design in pencil. Keep it as simple or detailed as you like.

4. Place the front piece on a cutting mat or scrap cardboard. Using a needle, carefully poke holes along your sketched design.
Tip: don’t poke holes too close together, so the card doesn’t weaken or tear.

5. Erase the pencil design gently, leaving only the holes.
6. Stack the front and back pieces together. Along the border you drew in step 2, poke holes through both pieces at once. This will line up the stitching holes for the edge.

7. Thread a needle with embroidery thread and stitch your design through the holes on the front piece. You can use any stitch, running stitch, backstitch, or French knots all work well. Tip: use a finer needle for stitching than the one you used for poking holes.

8. Once the design is finished, align the front and back pieces and stitch them together around the border holes, using running stitch, backstitch, or blanket stitch. Don’t worry if the back of your embroidery looks messy, it will now be hidden!

A Stitch in Time
And there you have it, your very own autumn-inspired embroidered bookmark. Whether it's tucked into your current read, gifted to a fellow bookworm, or a craft idea for your book club, this little diy project is proof that simple stitches can become time well spent.
And the creative fun doesn't have to stop there! We've got lots of easy DIY craft ideas and tutorials to keep your hands busy and imagination buzzing. Why not make your own polymer clay book page holder or learn how to crochet a scrunchie with this free pattern. Whether you're a total beginner or a craft-loving pro, there's something on our Inspiration hub for everyone.