Ready to add a little handmade charm to your autumn? This free pumpkin crochet pattern is just the cosy craft you need! Whether you're using DK yarn for a dainty pumpkin, chenille for a plush one, or teddy yarn for a big, squishy showstopper — there’s a size for every style.
These pumpkins are perfect for seasonal decorations, table settings, or gifting to fellow yarn lovers. With easy-to-follow instructions and three size options, it’s a fun project for both beginners and seasoned crocheters. So grab your hook and let’s get stitching!
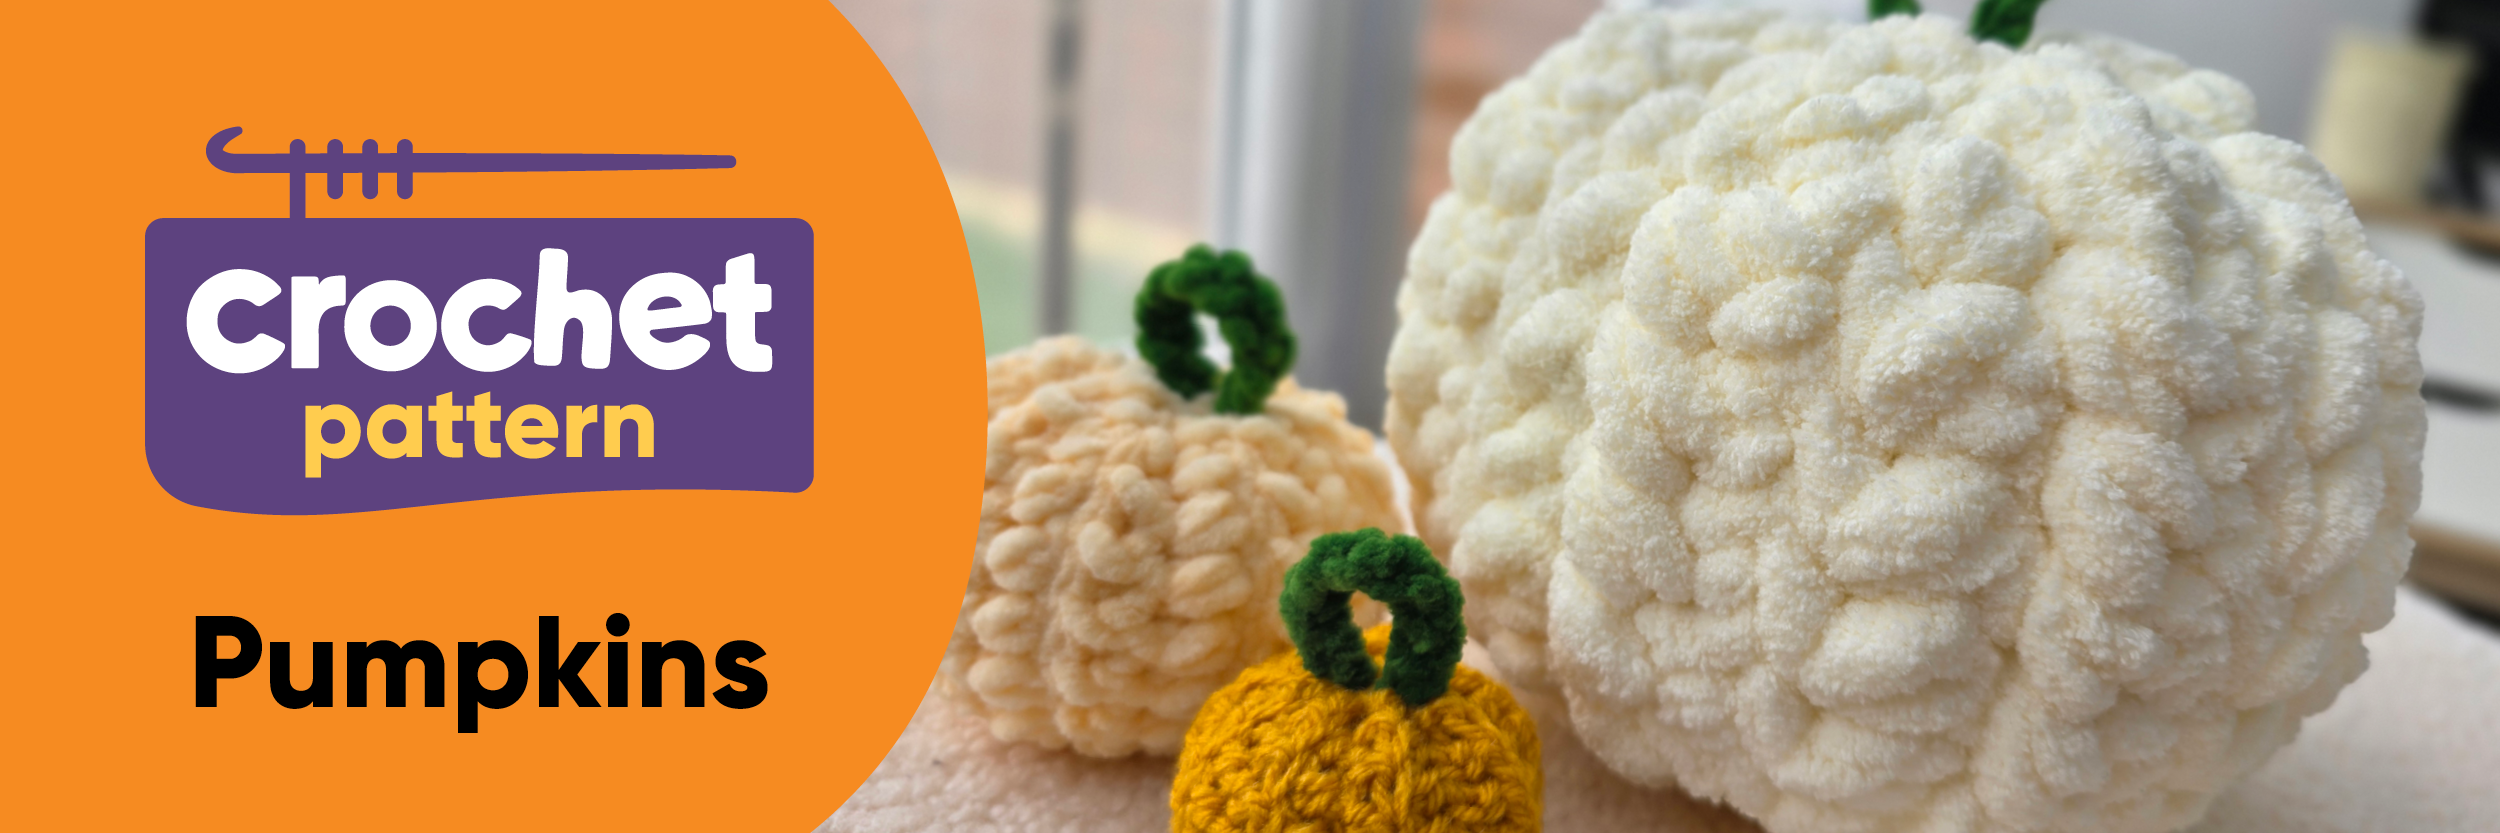
Crochet Pumpkin - Free Pattern
By EmKatCrochet

Measurements
Small DK Yarn – approx. 5cm wide x 6cm tall (including stalk)
Medium Chenille Yarn – approx. 8cm wide x 9cm tall (including stalk)
Large Teddy Yarn - approx. 17cm wide x 15cm tall (including stalk)
Materials
Yarn – Make & Create
- DK Yarn – Golden Mustard
- Chenille Yarn – Cream & Green
- Teddy Yarn – Vanilla
Crochet Hooks – 4mm, 6mm & 12mm
Stuffing
Scissors
Notes
- Patterns written in UK Terms.
- Worked in rows, then sewn together after.
- Same pattern, 3 different sizes.
- Small Pumpkin – 4mm hook.
- Medium Pumpkin – 6mm hook.
- Large Pumpkin – 12 mm hook.
- Pattern pictures are the DK pumpkin.
Abbreviations
Ch – Chain
SS – Slip stitch
HTR – Half Treble Crochet
BLO – Back Loop Only
STS – Number of stiches
Tension
10 stitches x 8 rows (4 inch square) with the chenille yarn.
Pattern
Same pattern, 3 different sizes!
Small Pumpkin – 4mm hook and Golden Mustard DK yarn
Medium Pumpkin – 6mm hook and Cream Chenille yarn
Large Pumpkin – 12 mm hook and Vanilla Teddy yarn.
For all sizes, please follow the pattern below.
To Start: Chain 10, start in the 2nd chain from the hook.
Row 1: htr in each chain, turn [9 sts]
Row 2: Ch1, htr in first stitch, blo 7 htr, htr in last stitch, turn [9 sts]
Rows 3 - 18: Repeat row 2.
Note: LARGE pumpkin, only complete 15 rows.
SS in last stitch and cut yarn leaving long tail for assembly. Pull through.
Stalk
Note: All stalks are made with the same Green chenille yarn using a 6mm hook.
Small Pumpkin – Chain 9, cut yarn leaving a long tail for assembly. Pull through.
Medium Pumpkin – Chain 13, cut yarn leaving a long tail for assembly. Pull through.
Large Pumpkin – Chain 17, cut yarn leaving a long tail for assembly. Pull through.
Assembly
Thread the long tail left on your pumpkin onto your needle. Place the 2 ends of the pumpkin together and stitch the 2 sides together.
Next, you’re going to take your needle and go in and out of the top edge of your pumpkin, in and out of the stitches, pulling them together as you go - this results in the pumpkin gathering. Sew the hole securely shut and repeat on the other side, filling your pumpkin with stuffing as you go.
Now, thread your needle with the long yarn tail left from your stalk and sew your stalk to the top of your pumpkin.
Cut yarn and sew ends in.
All Finished! You now have a stylish pumpkin to display with pride.
From Yarn to Pumpkin
And there you have it — your very own crochet pumpkin, stitched with love and perfect for the season! Whether you made one or a whole patch, these squishy little creations are sure to bring warmth and whimsy to your autumn decorations.
This free pattern is a great way to play with texture and size, and it’s ideal for gifting, decorating, or just enjoying the cosy vibes. So don’t worry about perfection, wonky pumpkins are part of the charm!
Check out our range of art and craft ideas for more free crochet patterns.


