Halloween is the perfect time to get crafty with your little monsters and this paper plate project is a fang-tastic way to spark their creativity!
Whether you're hosting a classroom party, a cosy afternoon at home, or just looking for a screen-free activity over half term, this simple craft is full of giggles, googly eyes, and ghostly charm. Grab your paper plates, paint, and imagination and let’s make some Halloween magic together!
What you need:
- 1 paper plate
- Black paint and a paint brush
- Scissors (child-safe)
- Coloured card or paper (for the hat band and buckle)
- Glue
- Pencils and markers for decorating
Step-by-Step Instructions
1. Paint the Plate
Paint the top of your paper plate black. Let it dry, then add a second coat so it’s nice and dark.

2. Draw the Hat Shape
Once the paint is dry, turn the plate over to the plain side.
Use a pencil to draw the outline of a witch’s hat – a tall, pointy triangle for the top and a curved brim at the bottom.
3. Cut Out the Hat
Carefully cut along your pencil lines. (You might want an adult to help with this step.) Now you’ll have your hat shape ready to decorate!

4. Add the Band and Buckle
Cut out a strip of coloured paper for the hat band - orange, purple, or green look great! Then cut out a small square or rectangle for the buckle and glue it onto the band. Stick the band and buckle onto your hat with glue.

5. Decorate Your Hat
Use glitter, stickers, or markers to make your witch’s hat extra spooky and fun!

Tip: You can tape a loop of string to the back to hang it up, or attach it to a headband to wear as part of a costume!
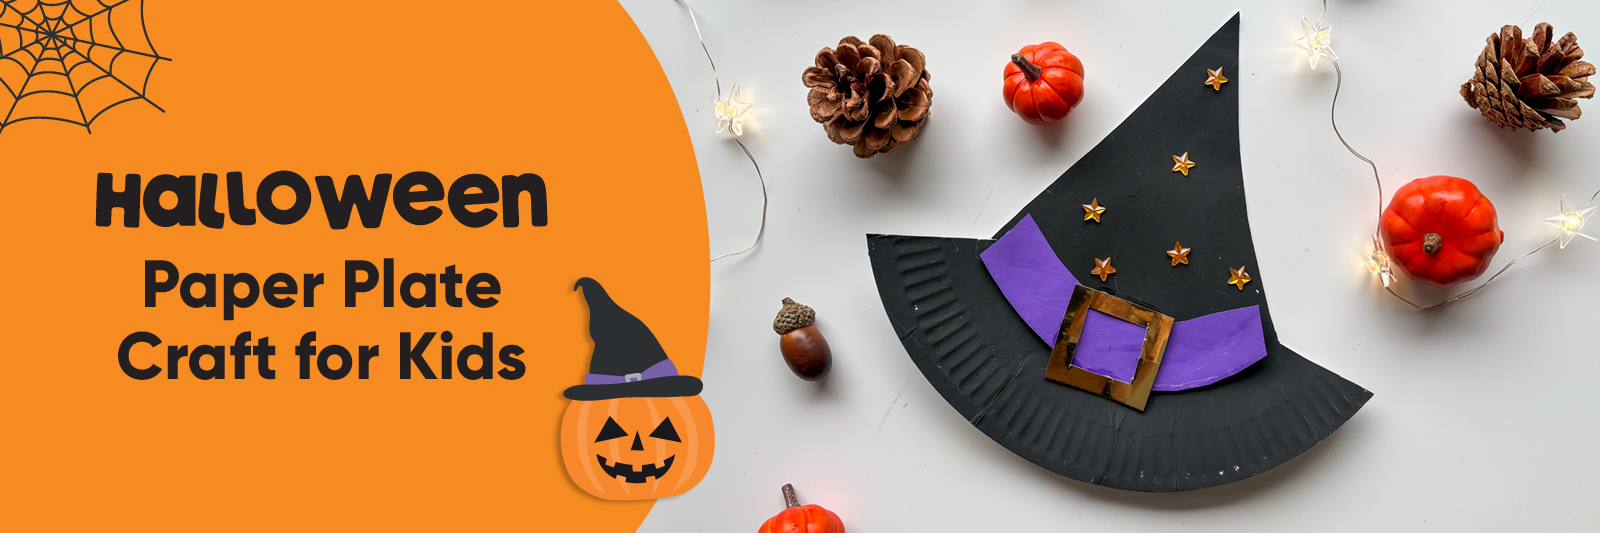
Show Off Your Spooky Creations
And just like that, your spooky masterpiece is complete! Whether it’s a grinning pumpkin, a silly spider, or a friendly ghost, these paper plate crafts are sure to bring smiles and squeals of delight. Don’t forget to hang them up or share them with friends—because Halloween is all about creativity, connection, and a little bit of crafty chaos. Happy haunting!


