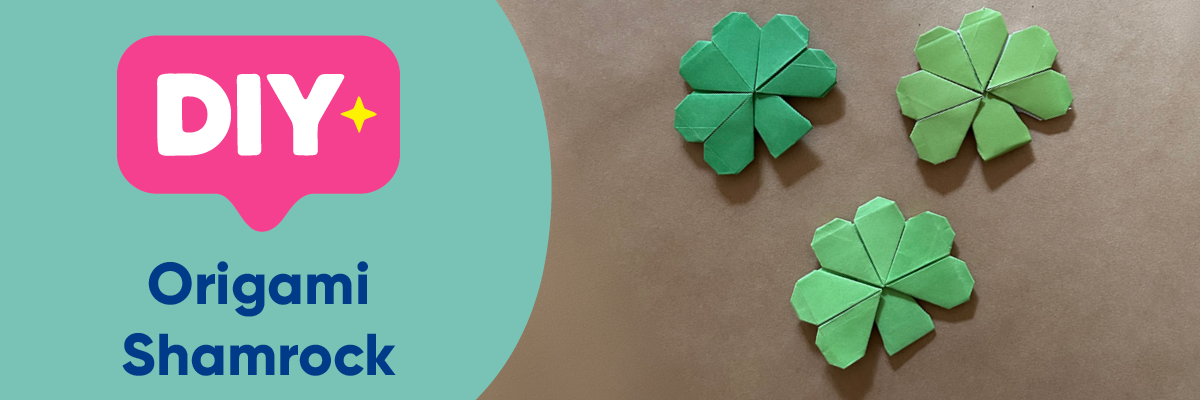
There’s something wonderfully calming about sitting down with a sheet of paper and turning it into something charming with just a few folds. This DIY paper origami shamrock craft is a lovely way to celebrate St. Patrick’s Day, add a handmade touch to your décor, or enjoy a simple, screen-free creative moment with kids. It's the kind of slow, hands-on activity that feels like time well spent.
Using just green paper and a few basic folds, you’ll create three delicate shamrock leaves and a neat little stem that come together beautifully. Whether you’re crafting with little ones, decorating a classroom, or simply love easy paper crafts, this step‑by‑step shamrock tutorial will guide you through every fold with confidence.
How to Make an Origami Shamrock
Suitable for: Tweens and adults who’ve mastered the origami basics.
You will need:
- Green A4 sheet of paper – or multiple sheets if you want to make more than one
- Double-sided tape
How to make the Shamrock Leaves
1. Take an A4 sheet of green paper and cut into four 10cm squares.
2. Take one square and fold it in half. Unfold, so the mountain fold is facing up.

3. Fold the bottom edge to the middle crease.

4. Turn over. Fold in half. Unfold.

5. Fold the bottom corners up one at a time to meet the middle crease. Repeat with the remaining bottom corner.

6. Turn over. Fold the bottom point up to the top of the centre crease.

7. Turn over. Open out one of the pockets and flatten to make a triangle shape.


8. Fold the bottom right-hand corner in to create a triangle along the bottom edge.

9. Fold the bottom point of the triangle up to meet the bottom edge.

10. Repeat steps 7 – 9 on the other side.
11. Fold the left-hand side in to meet the middle.

12. Repeat on the right-hand side.

13. Turnover to reveal your first completed Shamrock leaf.

14. Repeat steps 2 – 13 twice more to create two more Shamrock leaves.

How to make the Shamrock Stem
1. Take the remaining square of paper and cut it in half.
2. Starting with one of the long edges, take the bottom corner and fold it roughly a third of the way across the short side at an angle, so that the fold goes up towards the top-right corner.

3. Repeat with the bottom left corner

4. Fold the bottom edge up to 1cm from the top edge.

5. Fold the right edge to the left using the fold made in step two as a guide.

6. Repeat with the left-hand edge.

7. The stem is now complete.
Assembly
1. Add double-side tape to the bottom edge of one of the Shamrock leaves.

2. Remove the backing paper and slot the leaves together.

3. Once all the leaves are secure. Turn the Shamrock over (so the back is face up) and fold the bottom two free corners at a 45° angle to allow room for the stem.

4. Add double-sided tape to the top of the stem, remove the backing paper.

5. Place the stem into the base of the Shamrock leaves.

6. Your shamrock is now complete!

Top Tip!
We created these Shamrocks using 10cm squares, these instructions can be used to create a Shamrock of any size as long as your paper is square, you may need more sheets of paper to create larger Shamrocks.
You Sham-Rocked It!
Once your shamrock is assembled, you’ll have a sweet little paper decoration full of charm and handmade personality. It’s amazing how a few simple folds can transform flat paper into something so symbolic and cheerful.
Display your origami shamrock on a card, hang it as seasonal décor, or make a whole bunch to brighten up your home or classroom. However you choose to use it, enjoy the creativity and the calm that comes with crafting something by hand. Happy folding and happy St. Patrick’s Day.


