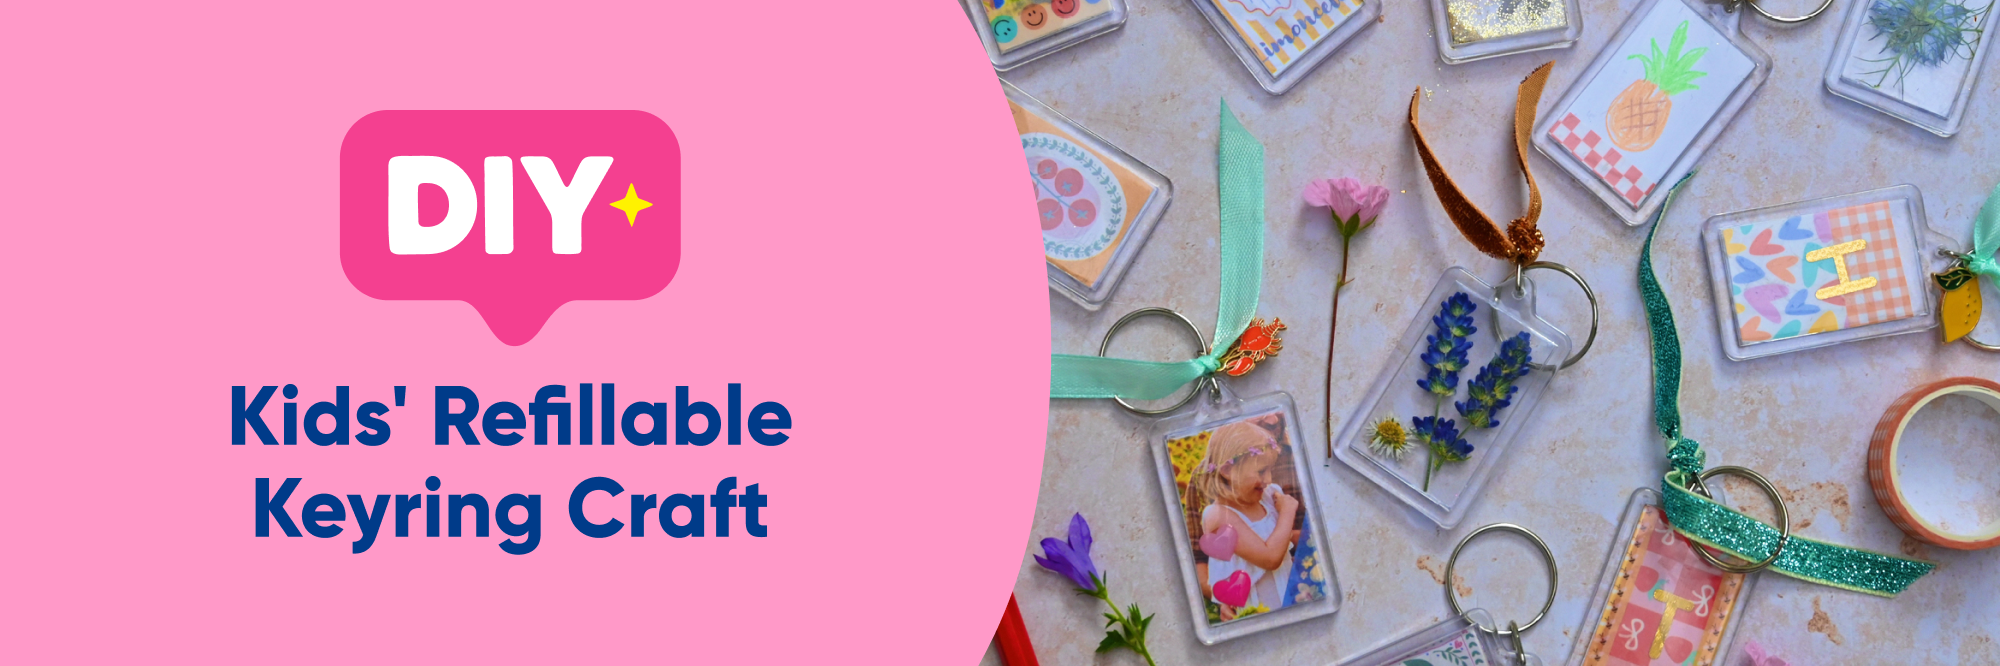
If you’re looking for a fun, low‑mess craft that keeps kids happily creating, these refillable DIY keyrings are a perfect pick. They work brilliantly for birthday parties, rainy‑day activities, or any moment you want to set up a quick screen-free creative projects.
Think of them as tiny, customisable scrapbook scenes — kids can fill them with stickers, paper shapes, sequins, photos, or whatever crafty treasures you already have at home. It’s a simple way to use up leftover supplies while letting children design something unique they’ll love to clip onto their bag or keys.
How to Decorate Your Refillable Keyrings
What you need to make:
- Washi Tapes
- Photos
- Patterned paper or card
- Ribbons
- Charms
- PVA glue
- Glue stick
- Glitter
- Coloured pencils/pens
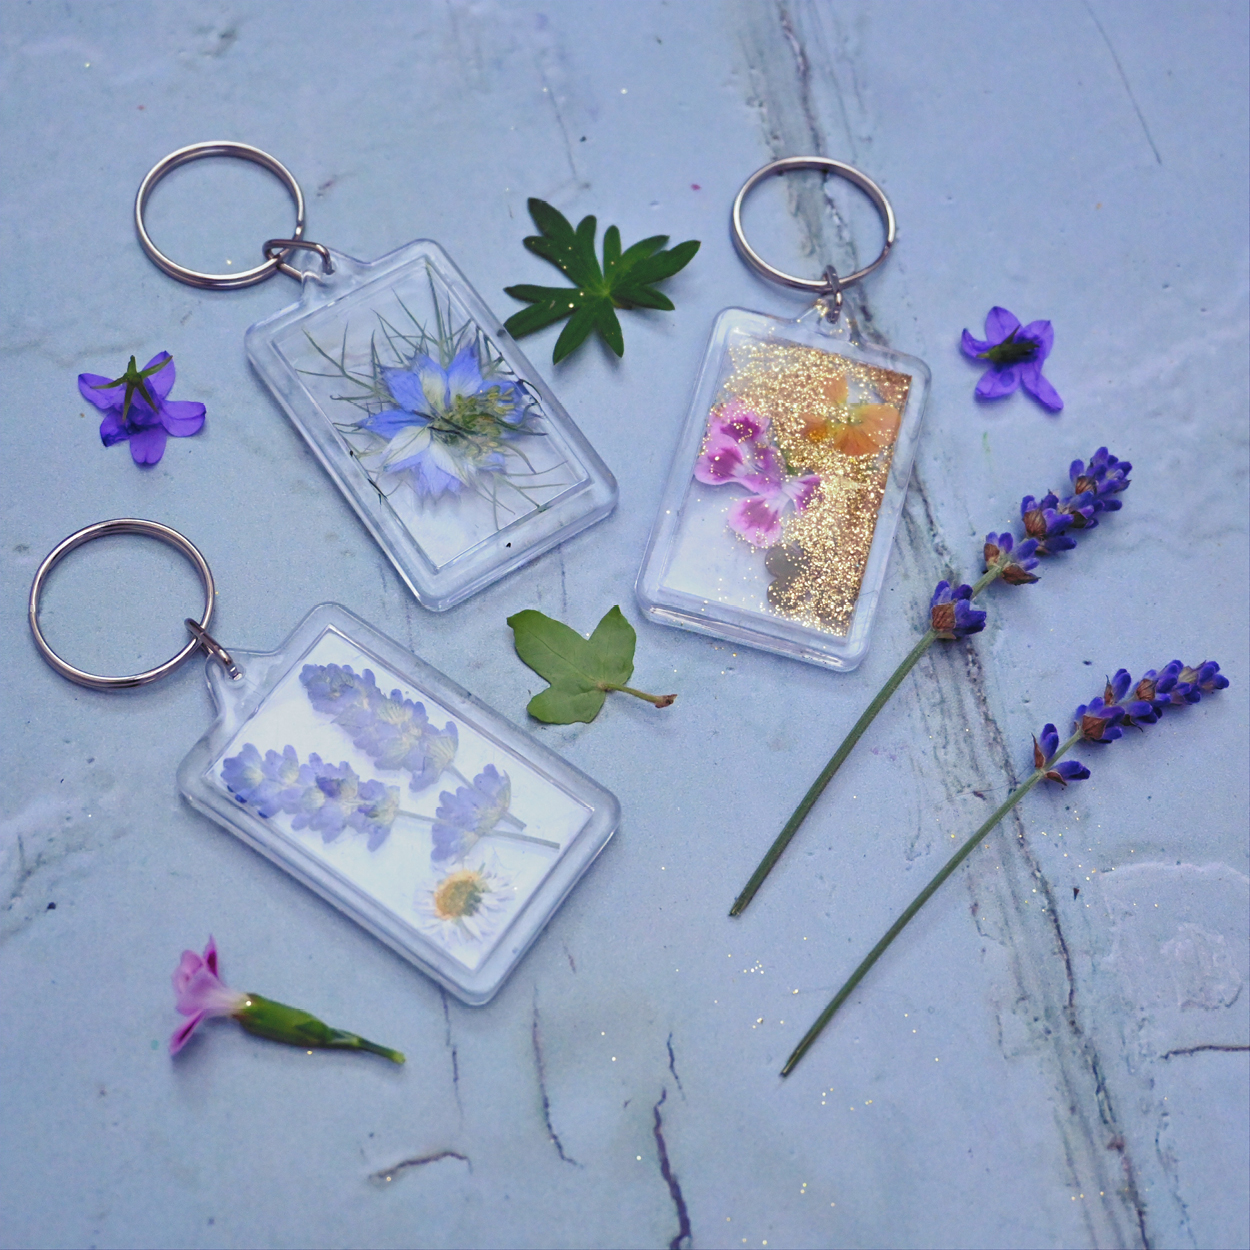
Dried Flower Keyring Craft for Kids
Pressed flowers make beautiful, nature‑inspired keyrings, and they’re a lovely way to reuse old bouquets. Here’s how to turn dried petals into a pretty keepsake.
Step 1
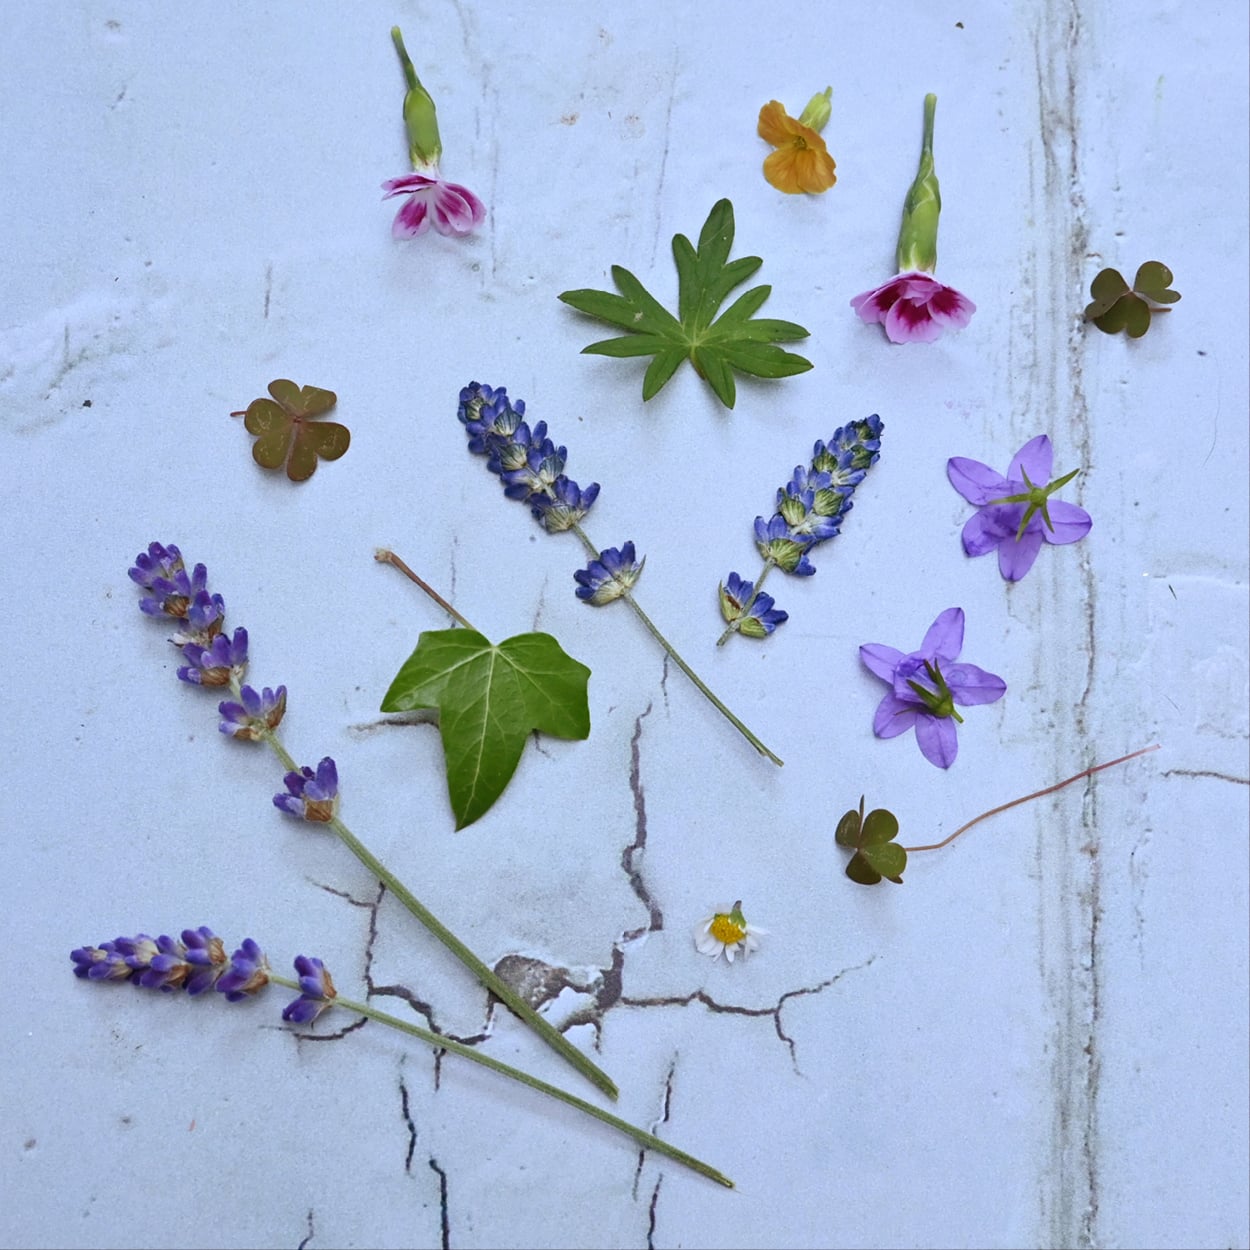
Pick a few small flowers from an old bouquet and press them until fully dry. You can use a flower press or place them between sheets of greaseproof paper inside a heavy book to protect the pages.
Step 2
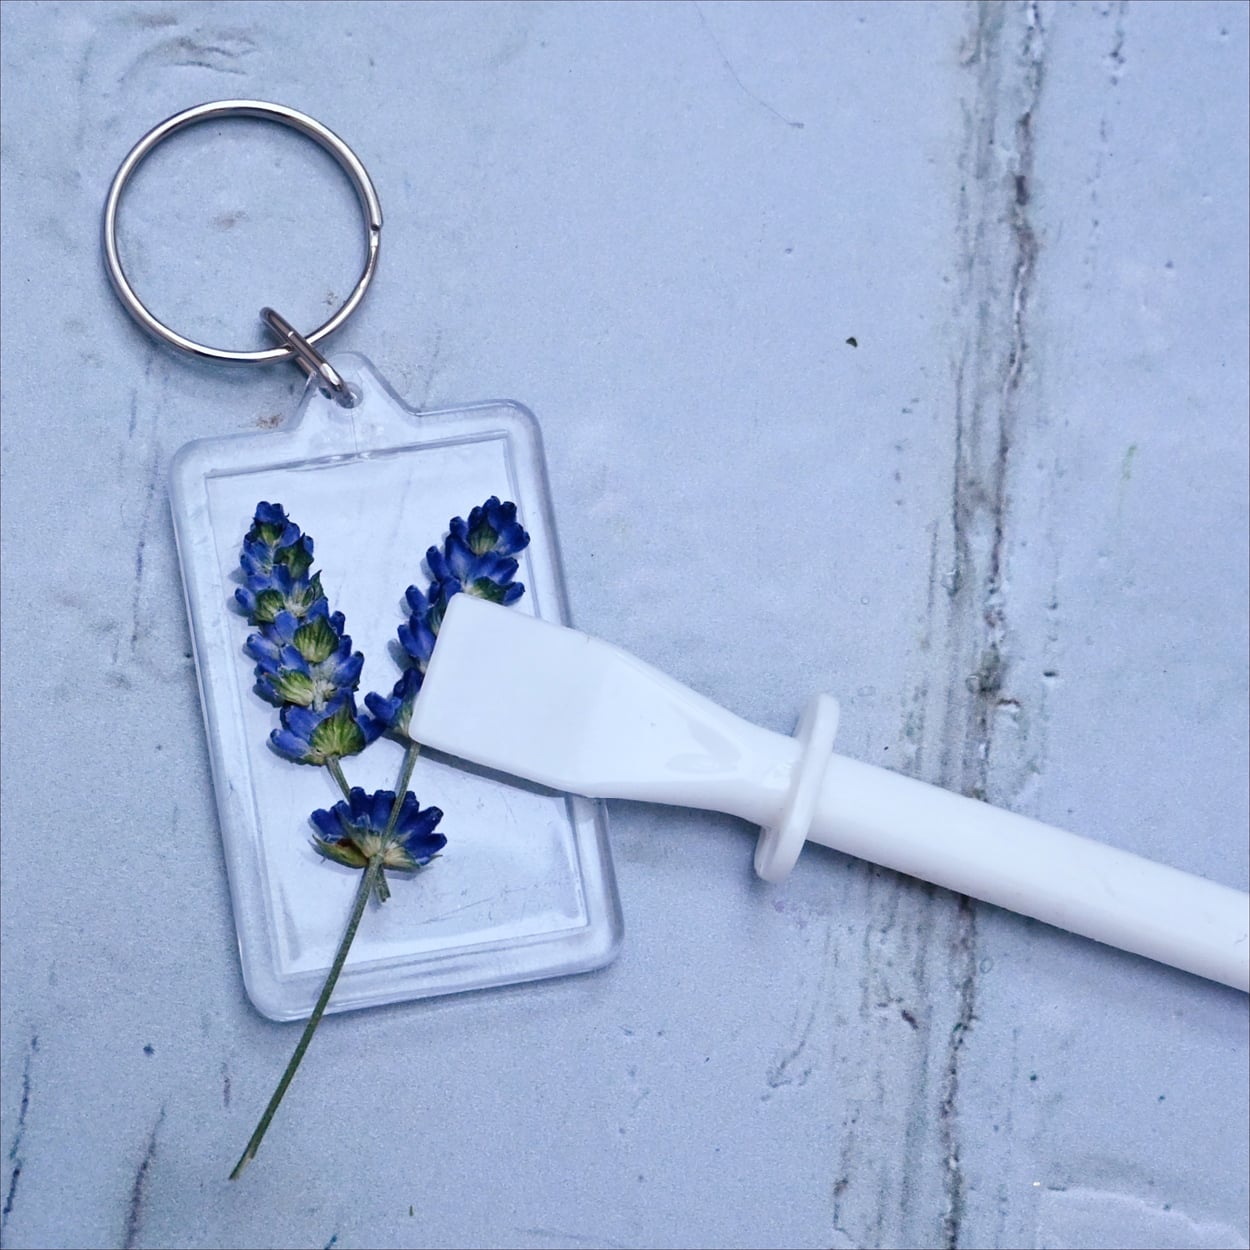
Arrange the dried flowers inside the window of the refillable keyring. Add a tiny dab of PVA glue if you need to keep anything in place, then snap the back on to secure your design.
Tip: Add a sprinkle of glitter or pop a piece of patterned paper behind the flowers to give your keyring extra colour and depth.
Patterned Paper Keyring Idea
Patterned paper is perfect for quick, colourful designs. Kids can mix and match prints to create bold, bright keyrings in minutes.
Step 1
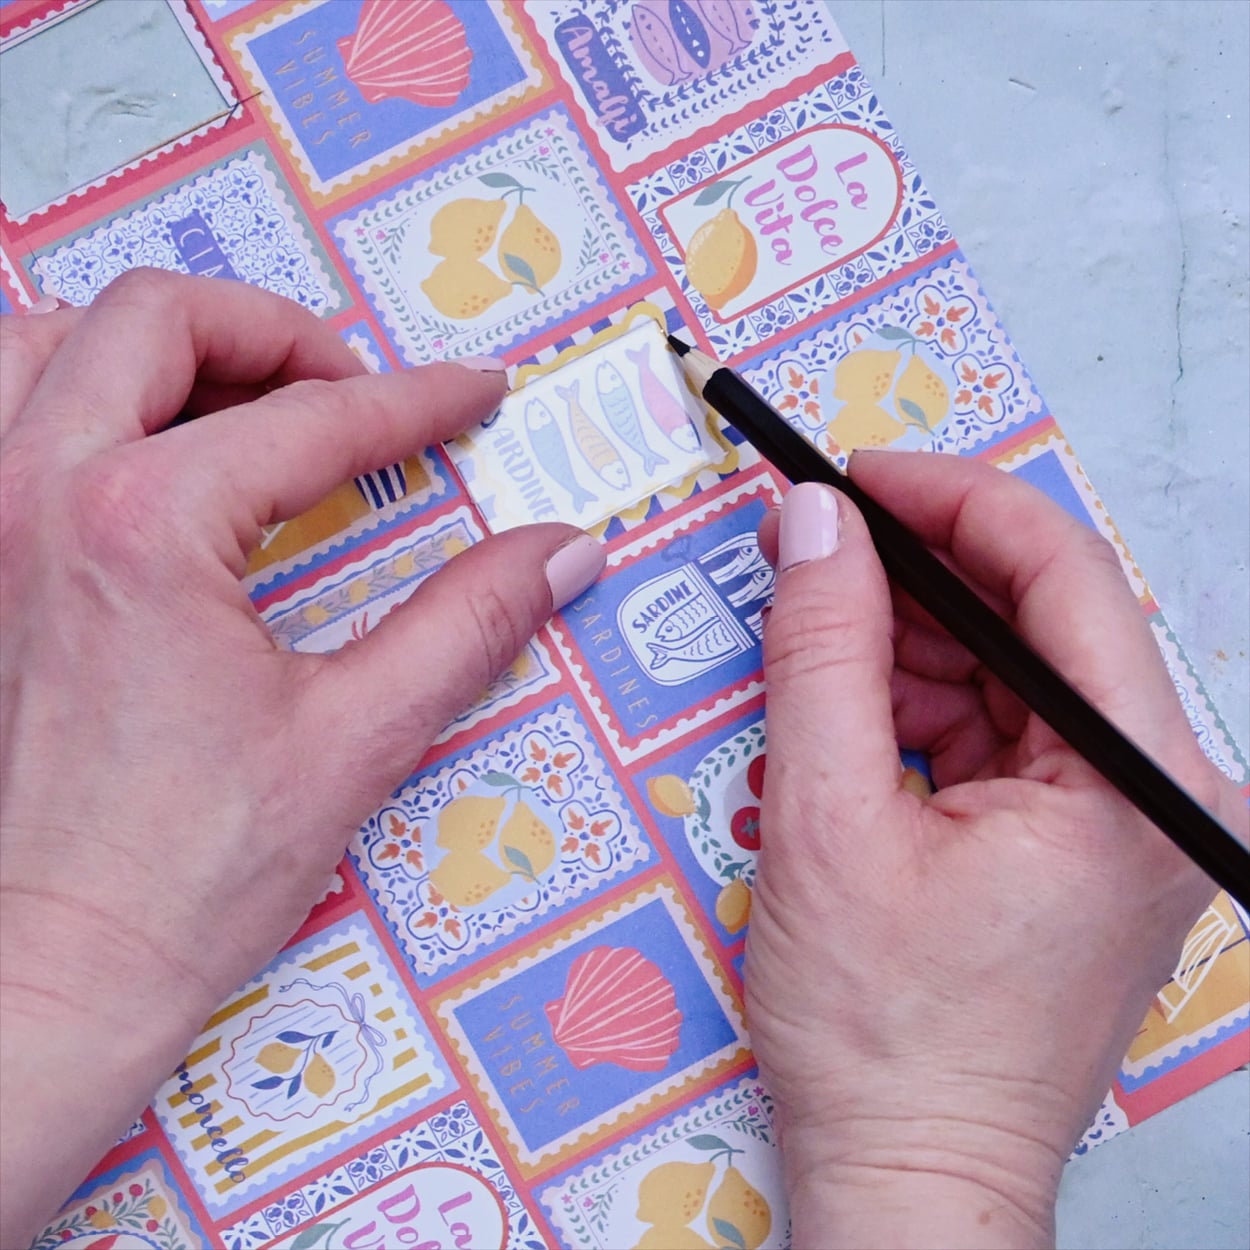
On a piece of patterned paper, place the back of the keyring down and draw around it to create the perfect template.
Step 2
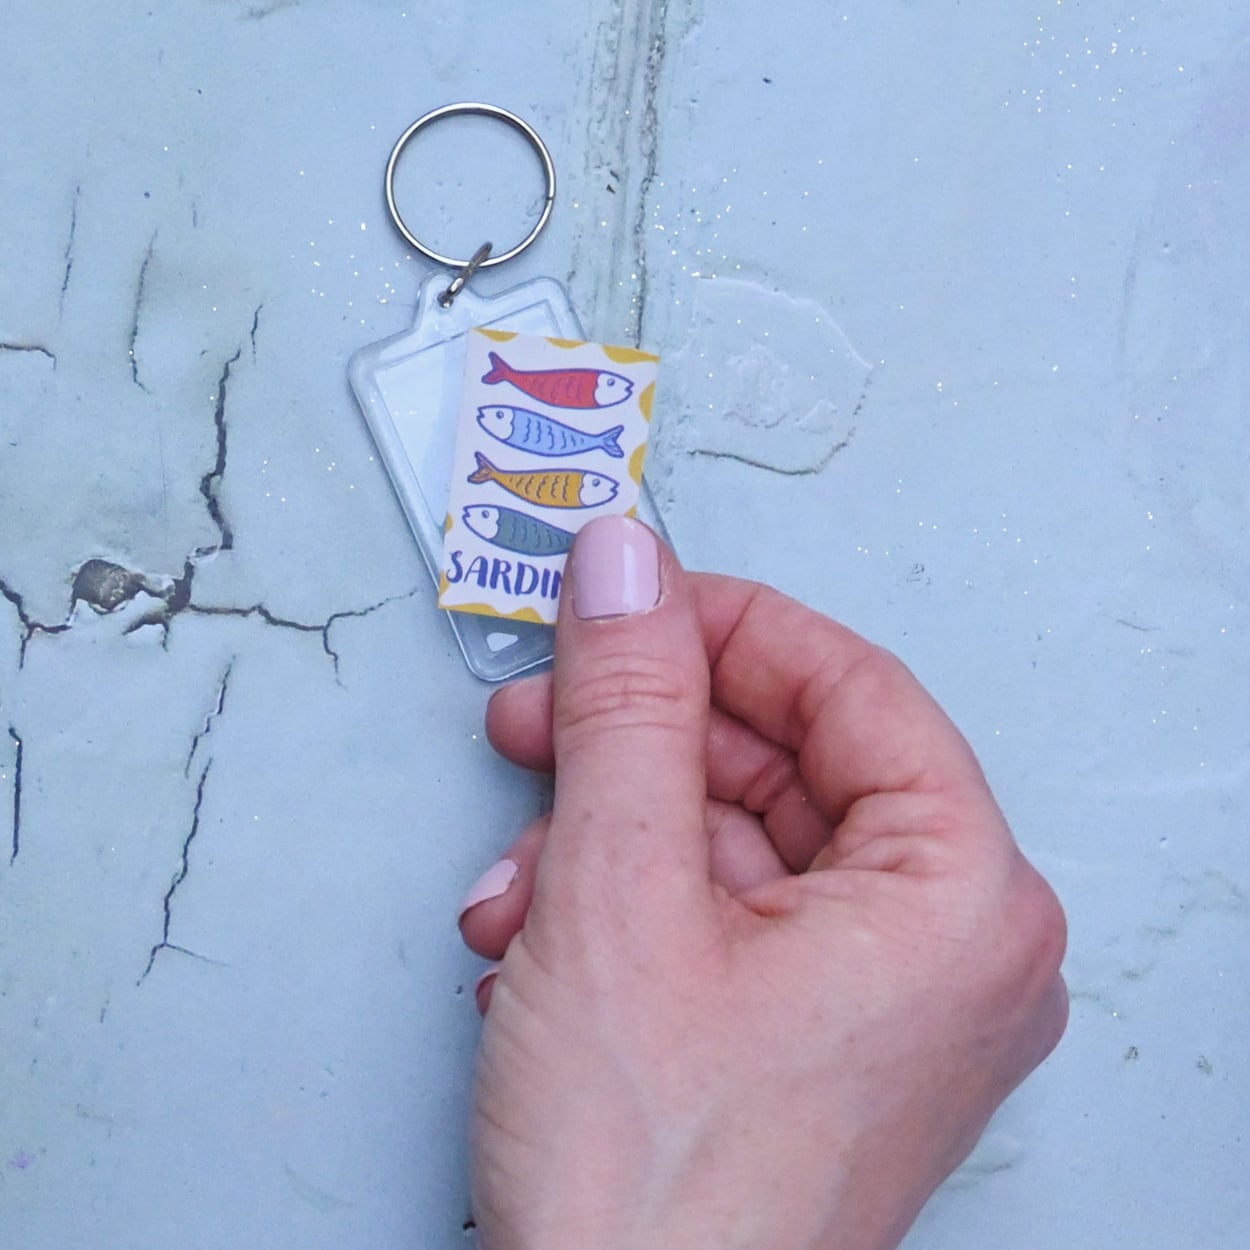
Cut out the shape neatly and pop it into the keyring window. Add the backing piece to secure everything in place.
Tip: Try using bold patterns, metallic card, or even a tiny photo to make your keyring extra special.
Easy DIY Photo Keyrings
Photo keyrings are a sweet, personal option — ideal for gifts, party favours, or adding a special memory to a school bag.
Step 1
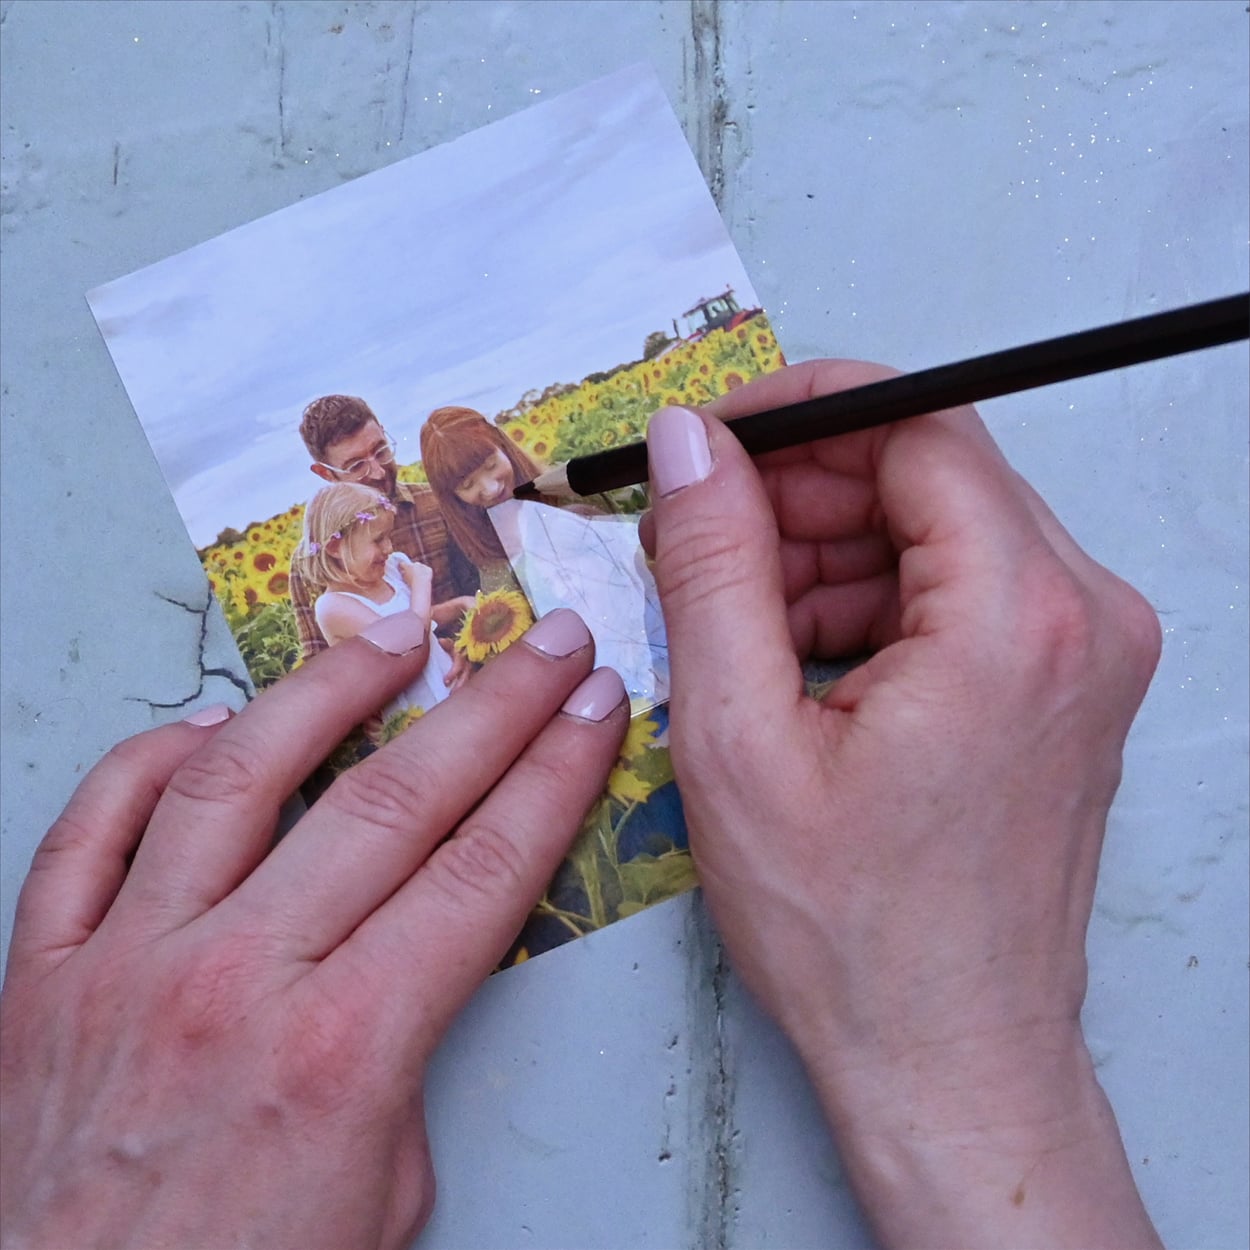
Using the keyring back as a template draw around a section of the photo you’d like to use.
Step 2
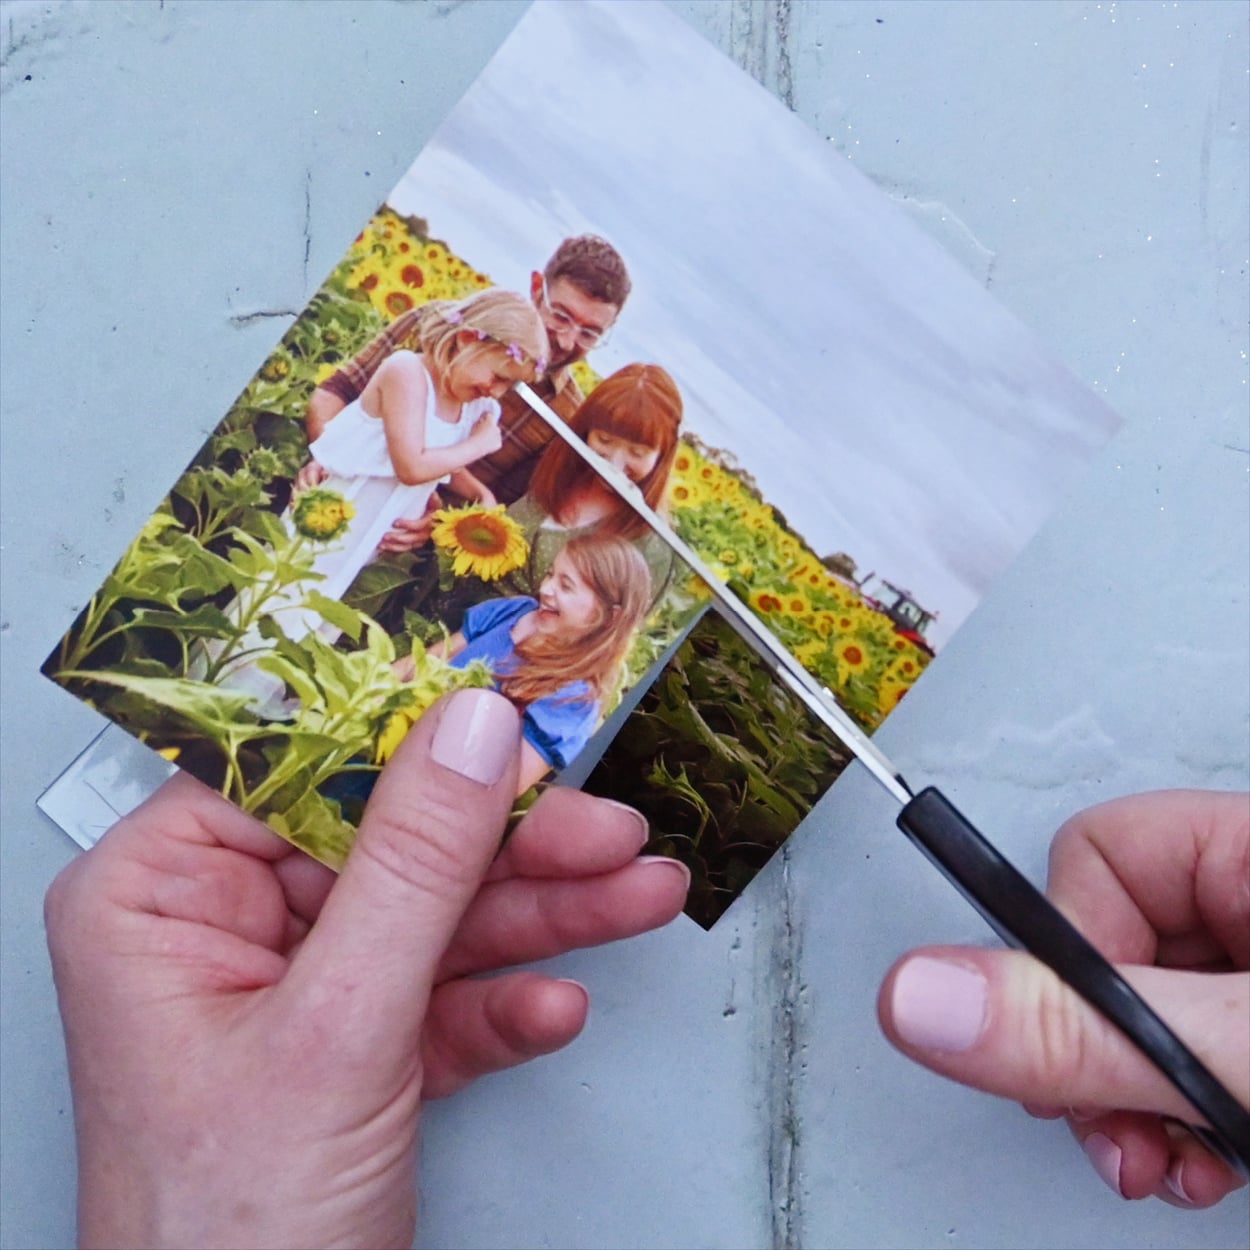
Cut the photo out.
Step 3
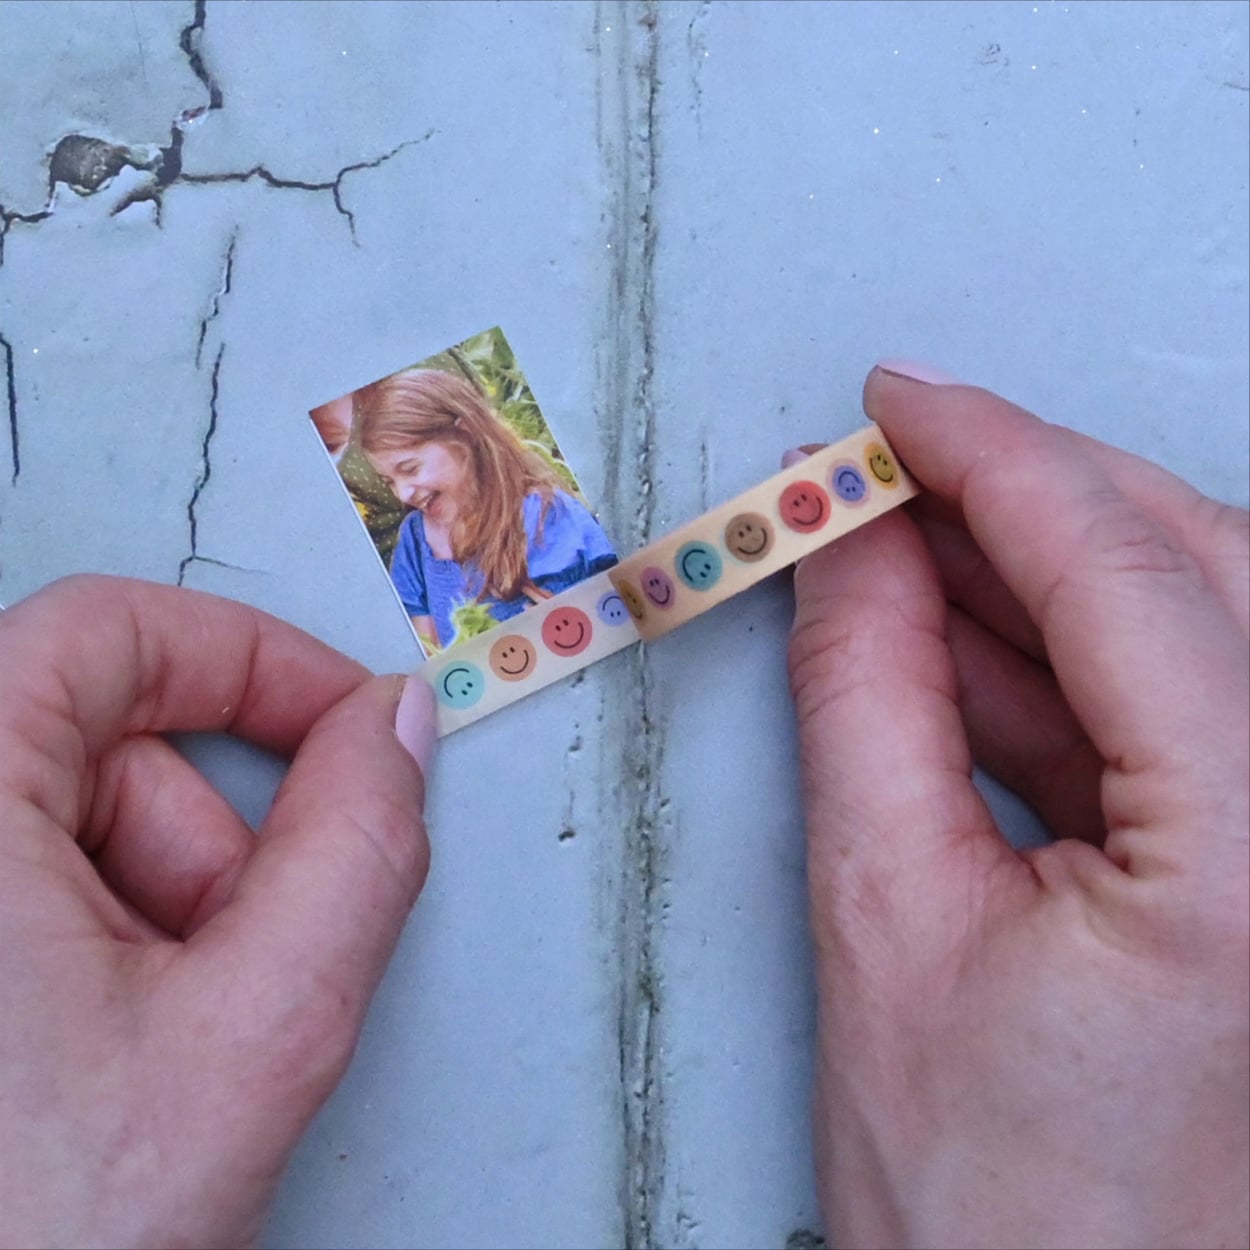
Add some washi tape, stickers or glitter to embellish.
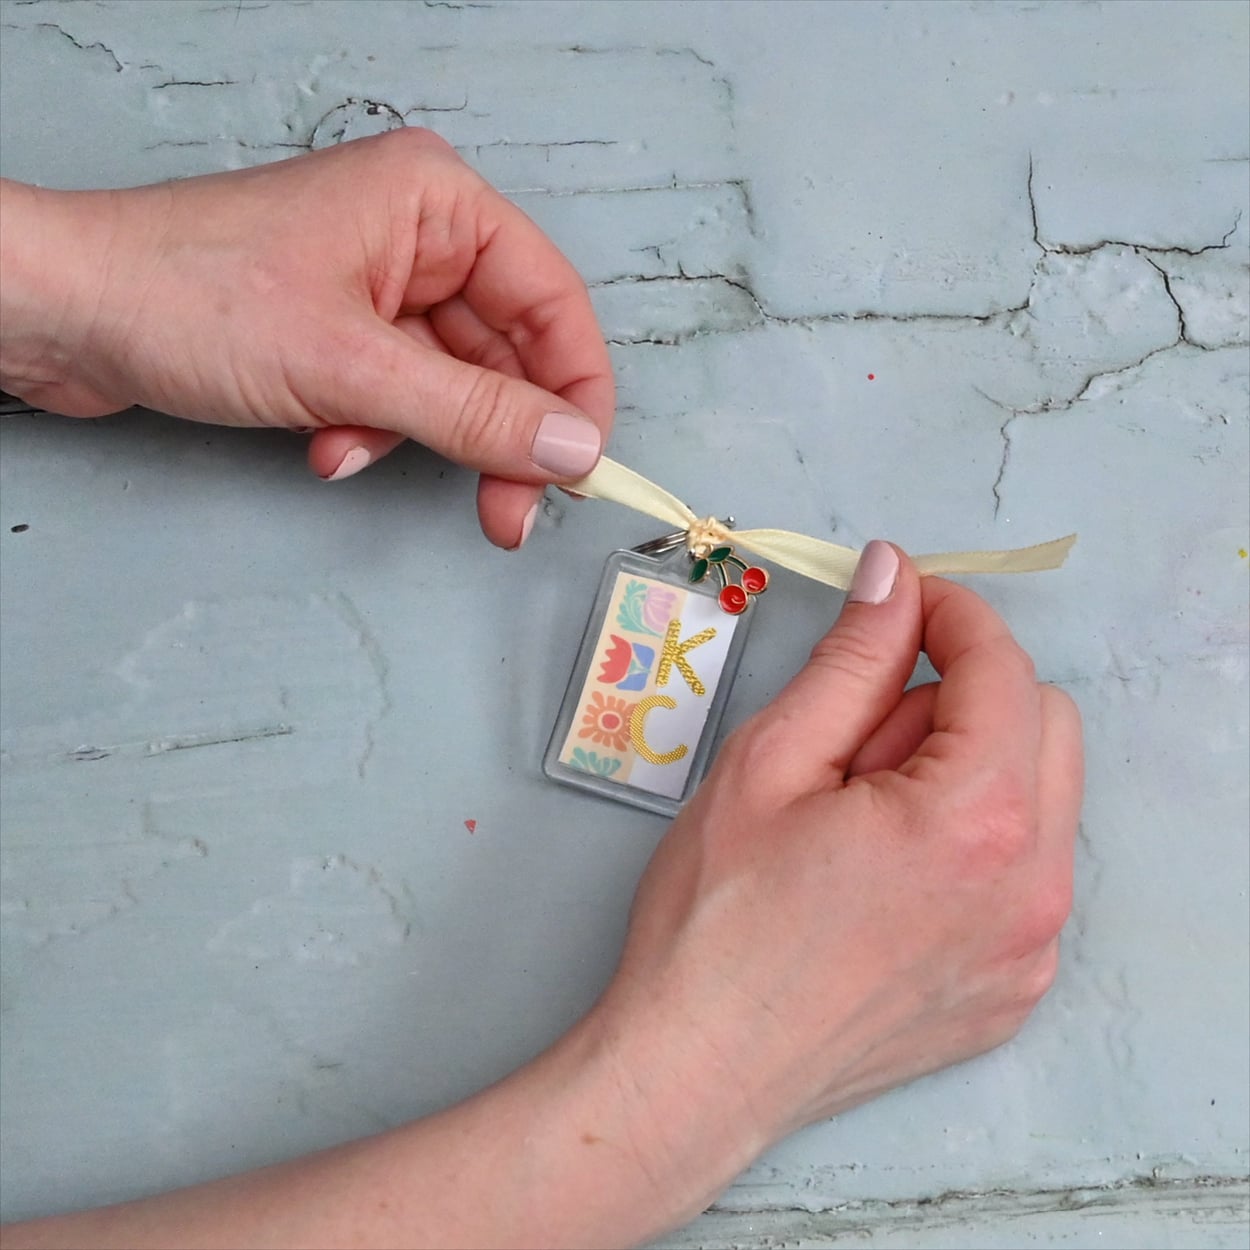
To Finish the Keyrings
Once the designs are inside, kids can personalise their keyrings even more with ribbons, charms, or sparkly extras. This works especially well for parties, as it helps each child easily spot which keyring is theirs.
Please note: Avoid using charms for young children, as small parts can pose a choking hazard.
Step 1

Thread 20cm of ribbon through a charm.
Step 2
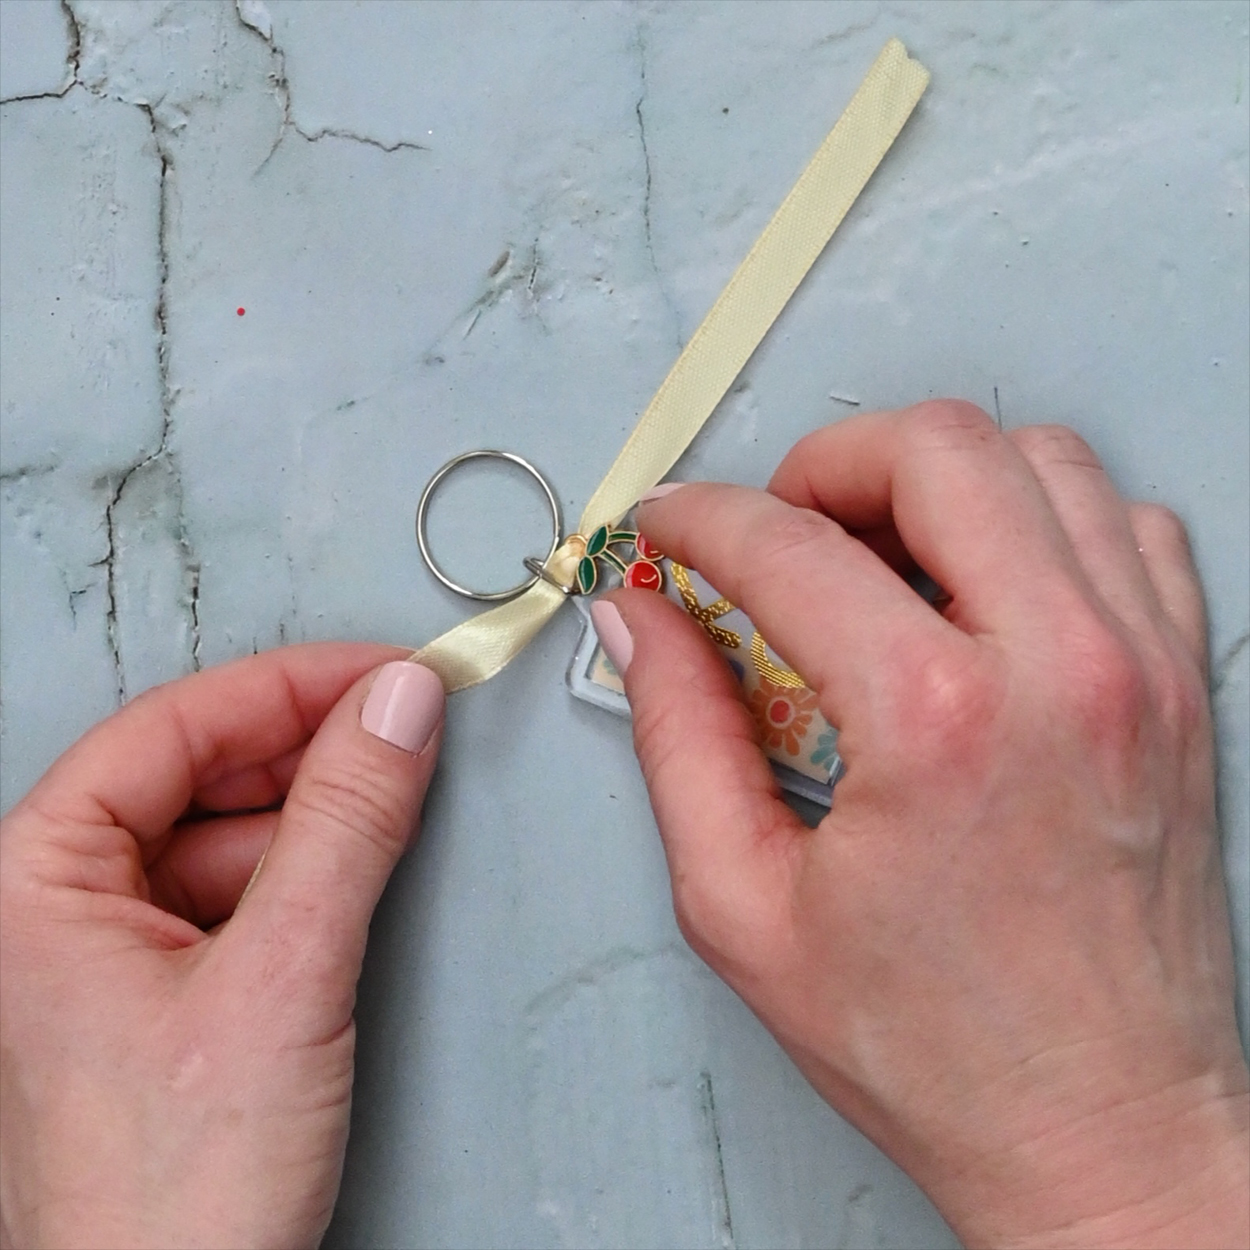
Thread this through the triangular loop on the keyring.
Step 3
Tie in place twice to make sure it’s secure.
Step 4
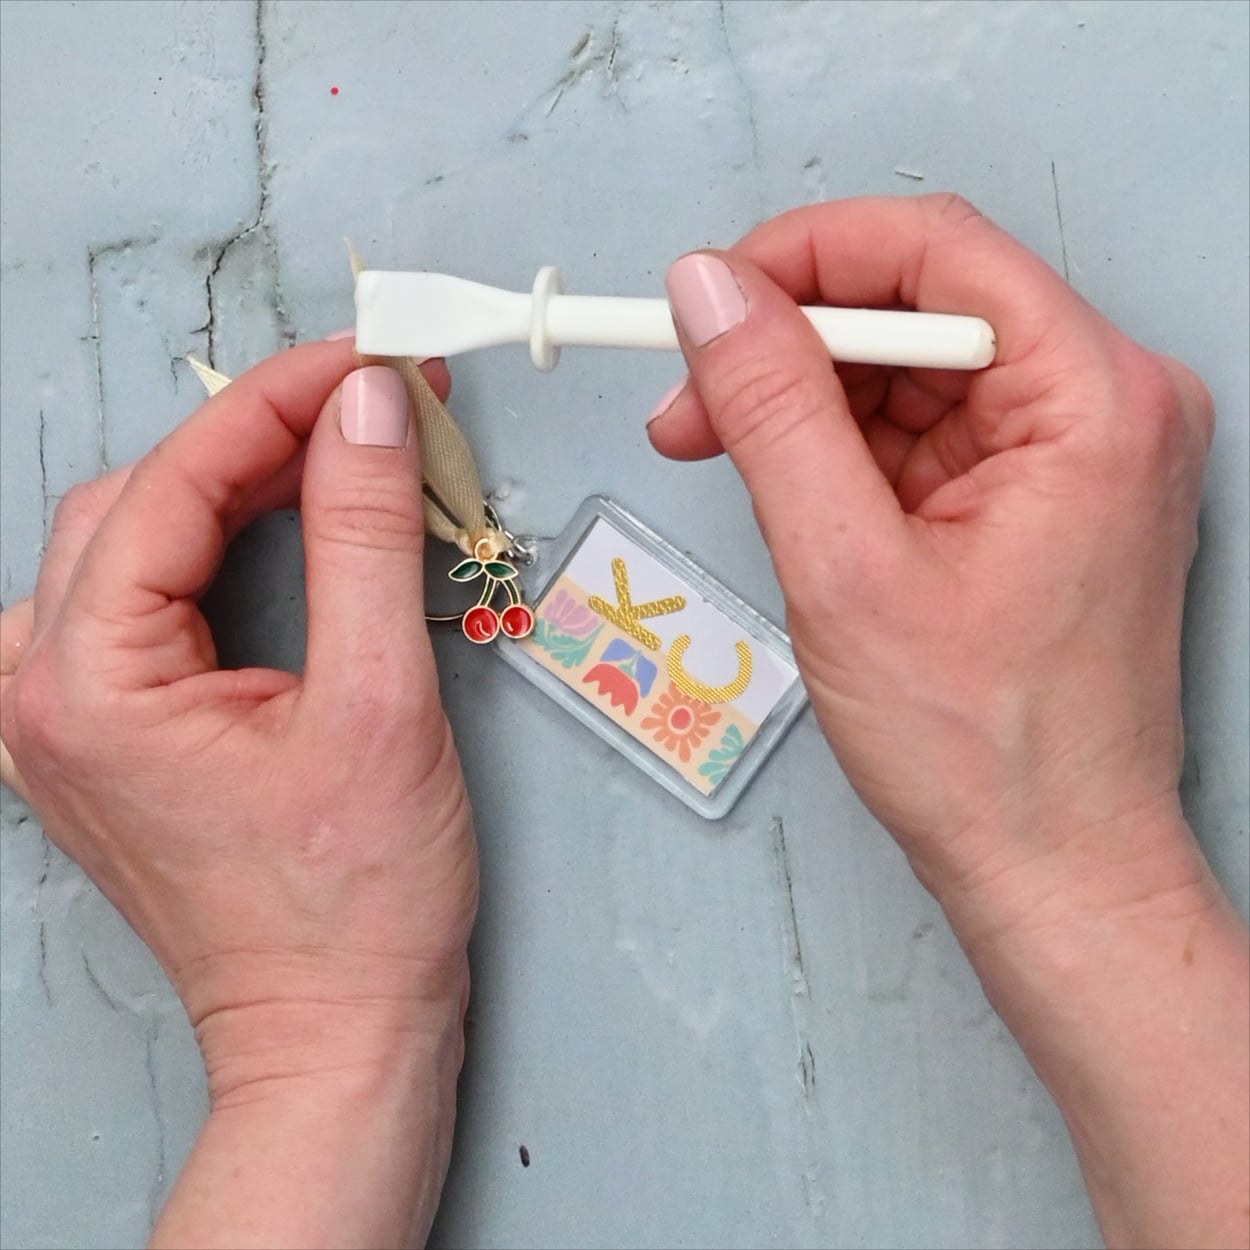
Trim the ends of the ribbon at an angle and apply a little PVA glue to seal the ends.
A Colourful Craft Kids Will Love
Crafting your own refillable keyrings is such a fun way for kids to get creative, experiment with different materials, and make something they can actually use. Whether they’re filling them with pressed flowers, patterned paper, stickers, or sparkly extras, each keyring becomes a tiny piece of art they’ll love showing off. It’s an easy, colourful project that encourages imagination and gives children a lovely keepsake to take home and treasure.


