This adorable air‑dry clay craft makes a charming little keepsake that can sit happily on a desk, shelf, or bedside table and be enjoyed year after year. The best part is how customisable it is — you can turn it into any character you like, from your favourite animals to seasonal designs or even themes inspired by a special memory or topic you’ve loved. It’s a simple, creative project that invites both kids and adults to add their own personality and imagination, making every piece wonderfully unique.
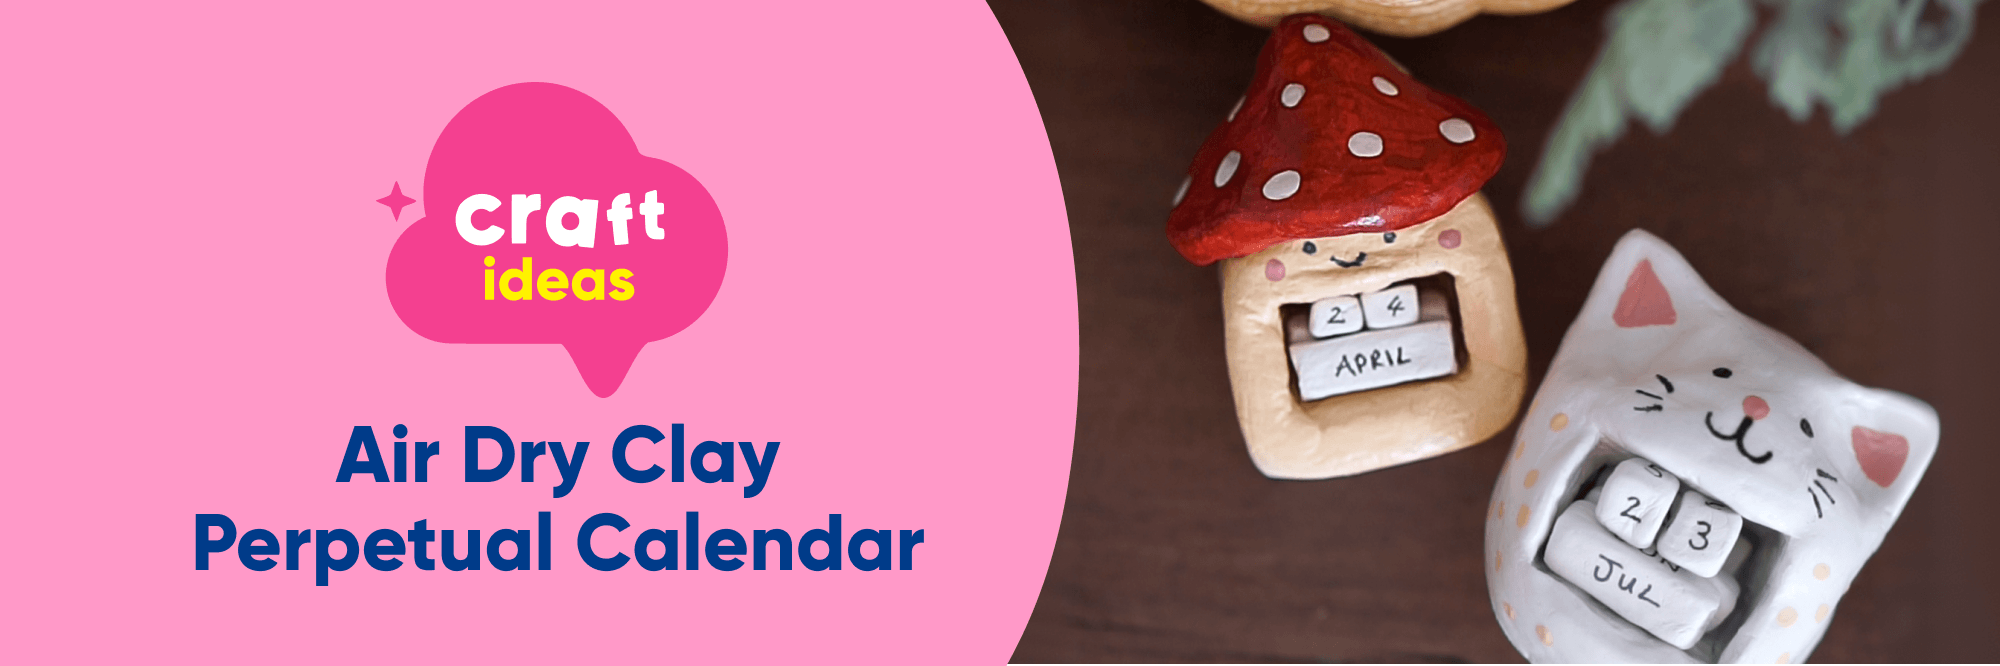
Air Dry Clay Perpetual Calendar
You Will Need:
- Air dry clay
- Clay sculpting tools / craft knife
- Small bowl of water (for smoothing)
- Permanent fine liner pen
- Acrylic paint
- Clear varnish or sealant (optional)
Step 1: Start with a single lump of clay
Take a piece of air dry clay roughly the size of a tennis ball.
Instead of rolling or flattening it, keep it as a solid lump. Warm it in your hands until it becomes soft and workable. This is the base you’ll sculpt everything from.
Step 2: Sculpt your character base

Now begin shaping your chosen design directly from the lump of clay.
Keep everything compact and rounded. Think Kawaii characters.
You could sculpt:
- A cute rabbit
- A toadstool with a rounded cap
- A plump snail with a spiral shell
- A sitting frog
Make sure the base is stable so it can sit flat on a desk.
Step 3: Create the calendar recess and cubes

Using your clay tools, carefully cut and remove a rectangular section from the front of your sculpture. This hollowed-out space will become the slot for your date and month cubes. You can smooth the void with your fingers or clay tools. This part is a little fiddly... but take your time. The great thing about clay is that you can always squish it back into place.
Now take the clay you’ve removed (you may need a little extra) and reshape it into four small cubes:
- 2 square cubes (for days)
- 3 longer rectangular cube (for months)
The idea is that these cubes will sit neatly inside the rectangular void you’ve created, forming a changeable display for the date and month.

Step 4: Decorate
If you want to add colour, use acrylic paint once it is fully dry.
For my kitten design, I added pink ears, nose and cheeks. This is where your creativity can truly shine. Decorate your calendar however you would like. And don’t worry if you make a mistake, just let the acrylic paint dry, and you can easily paint right over the top again.
Don’t forget to add a cute little face if you want to.
Step 5: Write the numbers and months by hand
Once dry, use a permanent fine liner pen to handwrite numbers onto the cubes. One cube needs 1-6 the other needs 7,8,9 and 0.
The three rectangular blocks need the months of the year written on them. Each rectangular block needs 4 months on each of its 4 sides. You can write these in short form (JAN, FEB, MAR) or long form (January, February, March).
Step 6: Seal your piece

Once the paint and pen are dry, apply a clear varnish or sealant to protect the surface and help it last longer on a desk. I used Mod Podge as my sealant.
Step 7: Assemble your perpetual calendar
Place your numbered cubes into the rectangular recess you created in your sculpture.
Each day, the cubes can be rearranged to display the correct date, making it both interactive and cute.
Happy Crafting!
And just like that, your handmade perpetual calendar is ready to brighten up a desk, shelf, or cosy corner all year long. There’s something extra special about a piece that’s been shaped and painted by hand — every number block, every brushstroke, every tiny wobble adds to its charm.
Whether it’s used to mark exciting countdowns, keep track of the date, or simply sit there looking adorable, this little calendar is a lovely blend of creativity and practicality. A simple craft with a big personality, and one that’s sure to be enjoyed day after day.


