There’s something wonderfully grounding about sinking your hands into clay and shaping something small, sweet, and surprisingly useful. This little diy clay flower frog is a gentle make for slow days — a tiny helper that sits on your vase and keeps your blooms standing tall. It’s simple, soothing, and delightfully old‑fashioned in the best way. A perfect Make May Mindful project for anyone craving a screen‑free moment with a touch of whimsy.
DIY Simple Clay Flower Frog
Made by Bethany Edwards
You will need:
- A rolling pin (or similar)
- A cookie cutter, glass, or jar lid
- A small amount of water
- A paint brush or your fingers for smoothing
- A metal straw or pen shaft (for making holes)
- Mod Podge or a similar sealant
- Optional: paint for decorating
Clay Flower Frog Instructions
This is a gentle little make that brings both creativity and purpose together — perfect for displaying small, foraged stems or garden flowers.
Step 1: Roll out your clay.

Begin by rolling out your air dry clay into a flat disc.
I shaped mine to sit neatly on top of a jam jar (around 10cm in diameter and roughly 0.5cm thick), but you can adjust this to suit whatever vessel you plan to use.
Step 2: Cut your shape.

Using a cookie cutter, a drinking glass, or even a jar lid, cut out a neat circle from your clay.
Step 3: Soften the edges.
Dip your fingers in a little water and gently smooth around the cut edges, softening any roughness.
Step 4: Create a ruffled edge.

Begin shaping the outer edge of your clay, gently pinching and pressing to form a soft, frilled or ruffled effect.
Step 5: Add the stem holes.

Using a metal straw or the shaft of a pen, press small holes into the clay. These will hold your flower stems in place.
Scatter them naturally or arrange them more evenly, depending on the look you prefer.
Step 6: Refine the surface.
Use a little more water to smooth out any cracks or imperfections, keeping the surface as neat or as rustic as you like.
Step 7: Allow to dry.
Leave your clay flower frog to dry completely. This can take around 48 hours, depending on thickness and room temperature.
Step 8: Finish your design.

You can leave your clay frog bare for a simple, natural look, or add paint if you’d like to bring in a little colour.
Step 9: Seal your piece.
Once fully dry, brush over a layer of Mod Podge or a similar craft sealant. This helps make your piece more water-resistant and better suited to holding fresh stems.
Step 10: Use and enjoy!

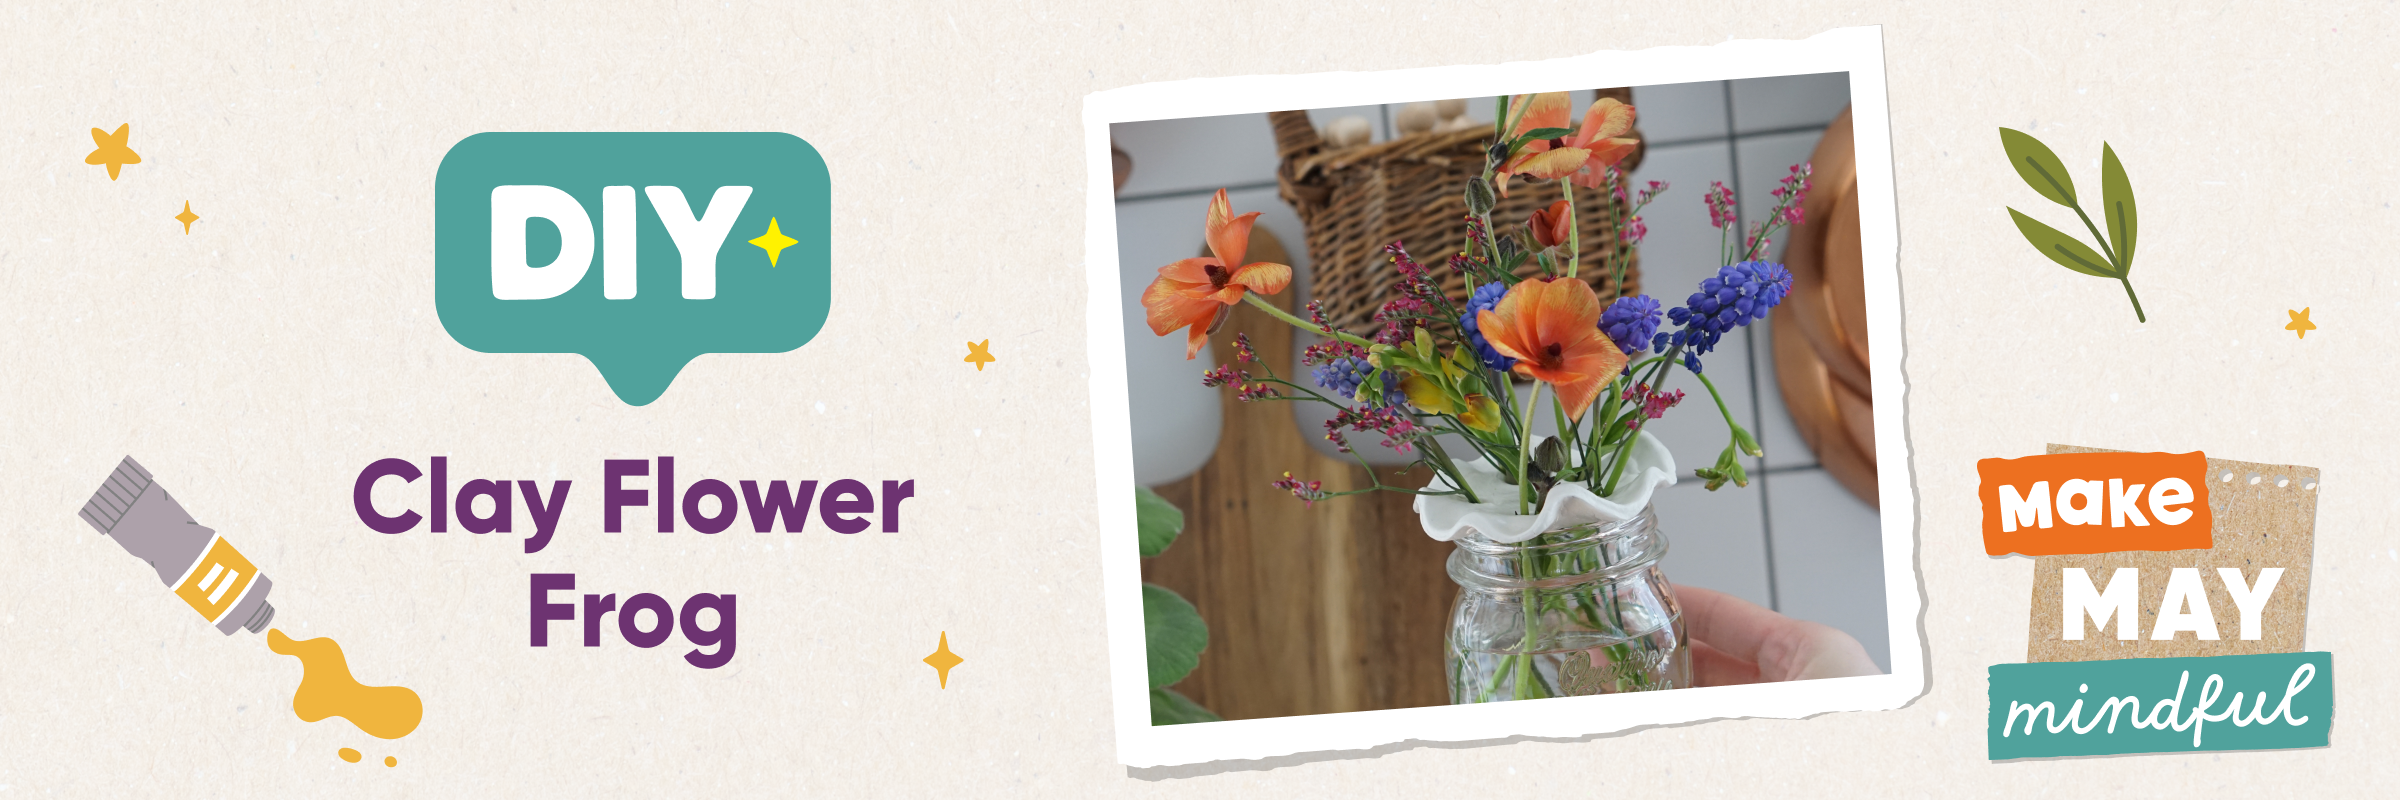
Place your finished flower frog on top of a jar or small vase, add water beneath, and arrange your stems.
Scroll Less, Create More
And just like that, you’ve shaped a small, cheerful helper for your flowers. It’s amazing what a bit of clay and a slow afternoon can become. Here’s to more mindful makes and more moments that feel this soft.
If this sparked joy, make your own bookmark with our simple DIY bookmark ideas, or browse other art and craft projects to keep the mindful making going.


