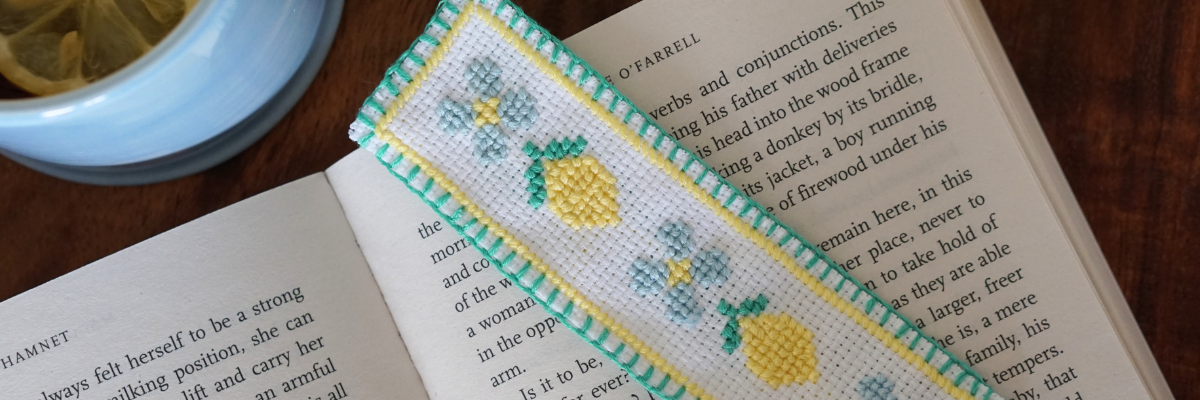
There’s something quietly joyful about tiny stitches that turn into a keepsake. This DIY cross stitch bookmark tutorial walks you through easy, beginner‑friendly patterns that fit neatly between pages and brighten every reading pause. With simple counted stitches, playful motifs, and a few mindful minutes, you’ll stitch a little sampler that’s both useful and utterly charming — perfect for book lovers, gift makers, and anyone who likes a slow, screen‑free craft.
DIY Cross Stitch Bookmark
Tutorial by Bethany Edwards
You’ll need:
- Aida fabric or even-weave fabric
- Needle
- Scissors
- Coloured pencils (optional, for marking your design)
- A simple pattern or your own design
Step 1: Choose your size.
Decide on the size of your bookmark. Mine measured around 4cm by 14cm, but you can adjust this to suit your preference. It’s entirely up to you whether you cut your fabric to size before you begin stitching or wait until after your design is complete.
Step 2: Cut your fabric.
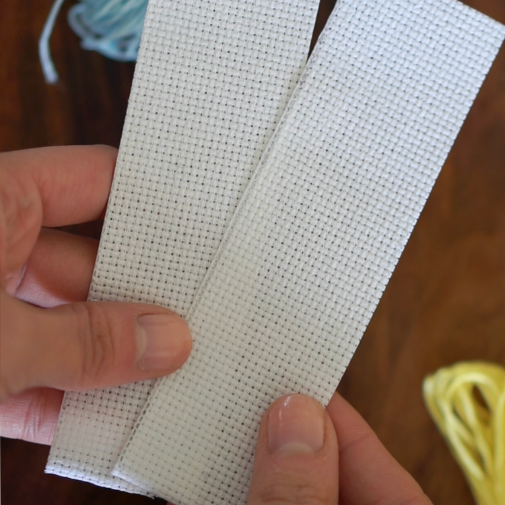
You’ll need two pieces of fabric:
- One for the front (your stitched design)
- One for the back (to neatly hide your stitches)
Step 3: Mark out your design.
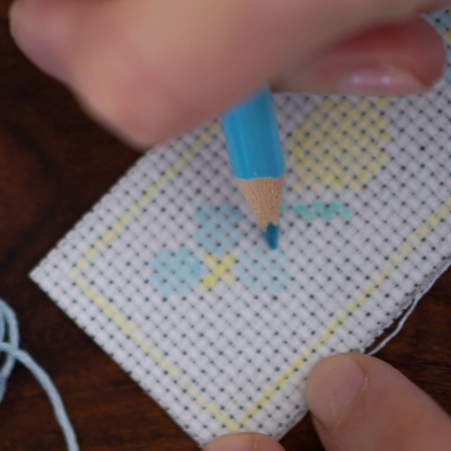
On your front piece of fabric, lightly sketch your design. You can use coloured pencils to map this out, which makes stitching feel a little more relaxed, no need to count every stitch as you go.
Step 4: Begin stitching.
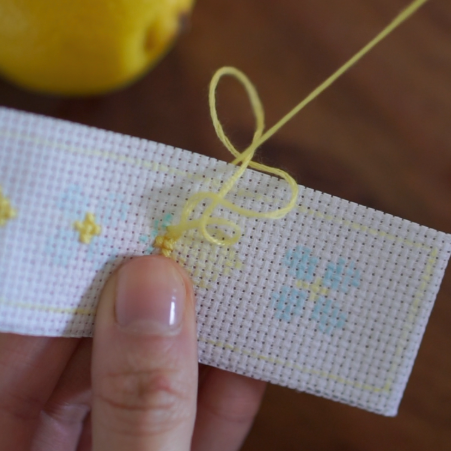
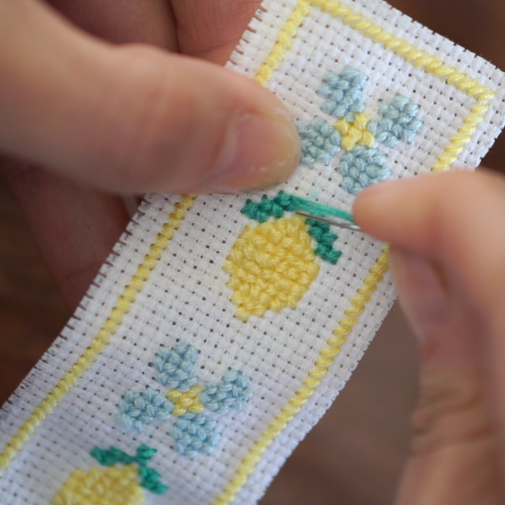
Using your chosen thread colours, start bringing your design to life with cross stitches. Take your time with this part. Cross stitch is perfect for picking up in quiet moments; there’s no rush, just a steady rhythm of stitch by stitch.
Step 5: Complete your design.
Continue until your pattern is fully stitched. Step back and enjoy seeing all those small moments of work come together.
Step 6: Add the backing.
Place your second piece of fabric behind your stitched piece, lining up the edges so the back will cover all of your threads.
Step 7: Finish with a blanket stitch.
Using a blanket stitch, carefully sew around the edges of your bookmark, joining the front and back pieces together. This will neatly conceal any messy stitches and give your bookmark a soft, finished edge.
Step 8: Use and enjoy.
Your bookmark is now ready to slip between the pages of your current read... a small, handmade piece created slowly, one stitch at a time.
A Little Keepsake
Your cross stitch bookmark is ready to nestle into a favourite book and mark more than just a page — it marks a small, handmade moment. Try a new pattern, gift one to a fellow reader, or explore our other bookmark tutorials for more tiny, joyful makes. Keep stitching, keep reading, and let each little X remind you to pause and enjoy.


