Colouring books aren't just for colouring. Their illustrations can become templates for all sorts of creative projects, making them a wonderful source of inspiration for inexpensive, mindful crafting, DIY art projects, and handmade home décor.
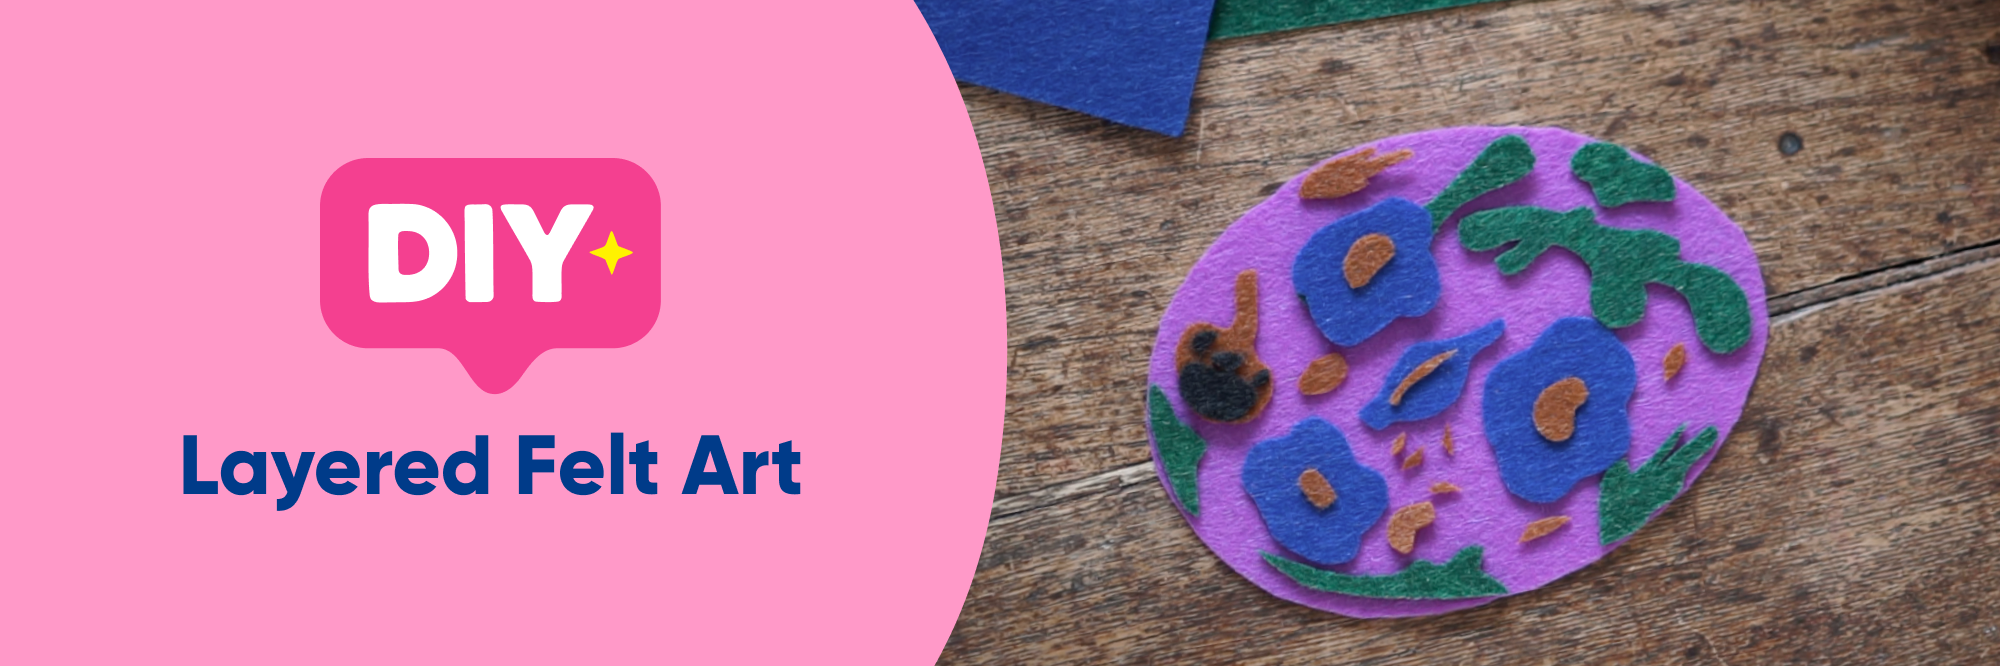
One of my favourite ways to use old colouring books is to create layered felt pictures. They're simple to make, require very few supplies, and once framed, they become lovely handmade pieces of artwork for your home or thoughtful gifts for friends and family.
Turn Colouring Book Pages into Beautiful Layered Felt Art
Made by Bethany Edwards
You will need:
- A colouring book
- Felt in your chosen colours
- Scissors
- Card or thick paper for the backing
- A picture frame
How to Make a Layered Felt Picture
Step 1: Choose Your Design
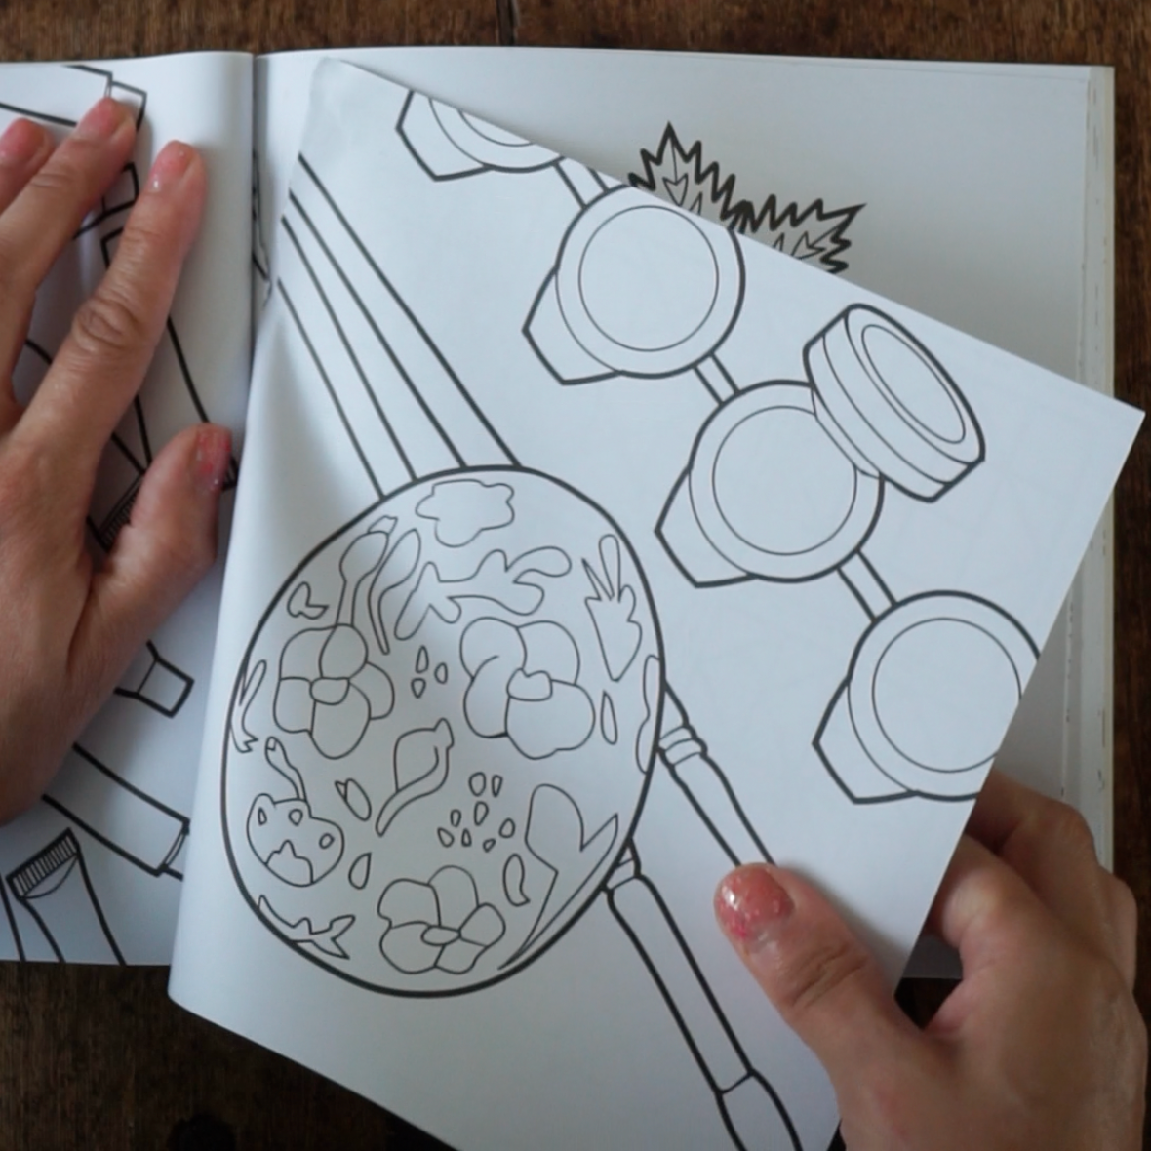
Pick an illustration from your colouring book that you'd like to recreate. Simple botanical, woodland, or floral designs work especially well.
Before you begin cutting, it's worth taking a photo of the page. Once you've cut the paper template into pieces, having a reference image makes it much easier to remember how everything fits back together.
Step 2: Start with the Largest Shape
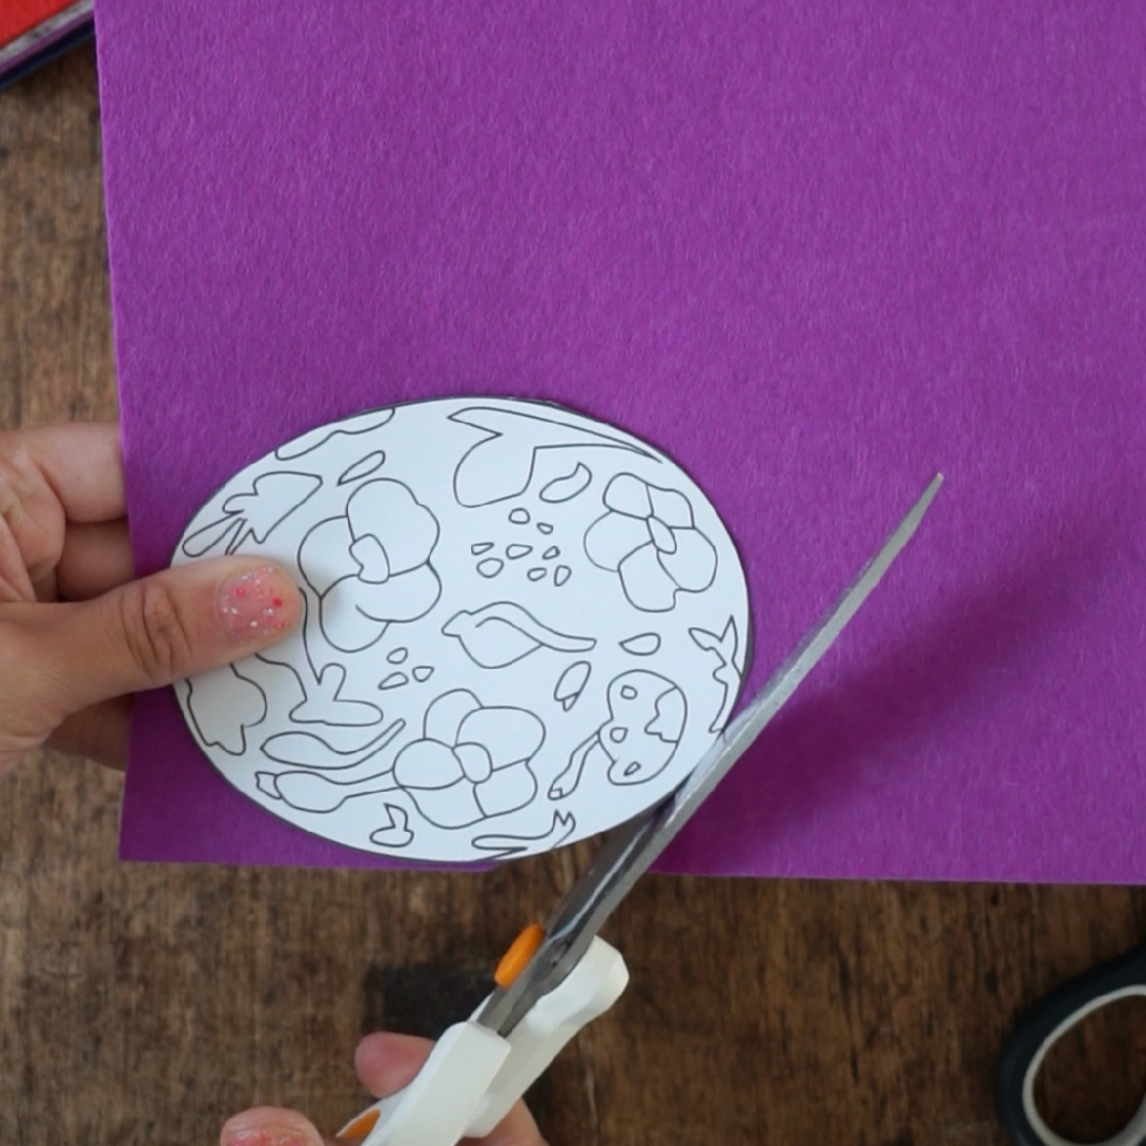
Carefully cut out the largest background section of your picture from the colouring book page. Lay it onto your felt and cut around it to create your first felt layer.
This forms the base of your design.
Step 3:Cut the Remaining Pieces
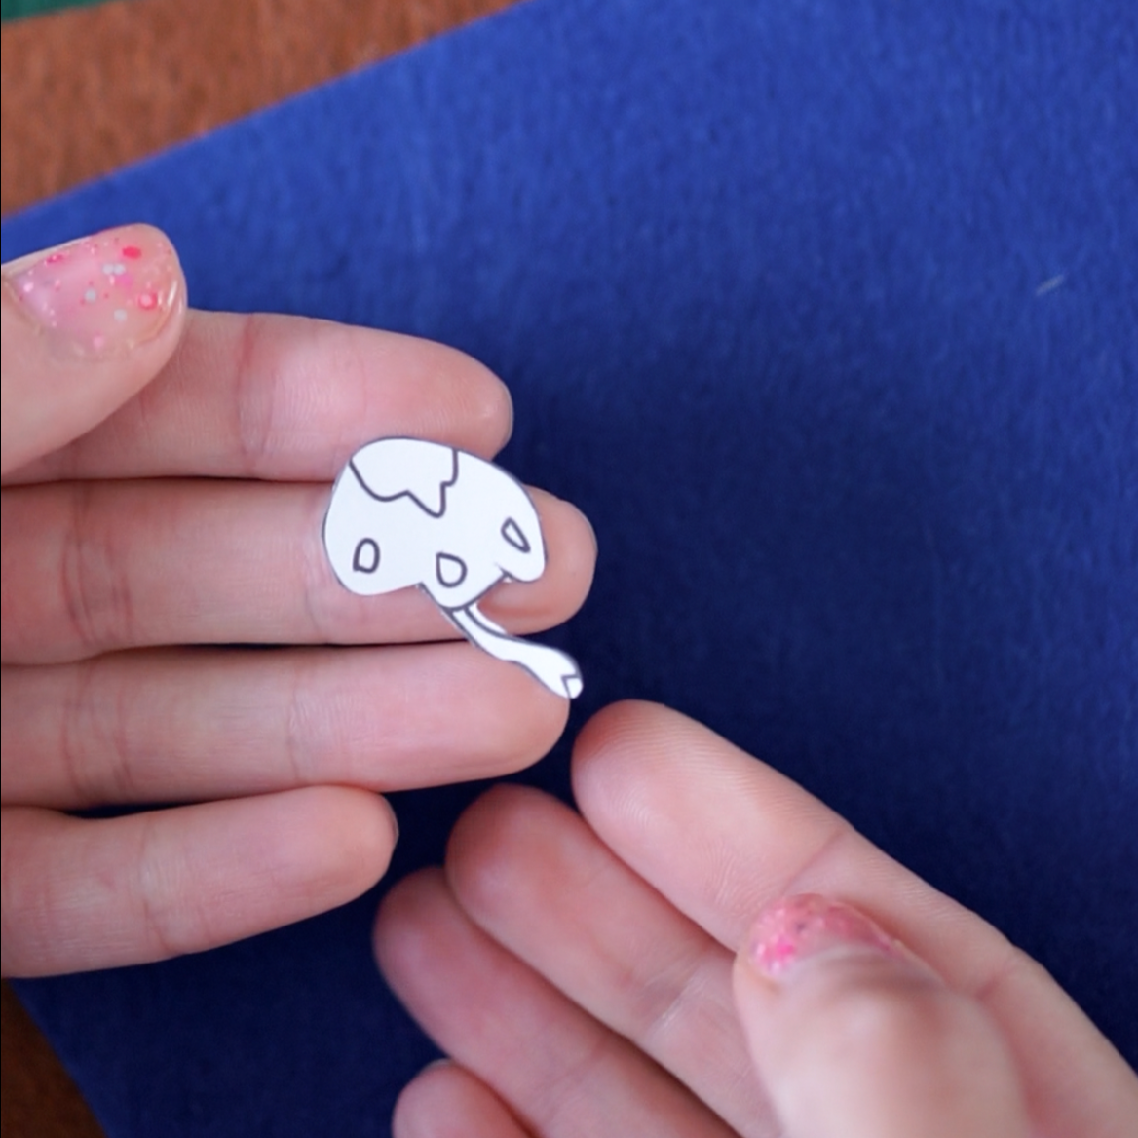
Continue cutting out the smaller elements of the picture one at a time, using each paper piece as a template for the felt.
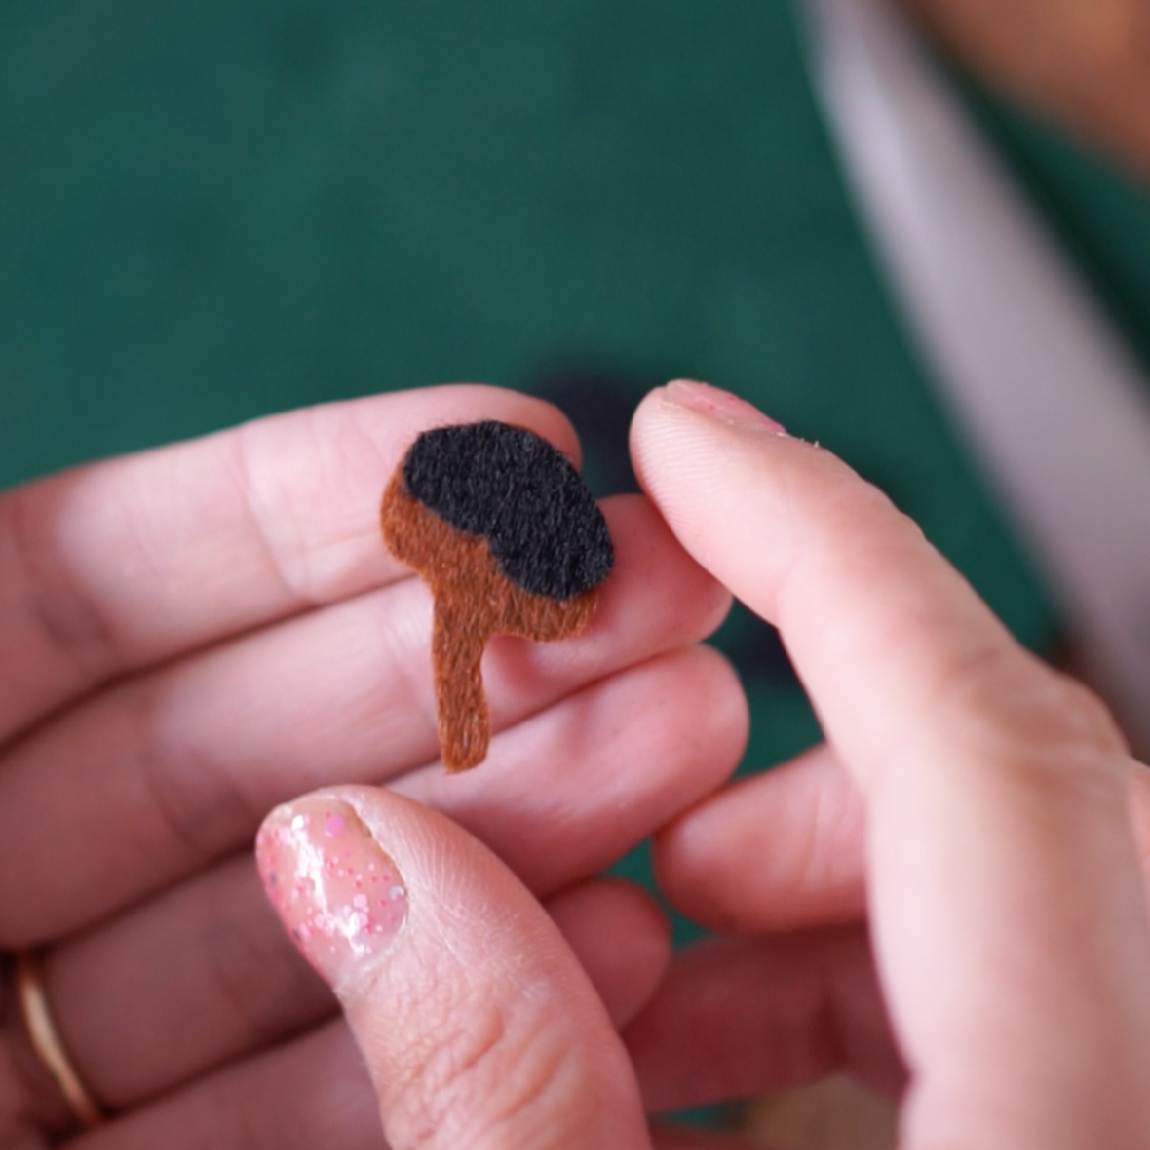
As you build the image, layer each felt piece over the previous one until the design begins to come together.
Step 4: Assemble Your Picture
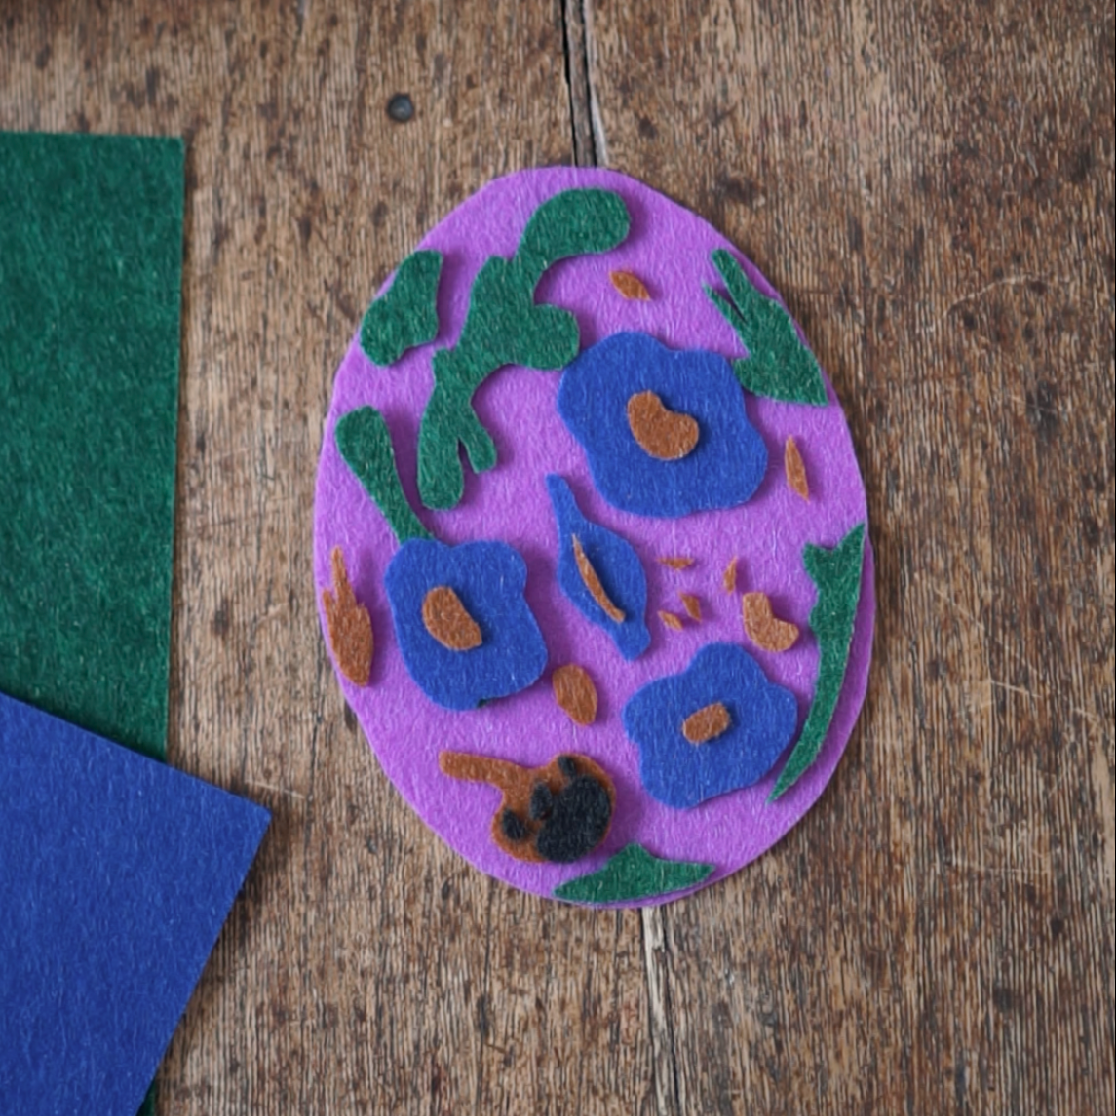
Felt grips to itself naturally, surprisingly well, so I didn't actually use any glue while arranging my design. However, if you'd like a more permanent finish, you can secure each layer with a small amount of craft glue.
Step 5: Mount and Frame
Once you're happy with your finished design, place it onto a piece of card or thick paper. You could also use a larger sheet of felt as the background for an even softer look.
Finally, pop your artwork into a picture frame and display it around your home.
This is such a relaxing craft that transforms inexpensive materials into something that looks surprisingly special. It's a lovely reminder that creativity doesn't have to be expensive.
From Page to Art
Creating layered felt pictures is a wonderful way to give old colouring books a second life while enjoying a relaxing, creative craft project. With just a few simple supplies, you can transform favourite illustrations into unique handmade wall art that adds personality to your home or makes a thoughtful gift for someone special.
Whether you're looking for a mindful crafting activity, a budget-friendly DIY project, or a new way to use colouring book pages, layered felt art is a rewarding project that's as enjoyable to make as it is to display. So grab an old colouring book, some colourful felt, and let your creativity bloom.