Step 1
BEFORE YOU START
It is a good idea to familiarize yourself with the pyrography pen before you start engraving a piece of wood of your choice. To practice, take pyrography tool out of its packaging, plug it in, and wait for it to heat up for about 5 minutes. Next, take a piece of scrap wood and test out the different tips included in the kit. Move the pen as you would move a pencil.
Step 2
SELECT A DESIGN OF YOUR CHOICE & PREPARE YOUR WOODEN PLANK
The first thing you have to do is figure out what you’re going to burn. If you can draw and want to freehand it, you can skip this step. But if you’re not the best artist and want to use a pre-made image of your choice. Choose which item you will use for transferring the artwork. If necessary you may need to sand the item down to even out any bumps on the surface.

Step 3
TRANSFER YOUR ARTWORK WITH PENCIL
Transferring your artwork on wood with a pencil can be done in two ways. You can directly draw on wood to make things easier you can transfer your artwork using carbon paper. To do that print out the actual size of the artwork you would like to transfer. Put the carbon sheet on the wood, tape the artwork over it and go over the design with a pencil or pen to complete the transfer.

Step 4
BURN THE ARTWORK
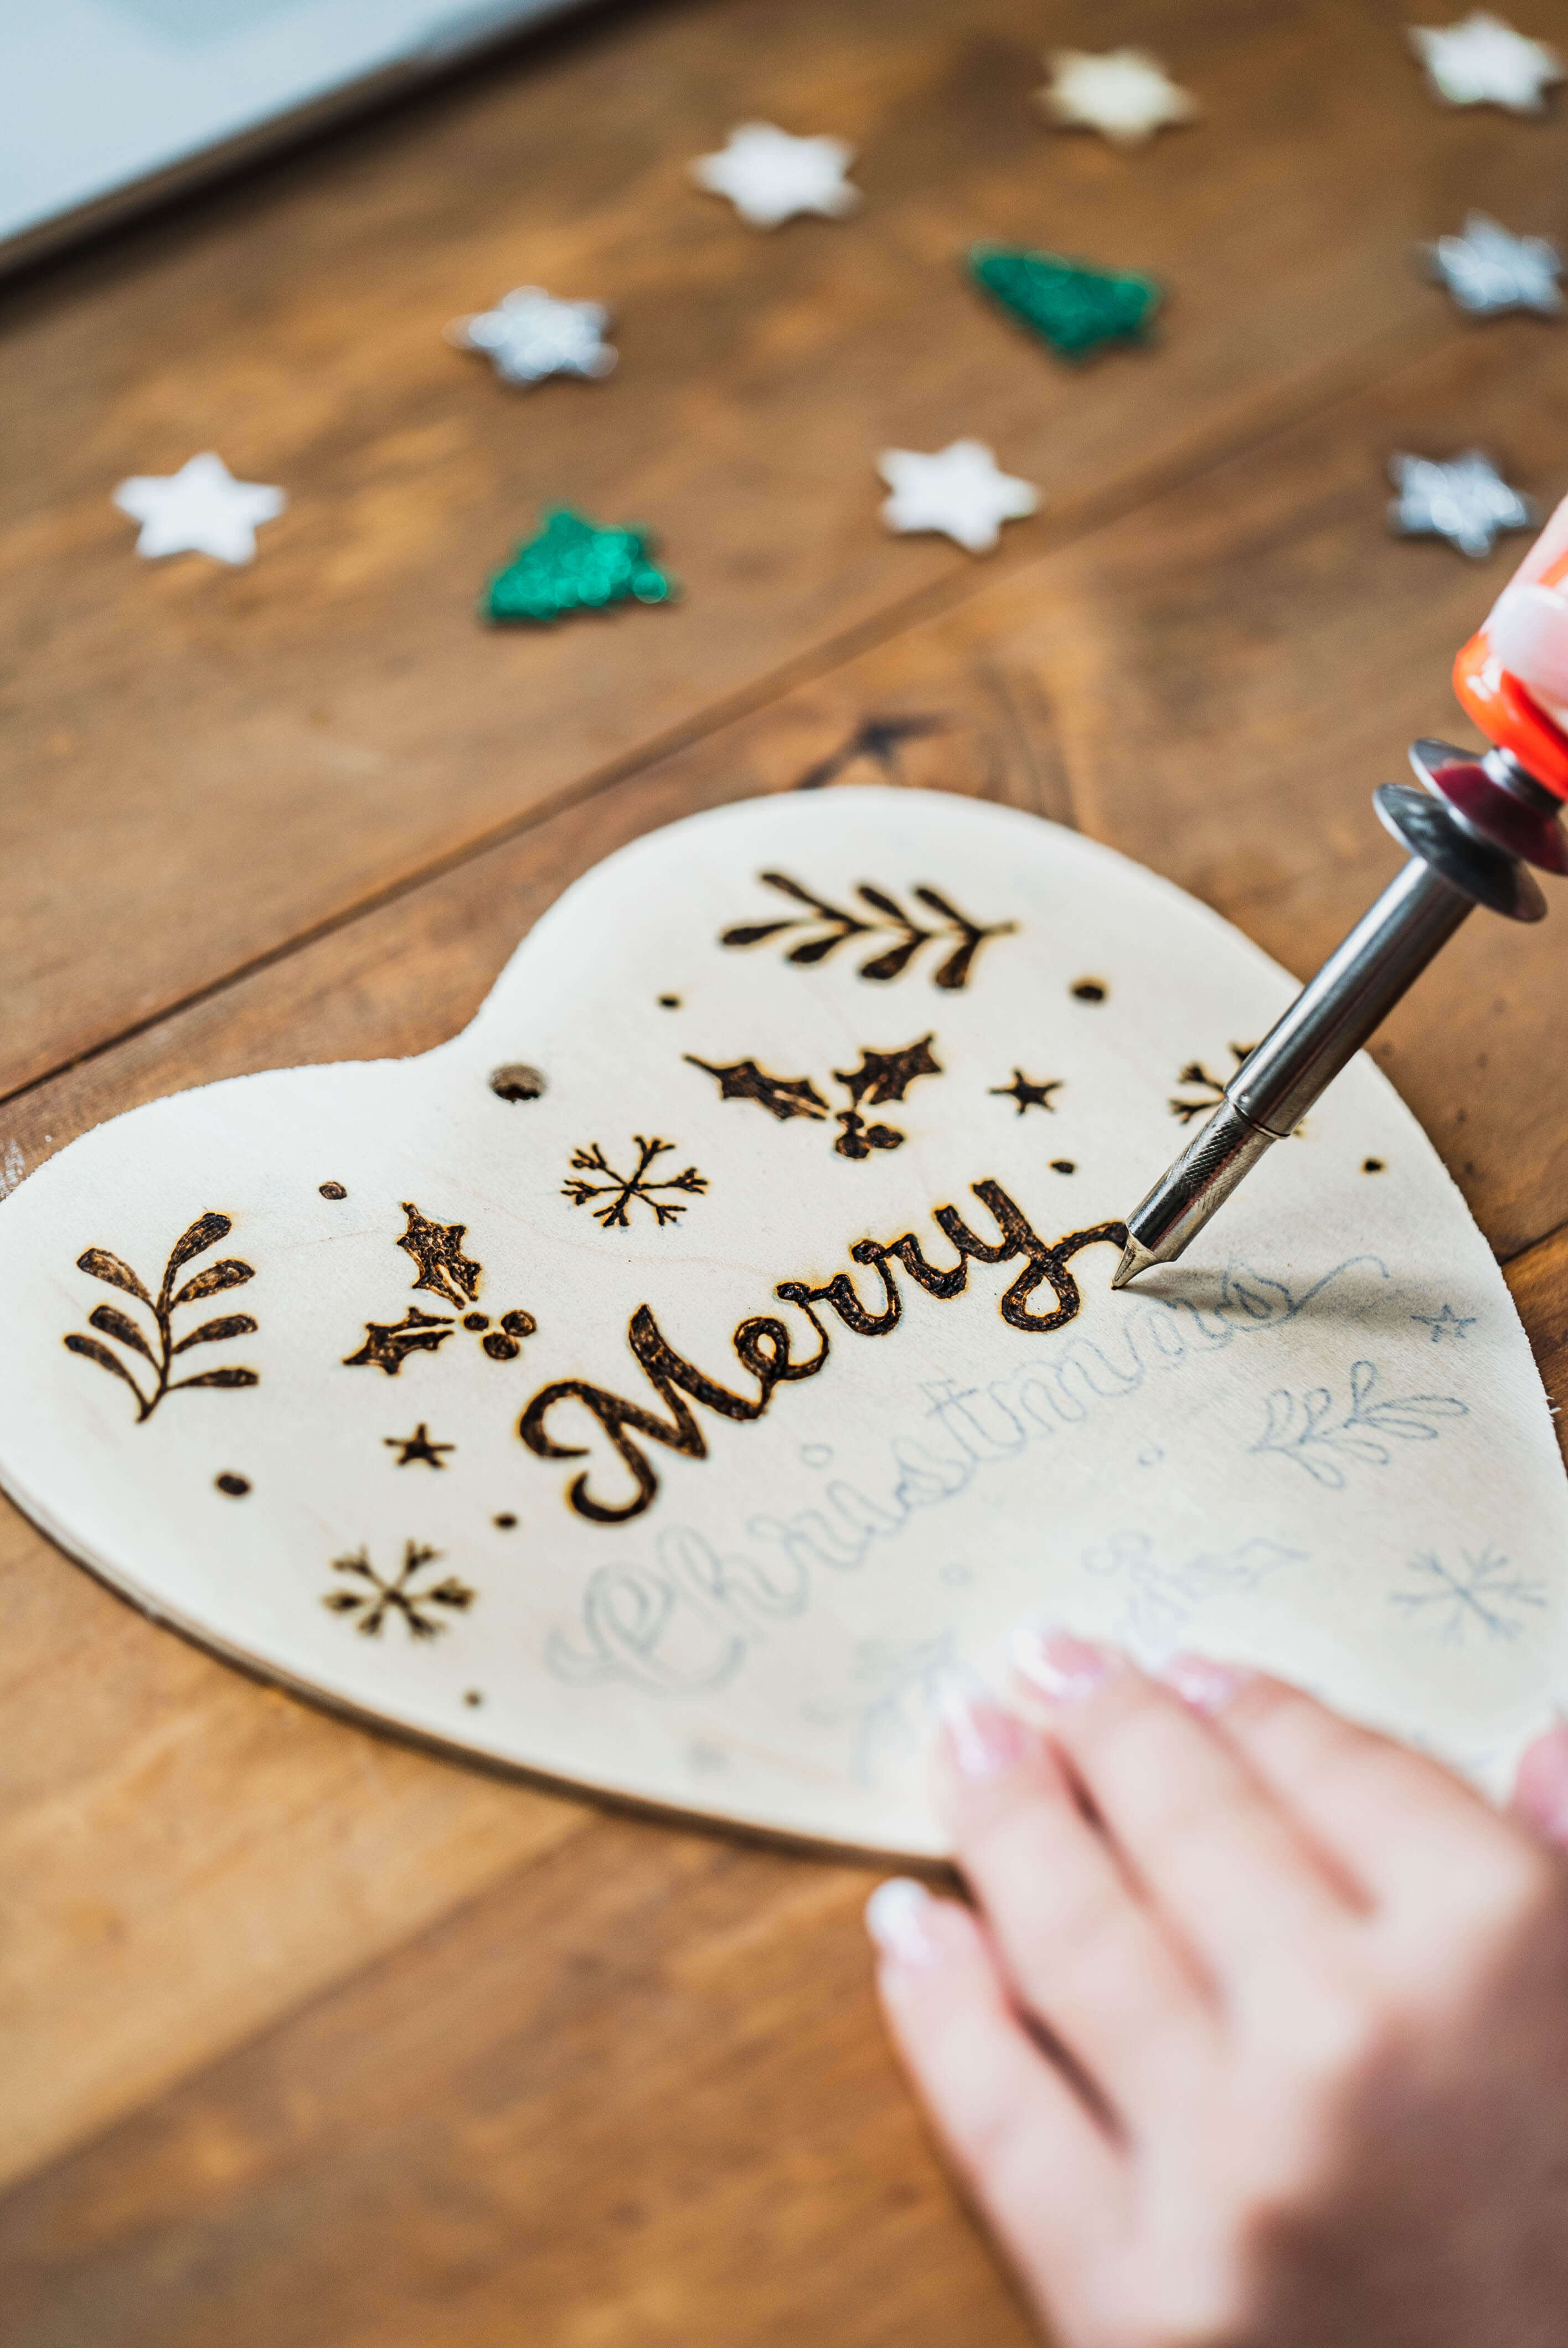
Once the artwork is transferred here comes the fun part, burning! Attach a tip to your pen, turn the heat up, and let it heat up for about 5 minutes. When you have a nicely heated pen, the next step is to start tracing your image. Take your time, let the pen sit on the wood for a second to burn it in. The outline doesn’t have to be perfect, but try to keep it close. After making the outline, fill the artwork to complete the design.
Step 5
FINAL TOUCHES
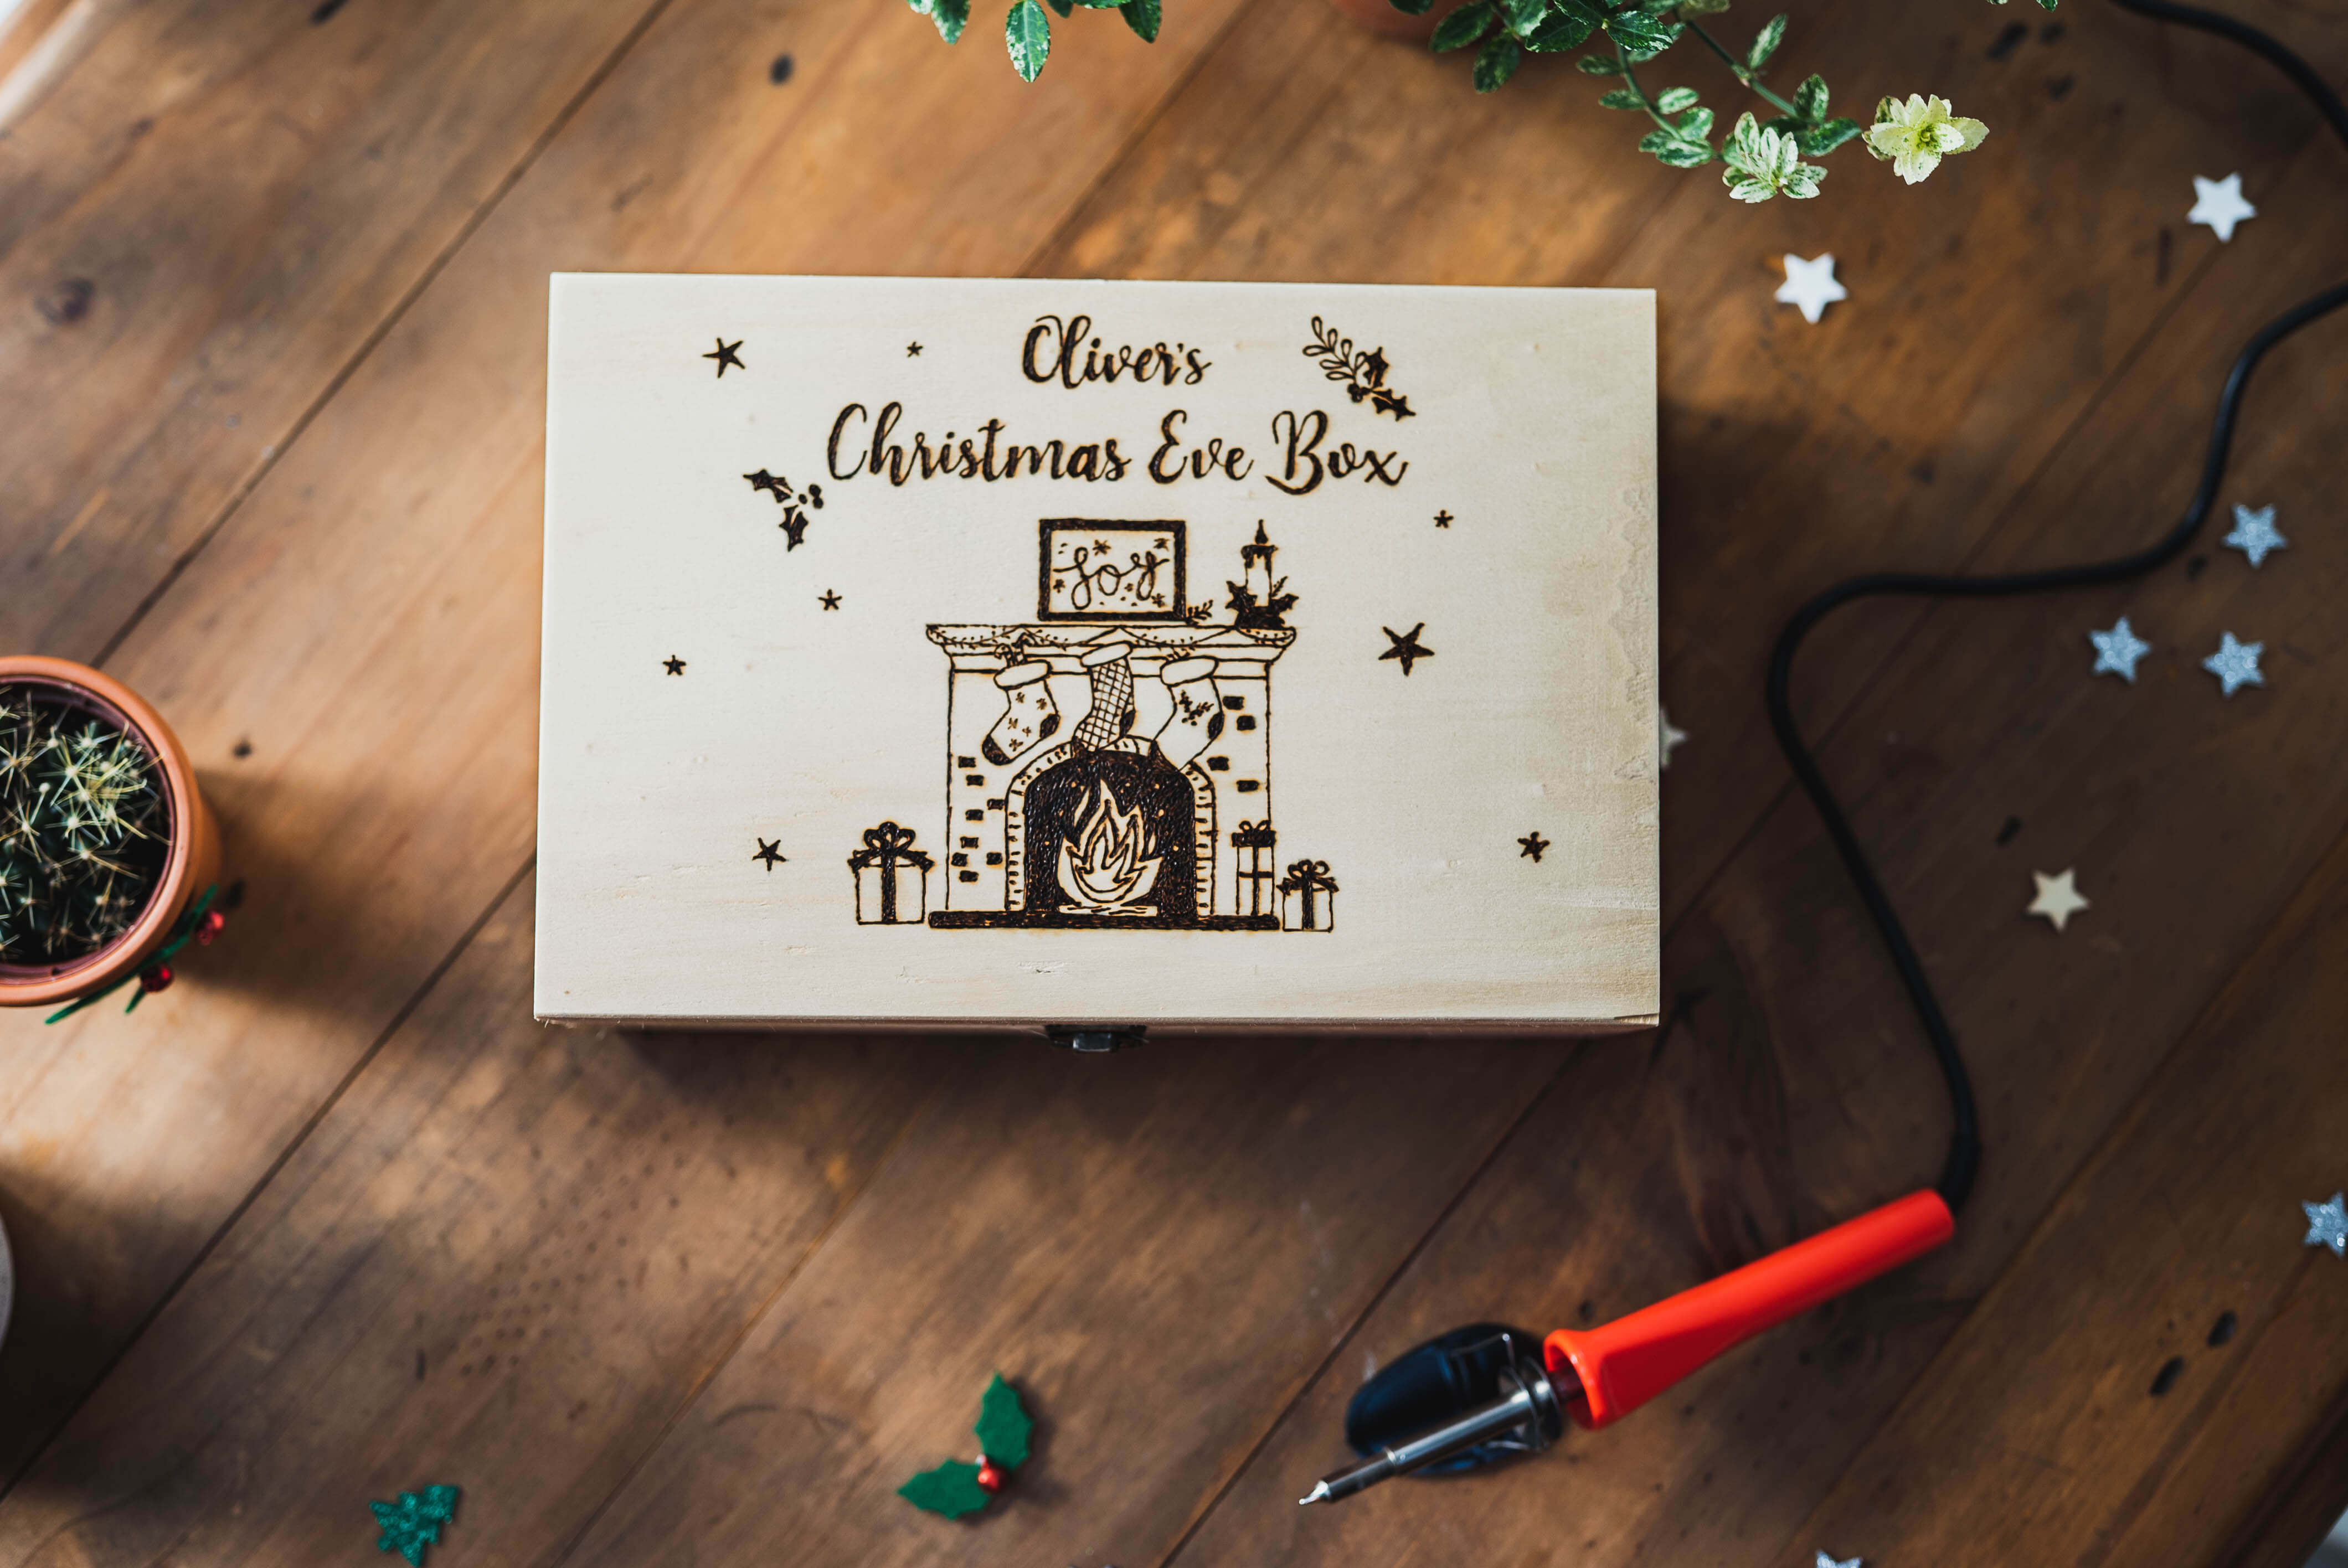
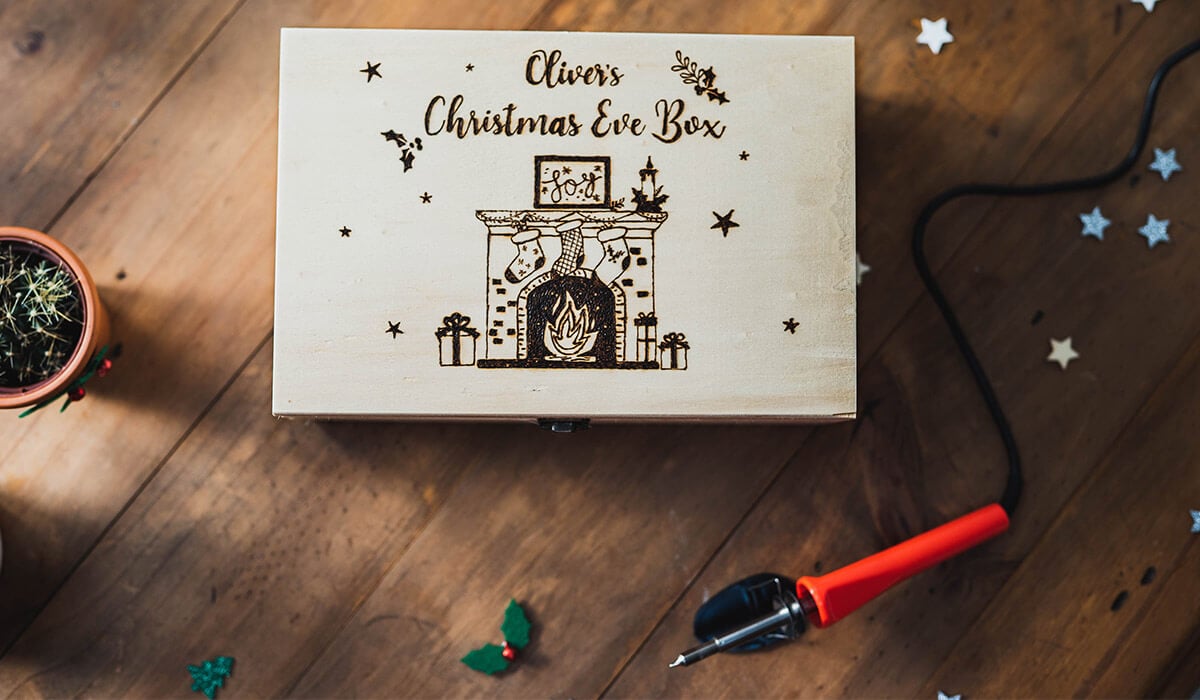
After the wooden box is completed you may wish to paint it with a clear varnish or fill the artwork with a coloured paint.