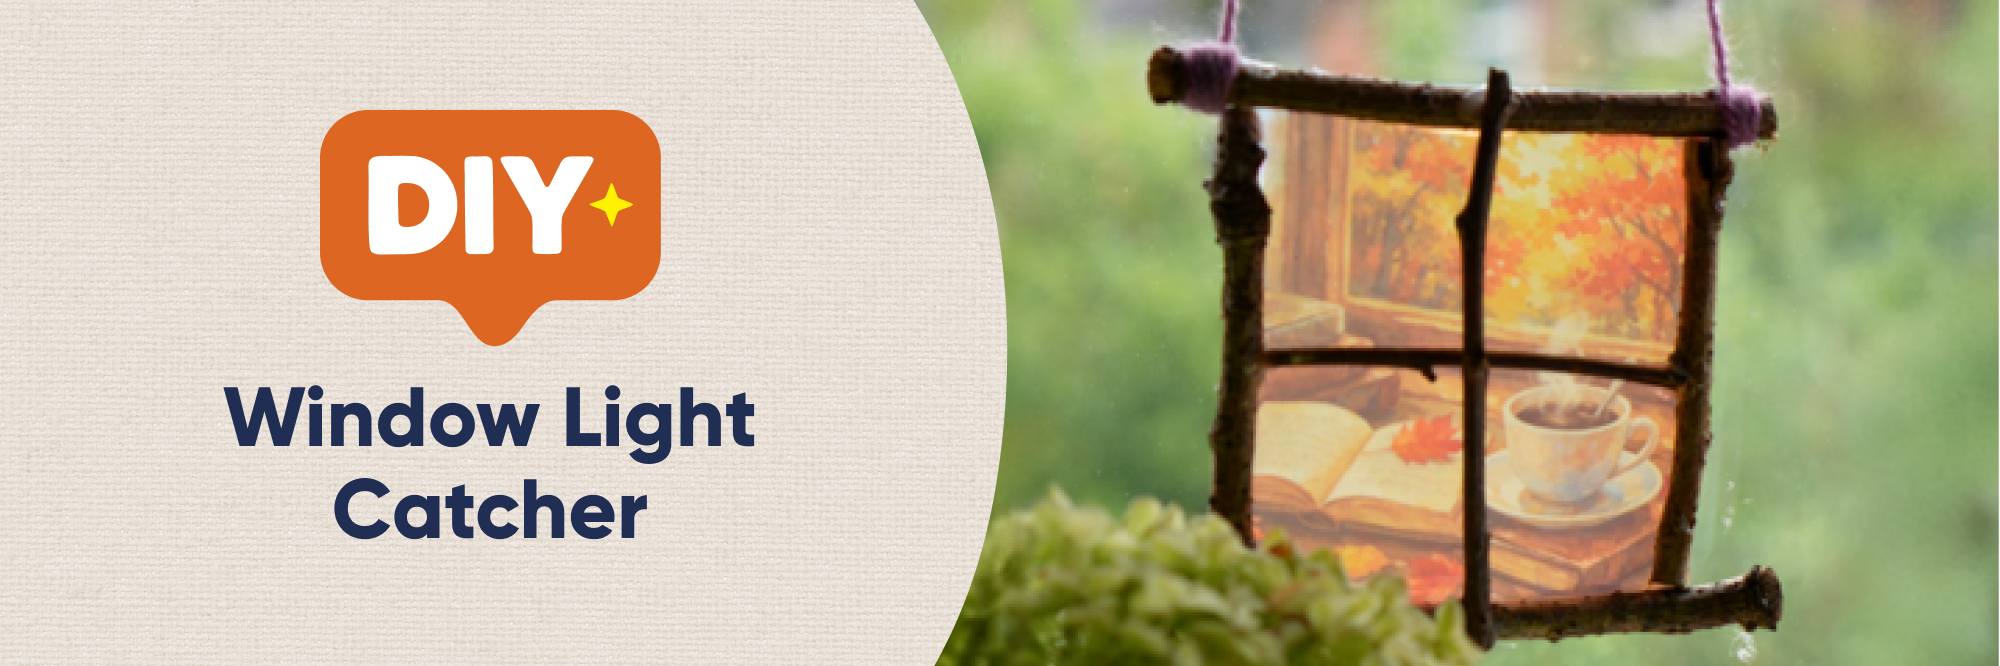
Bring a little autumn colour into your home with this simple diy window light catcher. Made using clear packaging from the recycling, cosy seasonal stickers and twigs collected on an autumn walk, it looks especially lovely when the low afternoon sunlight shines through it.
Each light catcher will be slightly different depending on the sticker and natural materials you choose, making this a lovely way to celebrate the changing season.
What You'll Need:
- • An autumn window sticker
- • A piece of clean, clear plastic packaging
- • Clear-drying glue, if required
- • Small, dry twigs
- • Scissors
- • Secateurs or strong scissors for trimming the twigs
- • A glue gun
- • Twine or wool
- • A ruler, optional
Children should be supervised when cutting the plastic or twigs and when using a glue gun.
How to Make Your Autumn Window Light Catcher
Step 1: Prepare the Plastic Backing
Begin by choosing your autumn window sticker. Place it over your clear plastic packaging and mark out a square or rectangle that is slightly larger than the sticker.
Step 2: Clean and Dry the Packaging
Clear fruit packaging works perfectly for this project. I used the base from a blueberry punnet. Make sure the packaging has been thoroughly washed and dried before you begin.
Step 3: Cut Out the Shape
Carefully cut out the plastic shape, trimming away any sharp or uneven edges.
Step 4: Attach the Sticker
Attach the window sticker to the clear plastic. If your sticker has an adhesive backing, simply peel it away and smooth the sticker into place. If it is designed to cling to a window, use a small amount of clear-drying glue to secure it instead. Leave it to dry completely before continuing.
Step 5: Gather Natural Materials
Collect a few small twigs from your garden or during an autumn walk. If they are damp, bring them indoors and allow them to dry fully before using them.
Create the Twig Frame
Step 6: Arrange the Frame
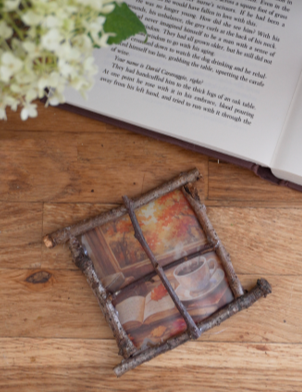
Arrange four twigs around the outside of the plastic to create a rustic frame. Trim each twig to fit, leaving the twig at the top slightly longer than the others. The ends need to extend beyond the sides of the frame so you can attach the hanger later.
Step 7: Glue the Twigs in Place
Before gluing anything down, lay all four twigs around the sticker and make any final adjustments. Once you are happy with the arrangement, carefully use a glue gun to attach each twig around the edge of the plastic.
Step 8: Add Windowpane Details (Optional)
You can leave your frame simple or add windowpanes using two thinner twigs. Place one vertically and one horizontally across the centre of the design, trimming them to fit inside the frame. Glue each twig securely into place.
Add a Hanging Loop
Step 9: Attach the Twine
Cut a length of twine or wool to make the hanger. Tie one end around each of the overhanging ends of the top twig and secure them with a double knot. If needed, add a small dot of glue over each knot to stop it from slipping.
Step 10: Display Your Light Catcher
Once all the glue is completely dry, your autumn window light catcher is ready to display. Hang it in a bright window and enjoy the warm autumn sunlight glowing through the seasonal design.
Why You'll Love This Autumn Craft
This autumn window light catcher is a simple way to combine natural materials, recycled packaging and seasonal creativity. Perfect for children and families, it's a wonderful autumn craft that encourages outdoor exploration while creating a beautiful handmade decoration for your home. Hang it in a sunny window and enjoy the colours of autumn shining through all season long.