There’s something irresistibly joyful about making tiny things — especially when they invite nature in. For our Make May Mindful campaign, we wanted a project that felt slow, colourful, screen‑free, and full of charm… the kind of make that lets you potter, paint, gather little treasures, and enjoy the simple pleasure of creating something with your hands. And who better to dream up such a delight than Clare Hooper, whose playful crafting spirit has a way of turning small ideas into tiny worlds.
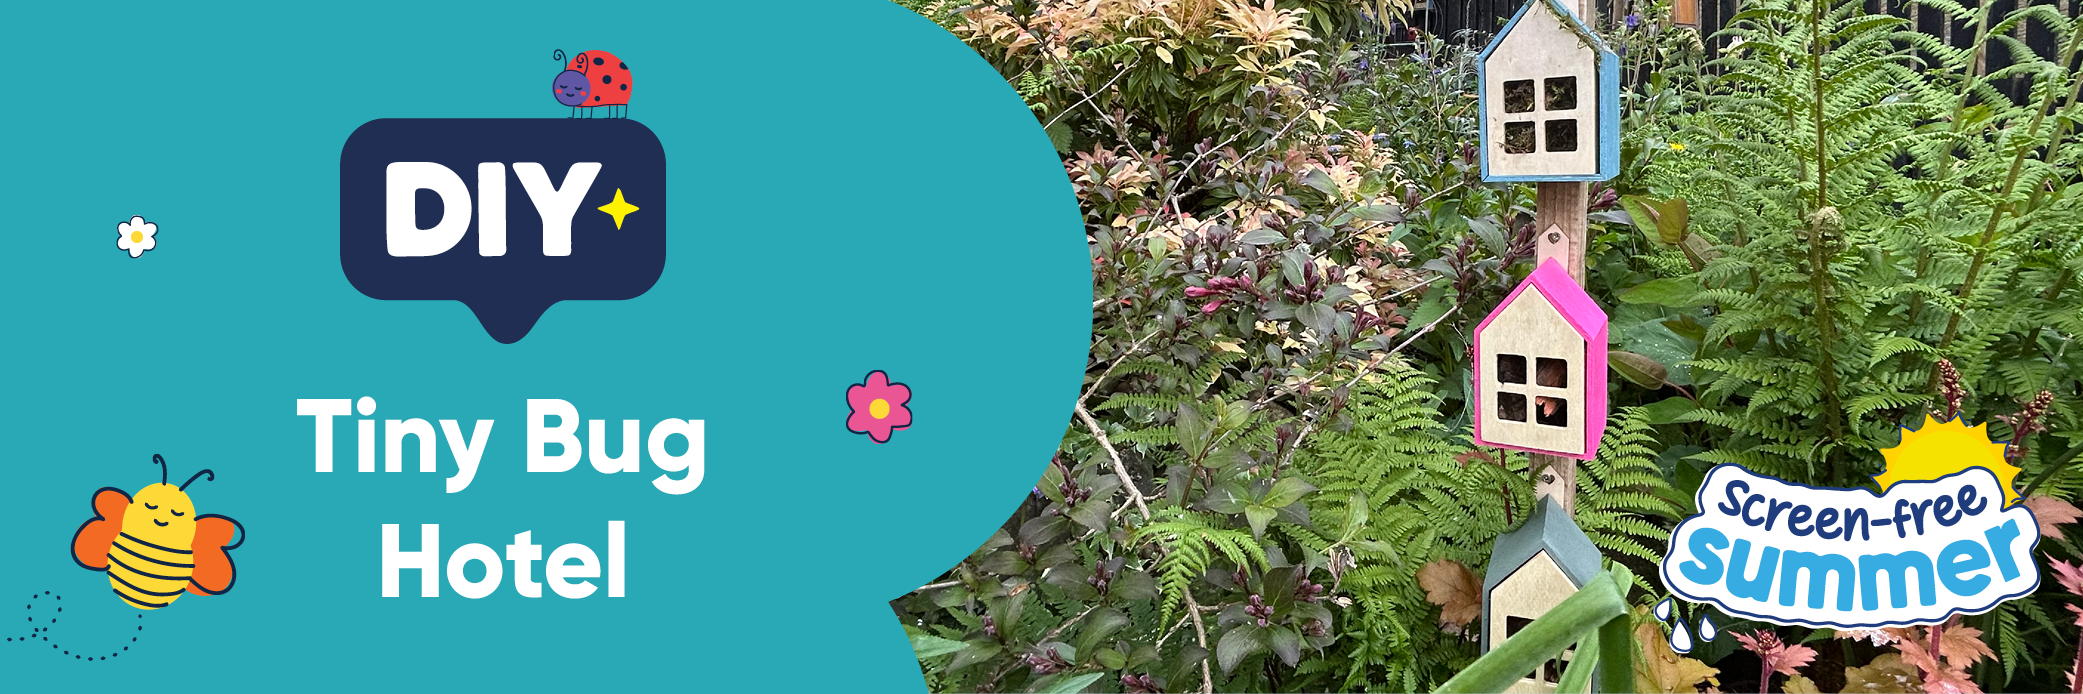
Tiny Bug Hotels
By Clare Hooper
When The Works invited me to create something for Mindful May, I knew I wanted to make something simple, colourful and properly joyful. Something you could spread out over a few days. Something you could do with your kids, your grandkids, your friends, or completely on your own with a cup of tea nearby.
And somehow, I ended up making a tiny street of bug hotels.
Now, technically, the easiest thing to do is always just pile up sticks, bark and leaves somewhere in the garden and let nature get on with it. That absolutely works. But I love this because it turns the whole thing into an activity. You get to paint, arrange, gather bits and bobs, make signs, and have a proper little go at creating something.
And honestly, The Works made this part very easy because they have so many little wooden houses and bits ready to personalise. I was completely spoiled for choice wandering round the craft section.
I love projects like this because there’s no right way to do them. You can paint them to suit your garden, make them bright and colourful, keep them natural, hang them up, pop them in a plant pot, or move them around until you find the perfect shady spot. Mine ended up looking like a tiny bug housing estate, which feels very on brand for me at the minute because I’m fully obsessed with what’s happening in the garden.
The best bit is just waiting to see what moves in...
You will need:
- Wooden mini houses
- Outdoor paint or garden paint
- Mineral oil, linseed oil or a bug-safe wood treatment
- Moss, bark, pinecones and other natural materials
- A stick or scrap wood for mounting
- Small screws
- Optional little hanging tags and tacks
- A white acrylic marker pen for signs and doodles
DIY Bug Hotel Instructions
I painted the little houses first and let them dry fully before lightly sealing the wood. I used mineral oil on the inside wood, but linseed oil or another non-toxic outdoor wood treatment would work too. The main thing is avoiding anything too harsh or chemical-heavy.


Once everything was dry, I filled each house with different natural materials. Moss, bark and pinecones are a really good starting point and create lots of cosy little gaps for insects to tuck themselves into.

Different materials may attract different visitors:
- Pinecones can attract lacewings
- Bark and moss are lovely for beetles and spiders
- Hollow stems are brilliant for solitary bees
But honestly, don’t overthink it too much. Start with what you can gather.
I attached mine to a piece of scrap wood using little screws, then added a sign at the top using leftover wood and a white acrylic marker pen. Completely unnecessary. Completely delightful.

Useful Tips
- Try to keep bug hotels somewhere sheltered so they don’t get too wet and soggy. The insects generally prefer dry little spaces where they won’t wobble about too much.
- If the weather is especially awful, you can move them temporarily or even make a tiny roof or umbrella for them.
Once something moves in, try not to disturb it too much, especially over winter. Then every so often, you can refresh the natural materials if they start breaking down.
- You can also seal the outside wood with an outdoor varnish or yacht varnish if you want them to last longer. Once fully dry and cured, it’ll be perfectly safe.
- Mostly though, this is just about having a go. Gathering things from the garden. Sitting down and making something with your hands. Adding a bit of colour. Creating a tiny safe place for whatever turns up.
Tiny Tenants Wanted!
Your tiny bug hotels are ready to head out into the garden — little bursts of colour and creativity waiting for curious visitors to move in. It’s the kind of make that feels like time well spent: slow, playful, screen‑free, and full of small delights. Whether you tuck them into plant pots, perch them on shelves, or build a whole miniature neighbourhood, each one carries a bit of joy from the moment you painted it.
If you’re in the mood for more gentle making, wander over to our art and craft ideas or explore more nature craft ideas to keep the calm, colourful creativity going.


