How to make - instructions:
1. Begin by drawing a template onto spare white paper with a pencil. Sketch a tag shape measuring about 4.5 cm wide and 8 cm tall.

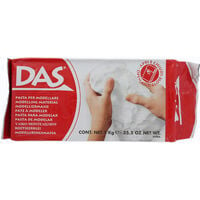
2. Cover the tag template with a sheet of acetate. Open the packet of air dry clay and remove a piece of clay about the size of a conker. Roughly spread the clay within the tag shape.

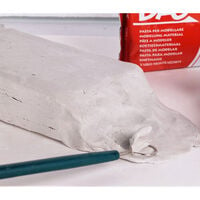
3. Use the acrylic roller to flatten out the clay over the template outline. Use a smaller spare piece of acetate to place over the clay and gently rub the surface. Remove the acetate for a smooth finish to the clay.

4. Use a flat ended tool to scrape away all the excess clay around the template outline.

5. Next, place a small plant cutting (such as rosemary) towards one side of the tag. Use the acetate sheet again over the tag, gently pressing the leaves into the clay creating an impression.

6. Remove the acetate, and carefully lift off the plant cutting to reveal the leafy impression. Gently press down the edges of the clay tag using a finger. The tag edges are left rough for a more natural look.

7. Create the hole for the tag by pressing down into the clay with the blunt ended tool and slowly rotating a little. Allow the tag to air dry.

8. Once the tag is completely dry, bend the acetate base to remove the tag. Neaten the tag hole by twisting in the pointed tool from the reverse side. Gently sand down the tag edges for a neat finish.

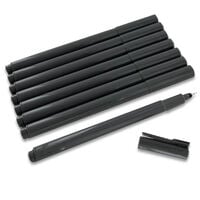
9. Personalise the tag with a hand written name using the 0.1mm pen. Cut a length of jute twine, to thread through the tag hole.

10. Create more clay tags using different plant cuttings and hand lettered names.

Craft Your Calm
And there you have it—your very own set of beautifully handmade clay nature tags! Whether you’re using them to label homegrown herbs, decorate a special gift, or simply add a little natural charm to your space, each tag tells a tiny story of the outdoors. With just a bit of air-dry clay, fresh greenery, and your personal touch, you've created something simple, stylish, and totally unique. Don’t be surprised if you find yourself reaching for the clay again—this is one craft that’s as soothing to make as it is lovely to look at. Happy crafting!
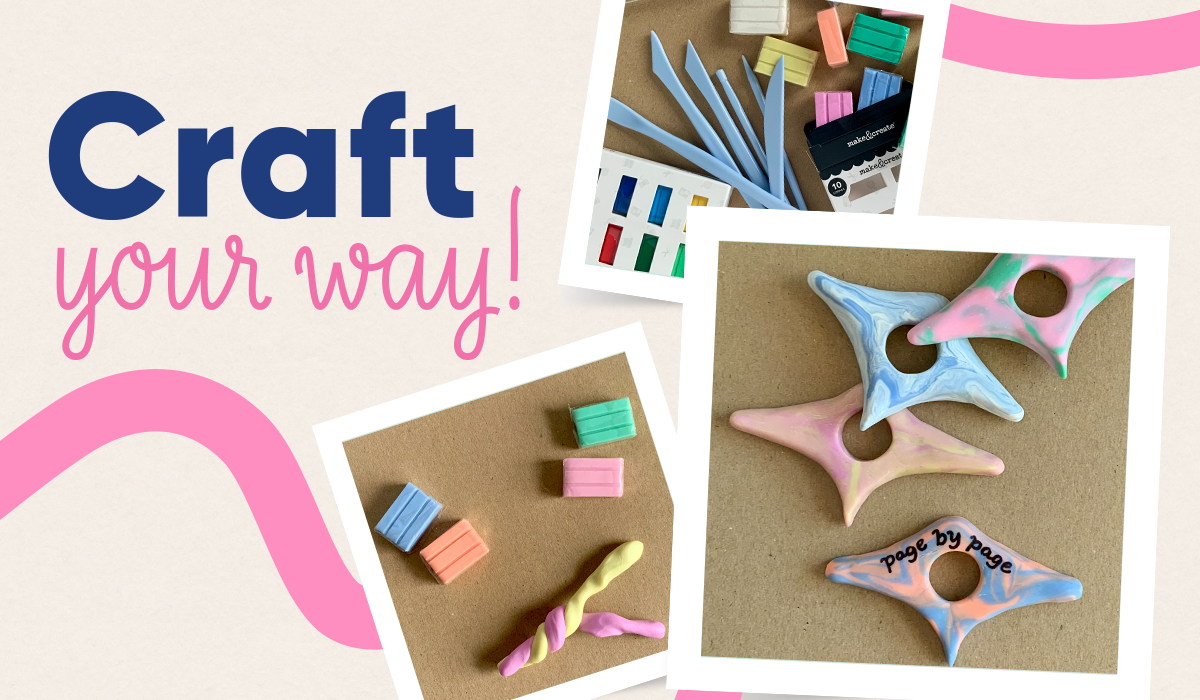
If you've got the bug for clay projects and want to try some more, why not follow our guide on how to make polymer clay book page holders.


