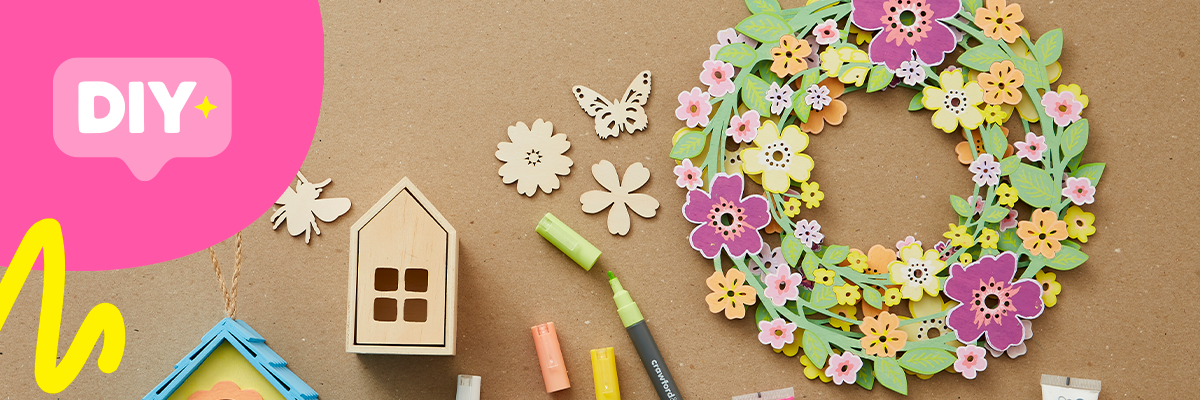
Whether you’re settling in for the evening, looking for a relaxing afternoon project, or after a fun weekend craft with friends, this easy diy painted flower wreath is a great way to get the creative juices flowing and to enjoy some down-time.
With stunning pastels, cheerful flowers, and just the right amount of whimsy, this step-by-step wreath painting tutorial will have you mixing paints, layering details, and creating a stunning handmade decoration that’s totally display-worthy.
So grab your paint and brushes and let’s turn those blank wooden wreaths into a blooming masterpiece!
1. Start by choosing and mixing the colours you would like to use on the wreath, we used seven in total:
- Green for the leaves and vines
- Light yellow, mid-yellow, purple, light purple, light orange and light pink for the flowers
2. Using the brushes included within the starter set, begin painting the leaves and vines on the wreath, making sure the edges are also painted.
3. Once the first layer of paint has dried, paint the same sections again. Once complete, leave to dry once more – two coats will provide an even coverage.
4. Then it’s time to start painting the flowers, using the same method as the leaves and vines, until the whole wreath has been painted.
5. Repeat the same process on the second wreath but change the colours the flowers are painted i.e. if you painted the largest flowers purple on one wreath, paint them yellow (or another colour of your choosing) on the second wreath.
6. Once the paint has dried on both wreaths, use complimentary paint markers to add further detail to the flowers and leaves, i.e. veins on the leaves and outlines to the flowers.
7. Once complete, decide which of the two wreaths you want to sit underneath and which one on top. Snip the hanging twine off the wreath that will sit underneath and apply a triple layer of foam pads, in various locations, to the back of the wreath that will sit on top. Add the pads to larger areas where they can be easily concealed. Foam pads can also be cut down to size for smaller areas.
8. Remove the adhesive backing from the foam pads, then hold the top wreath over the bottom one so they’re aligned, rotate the top wreath clockwise by 45 degrees, so the wreath is offset, and you can see hints of the bottom wreath underneath.
9. Your wreath is then ready to hang up and display in your home.
Top Tips:
- Create a swatch sheet for the paint colours being used on the wreaths; once dry this can be used to test the paint markers on to make sure you’re happy with how the colours work together before starting work on the final wreath/s.
- Wait for each layer of paint to dry before applying the next, this will eliminate unwanted brush marks and avoid paint colours bleeding into one another.
Let Your Creativity Bloom
Ready to let your creativity bloom? This easy DIY painted flower wreath tutorial is the perfect project for a relaxing afternoon or a fun weekend craft with friends. Using pastel paints, wooden floral wreaths, and a touch of whimsy, you’ll mix, layer, and decorate your way to a stunning handmade piece that’s bursting with springtime charm. Whether you're new to painting or a seasoned crafter, this floral wreath DIY is the perfect way to add a pop of colour and creativity to your home décor.
Create a unique clay photo frame and enjoy a fun, creative, and meaningful experience. Craft a handmade keepsake that turns your time into a lasting memory!
Have you ever wondered, "What exactly is acrylic paint?". Learn more about why Liquitex Acrylic paint is so versatile and perfect for both first-time artists and seasoned professionals.
Create a DIY family memory box to preserve treasured keepsakes, holiday snaps, and special moments. Follow our easy step-by-step guide to make a personalised keepsake your family will cherish forever!