How to make - instructions:
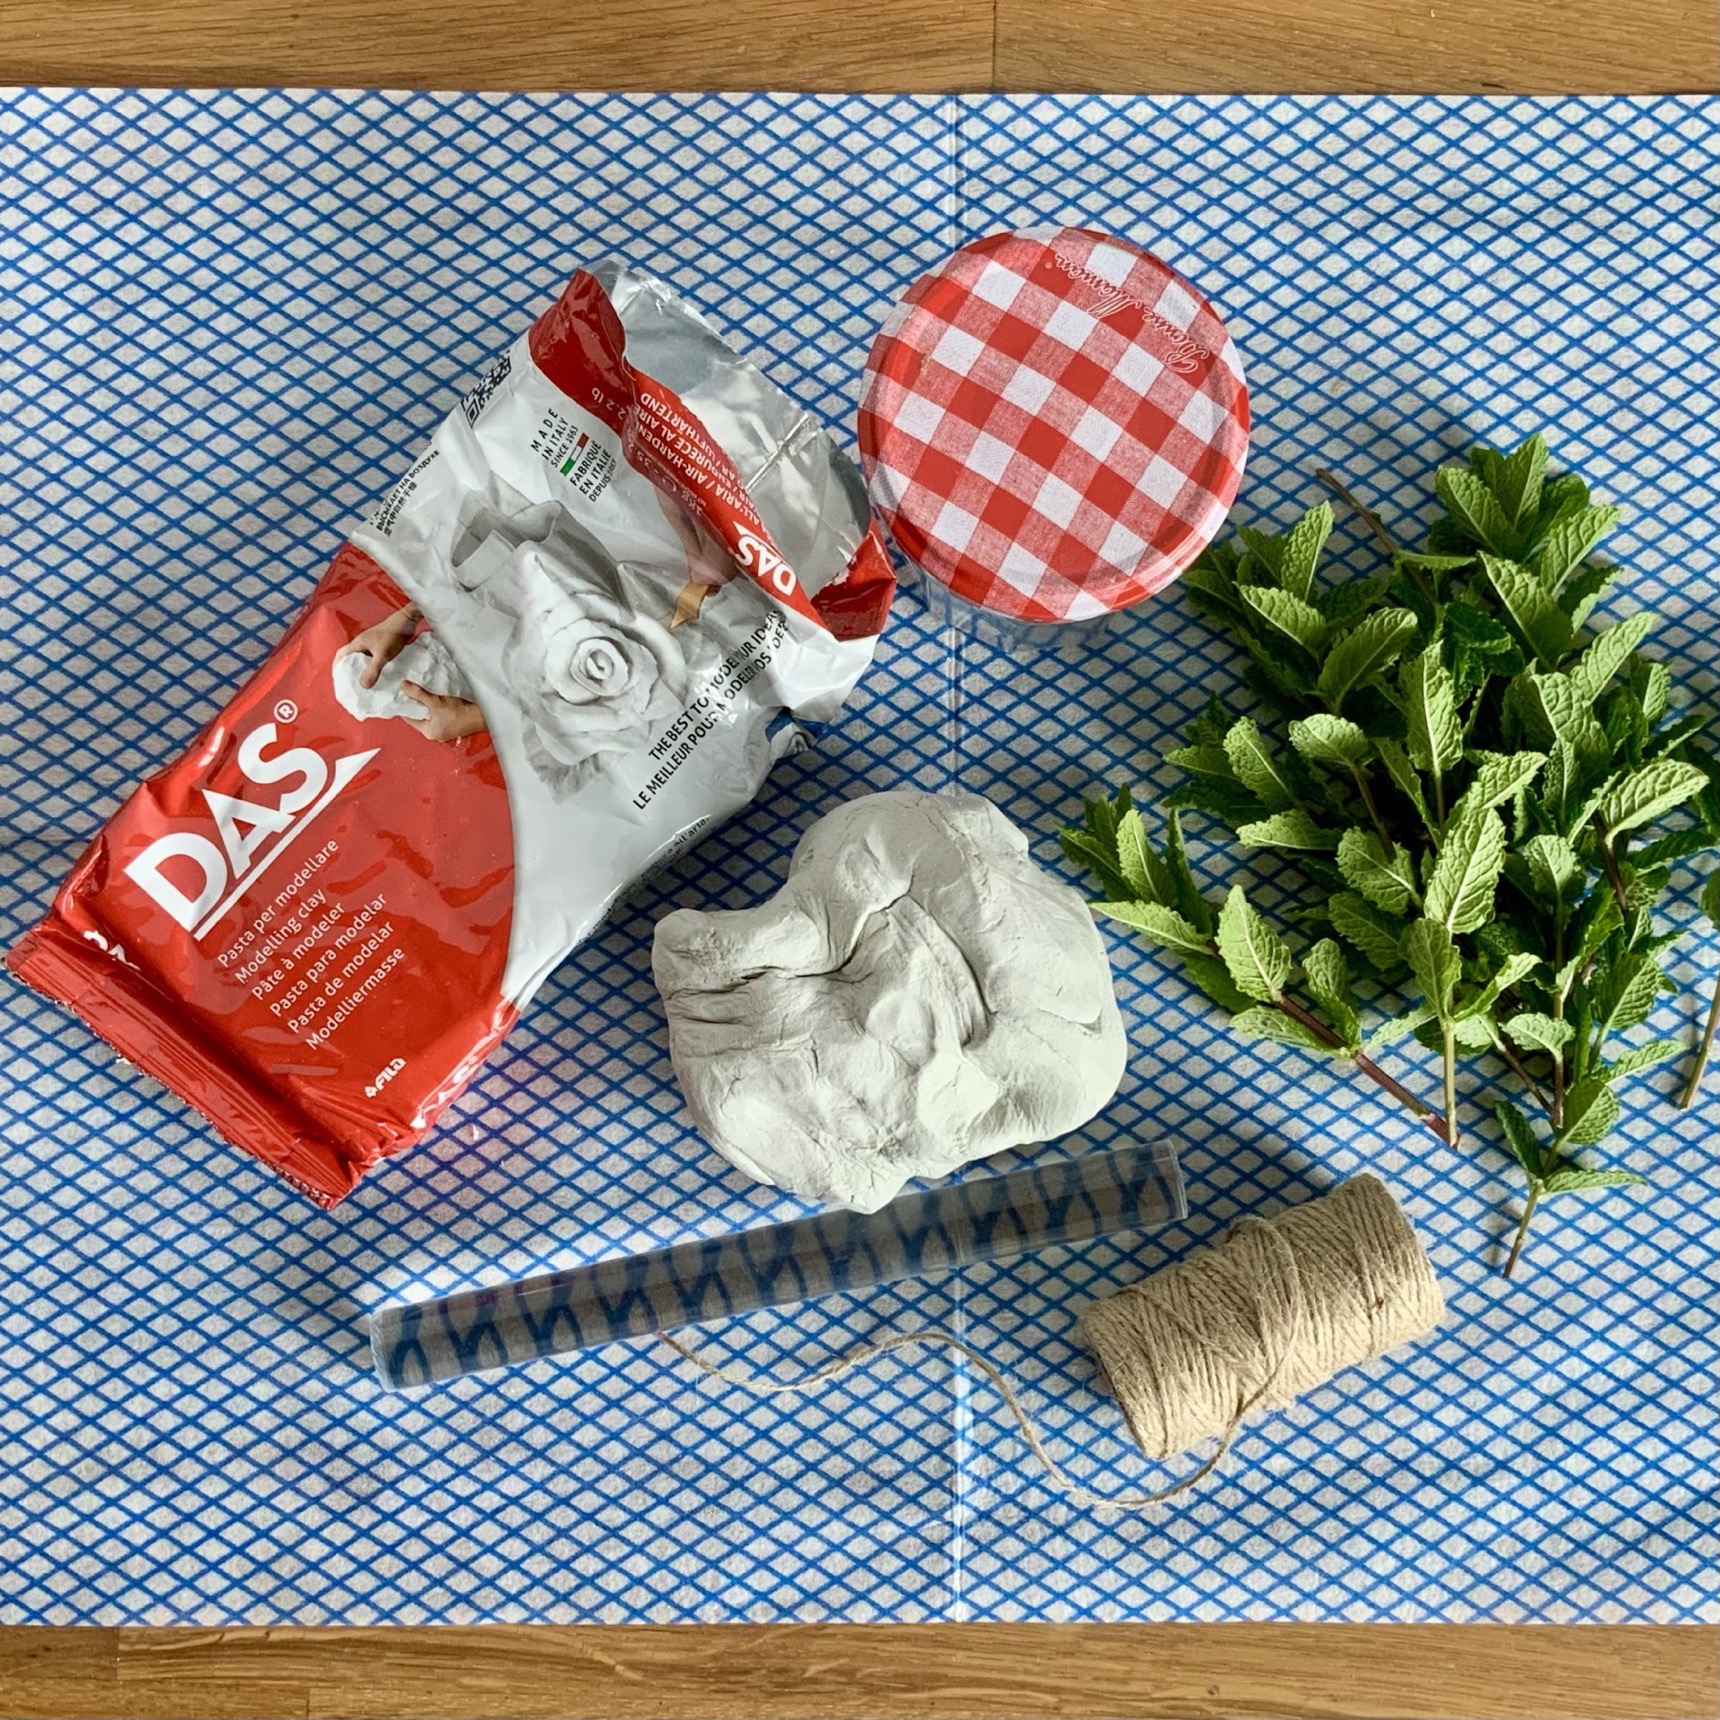
1. Begin by gathering all the materials. Cut open the DAS air dry clay and pull out about half of the total amount.
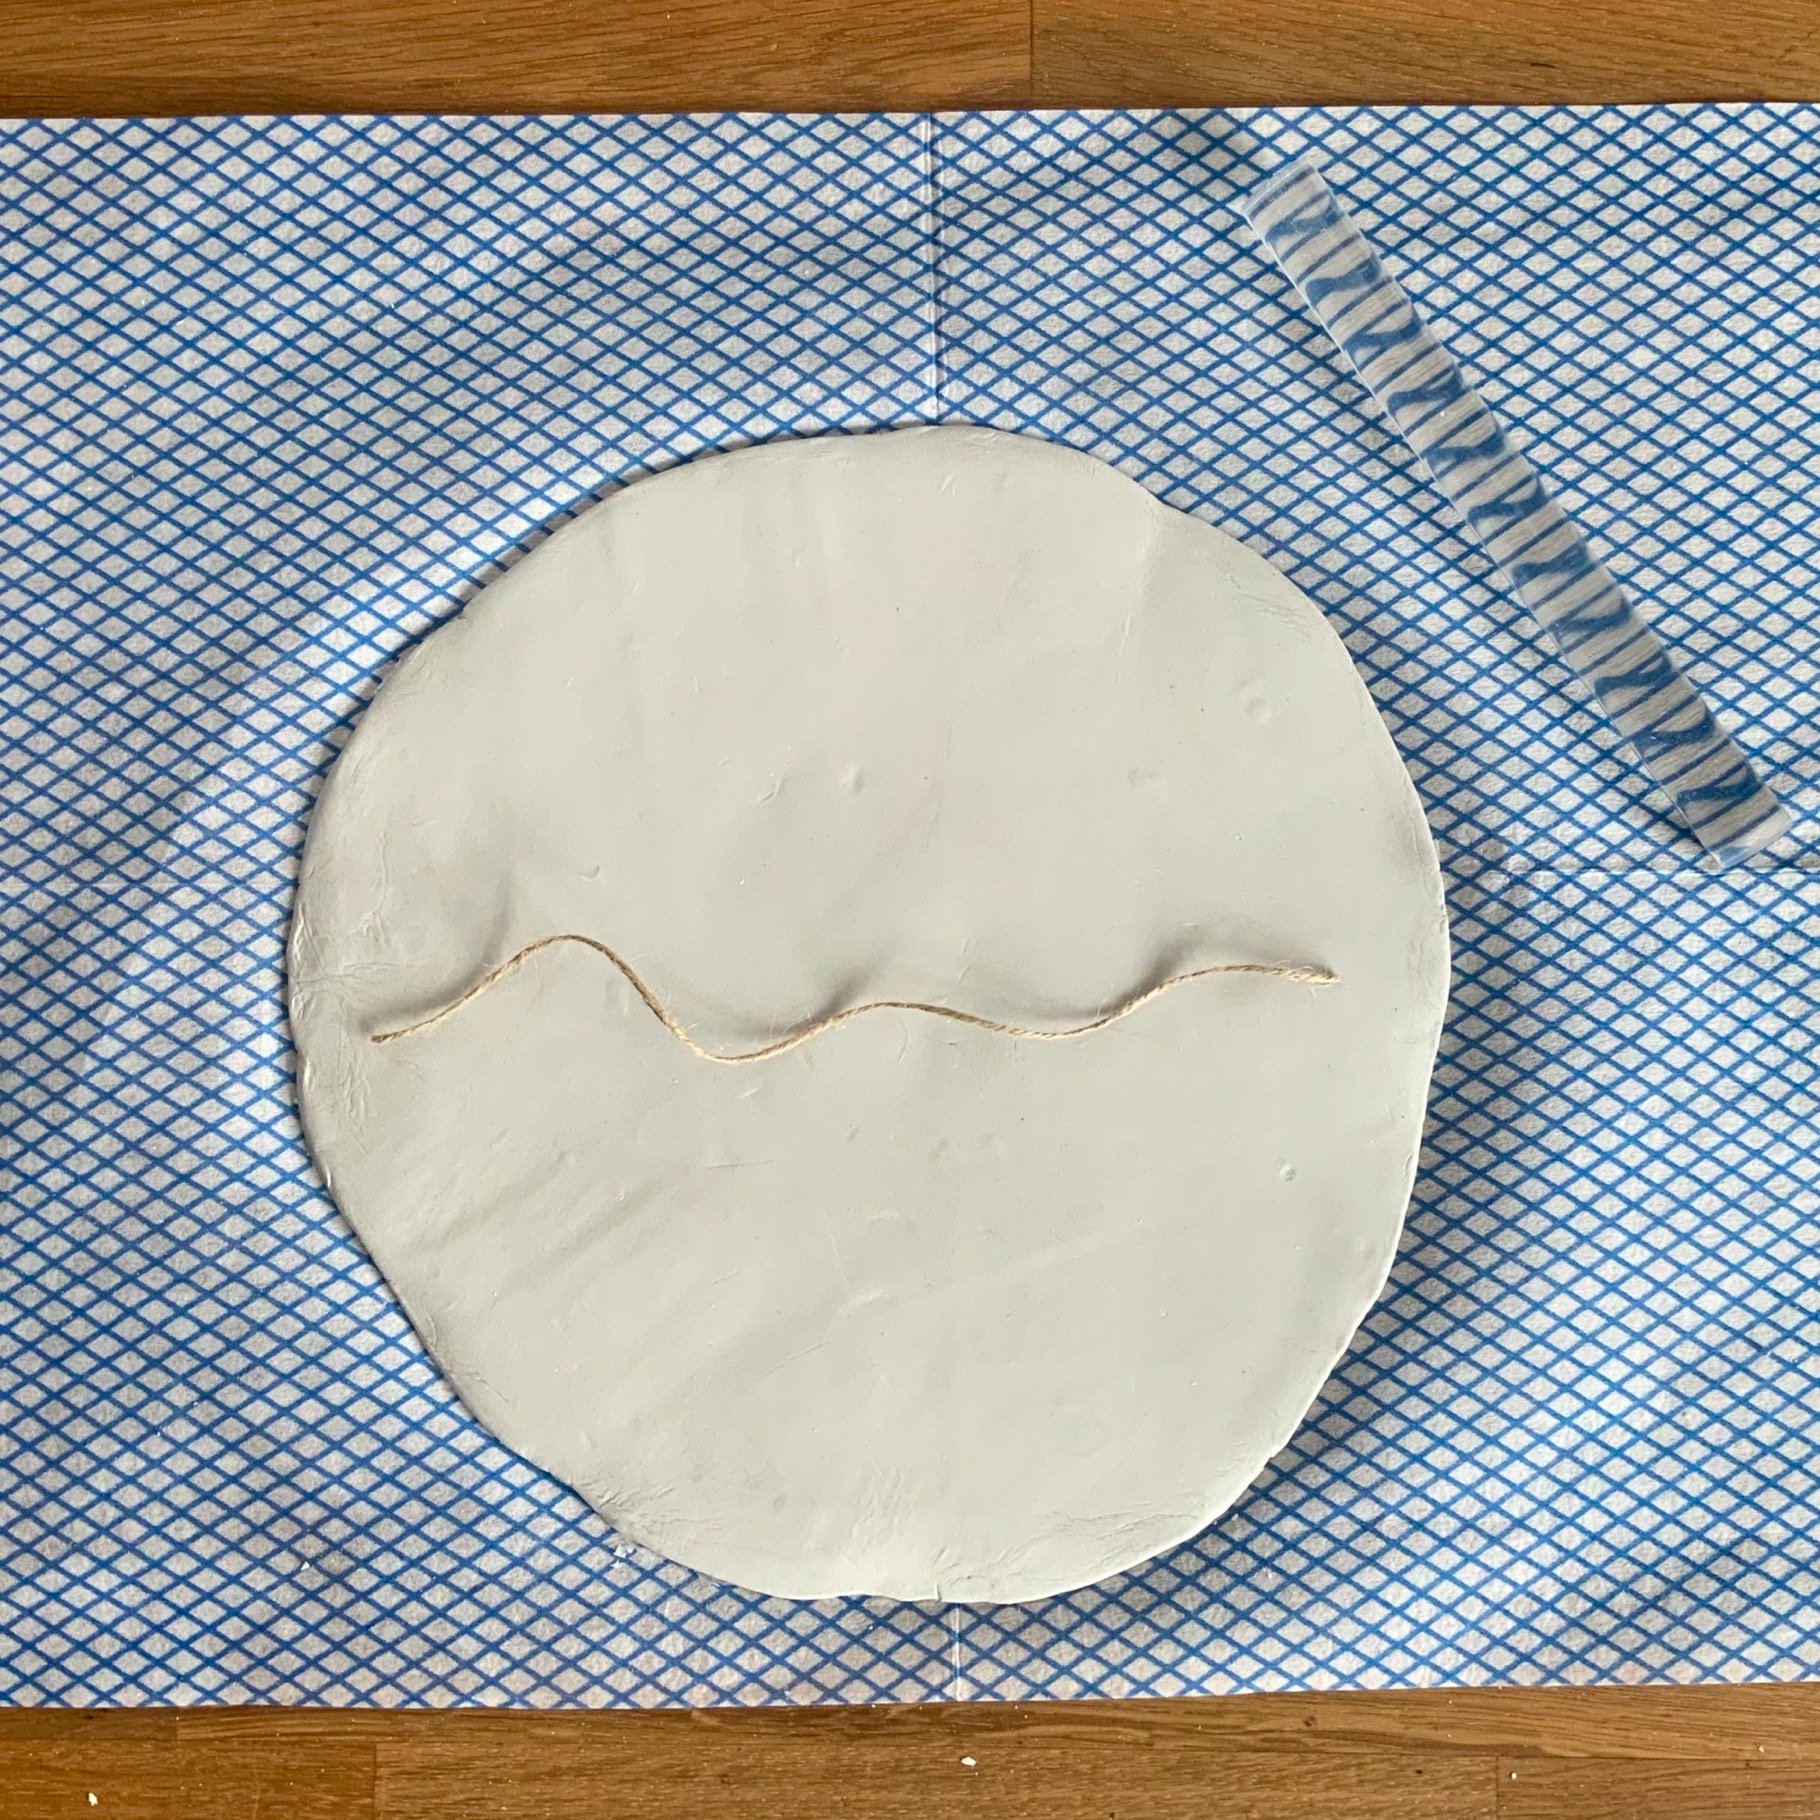
2. Cut a length of jute twine that measures up and over both sides of the jam jar. Flatten out the clay over the blue cleaning cloth, with a sheet of acetate underneath to project the work surface. Use the acrylic roller to roll out the clay evenly to a circle shape. Use the length of twine as a guide for the diameter size of the finished circle.
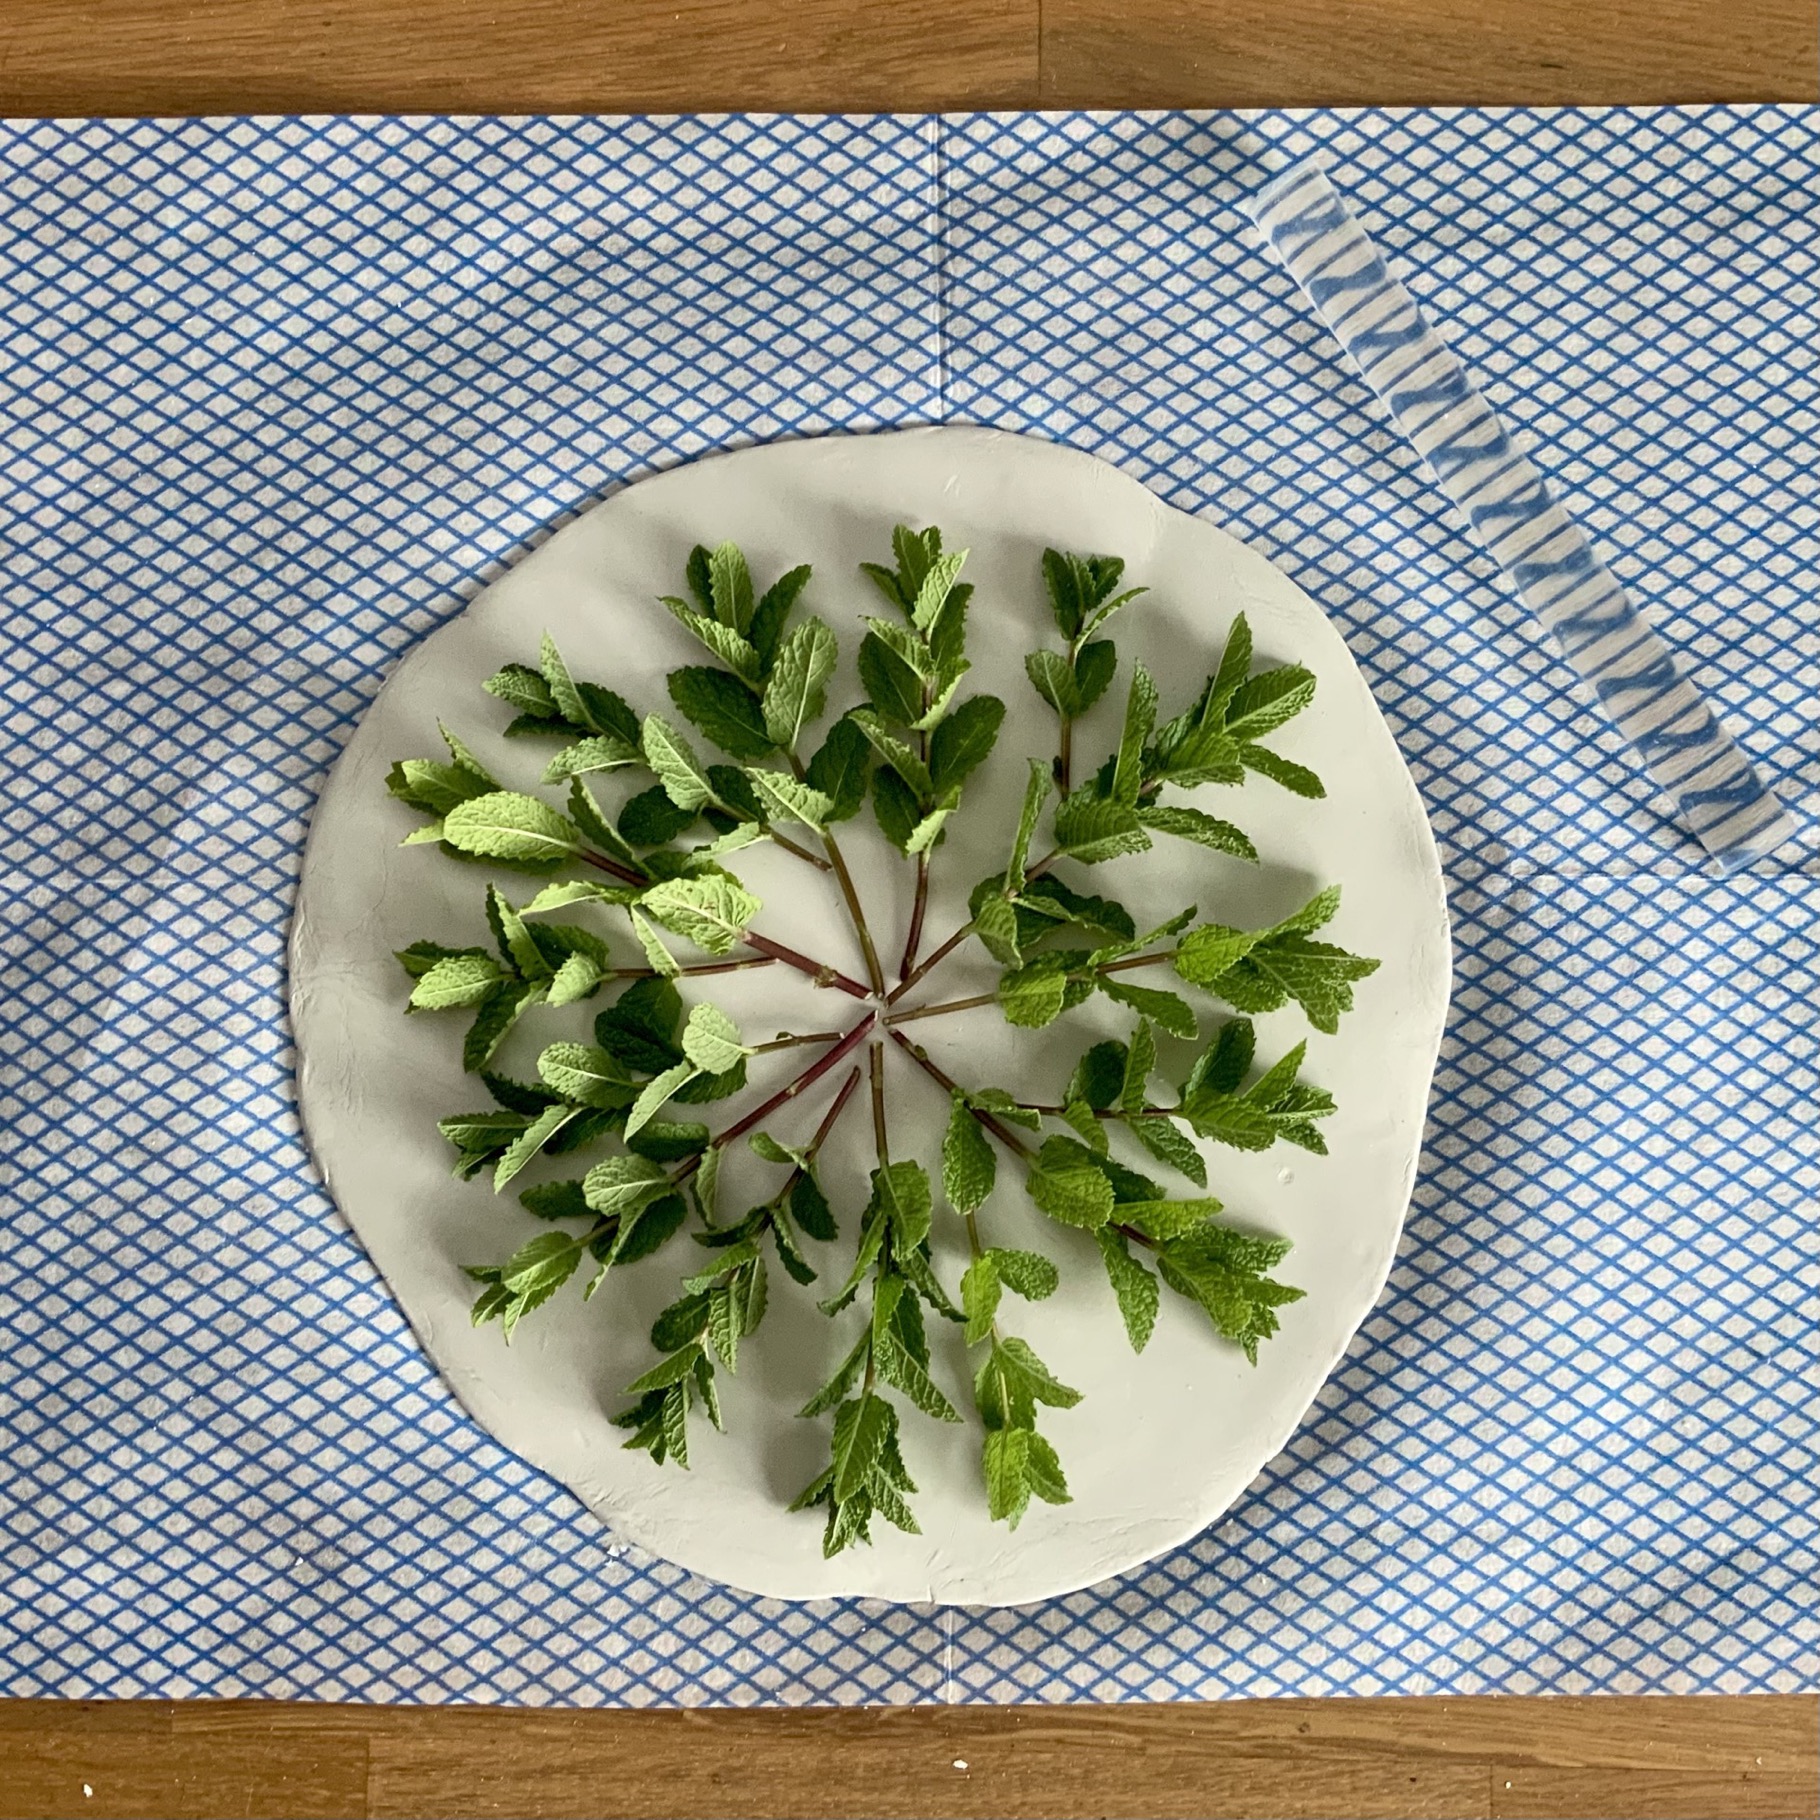
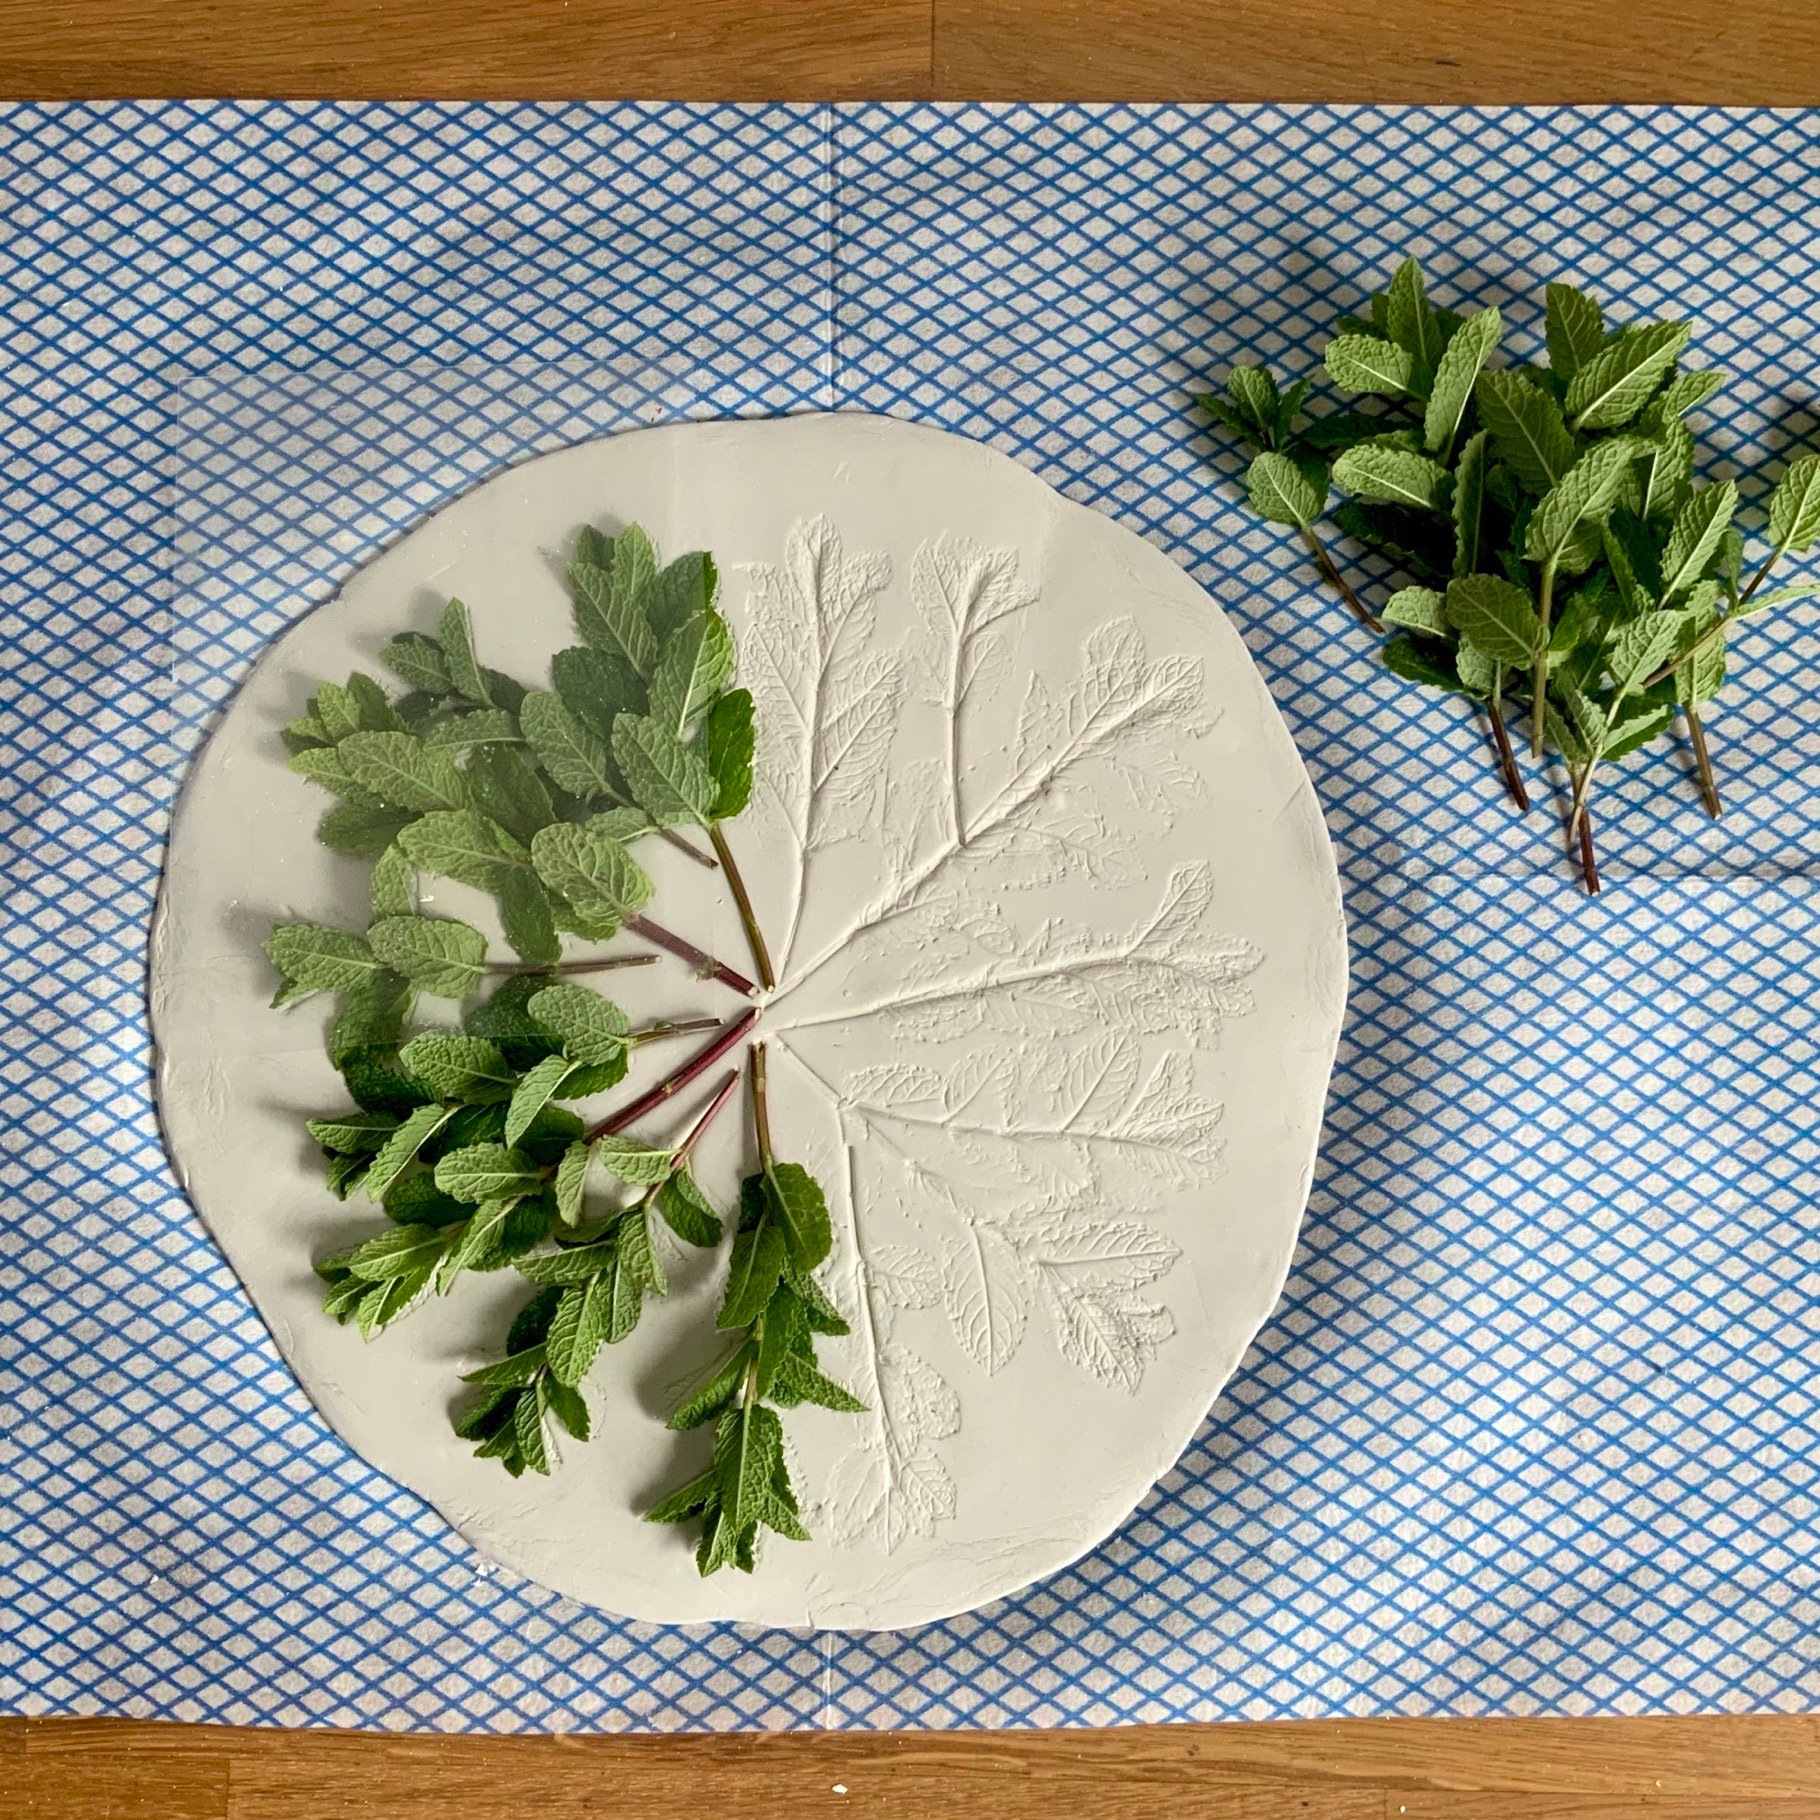
3. Carefully place snippets of a leafy plant or herb, such as mint, radiating out from a central point.
4. Use a small piece of acetate to gently rub over each plant, pressing it lightly into the clay. Lift off all of the plant snippets to reveal a leafy impression.
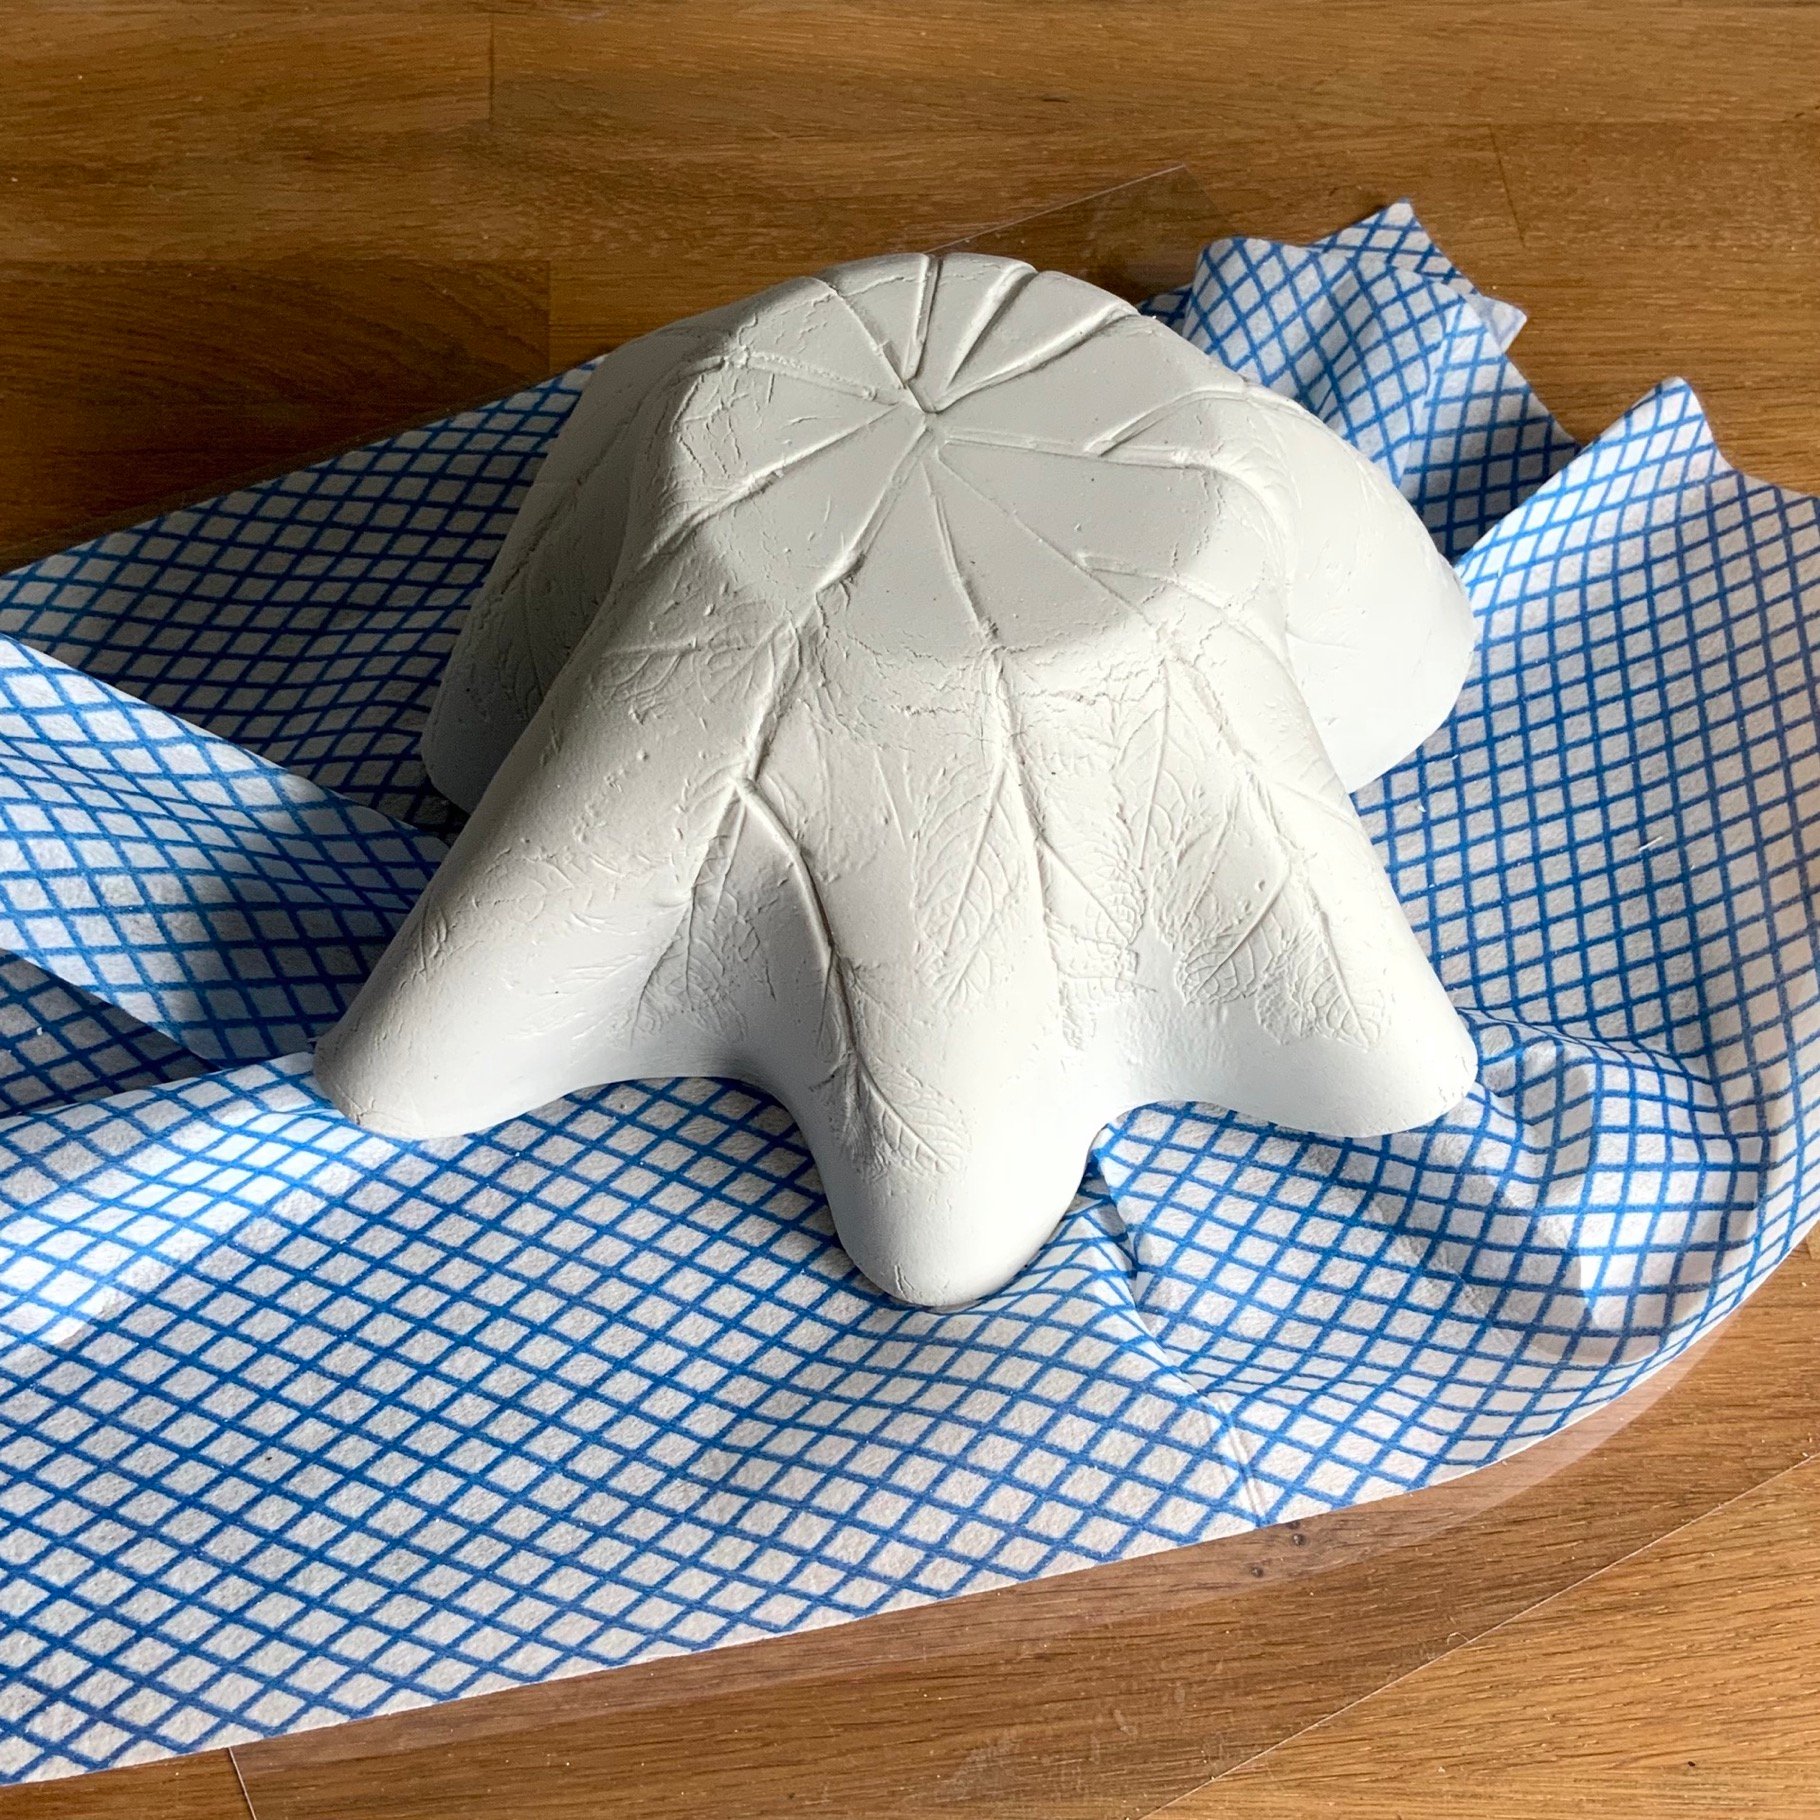
5. Carefully lift the clay circle on the blue cleaning cloth and drape it gently over the jam jar. Manipulate the folds of the clay to create fairly even fluted curves all the way round. Lightly press onto the top surface of the jam jar with a piece of acetate, creating a flat base to the pen holder. Allow to completely dry overnight.
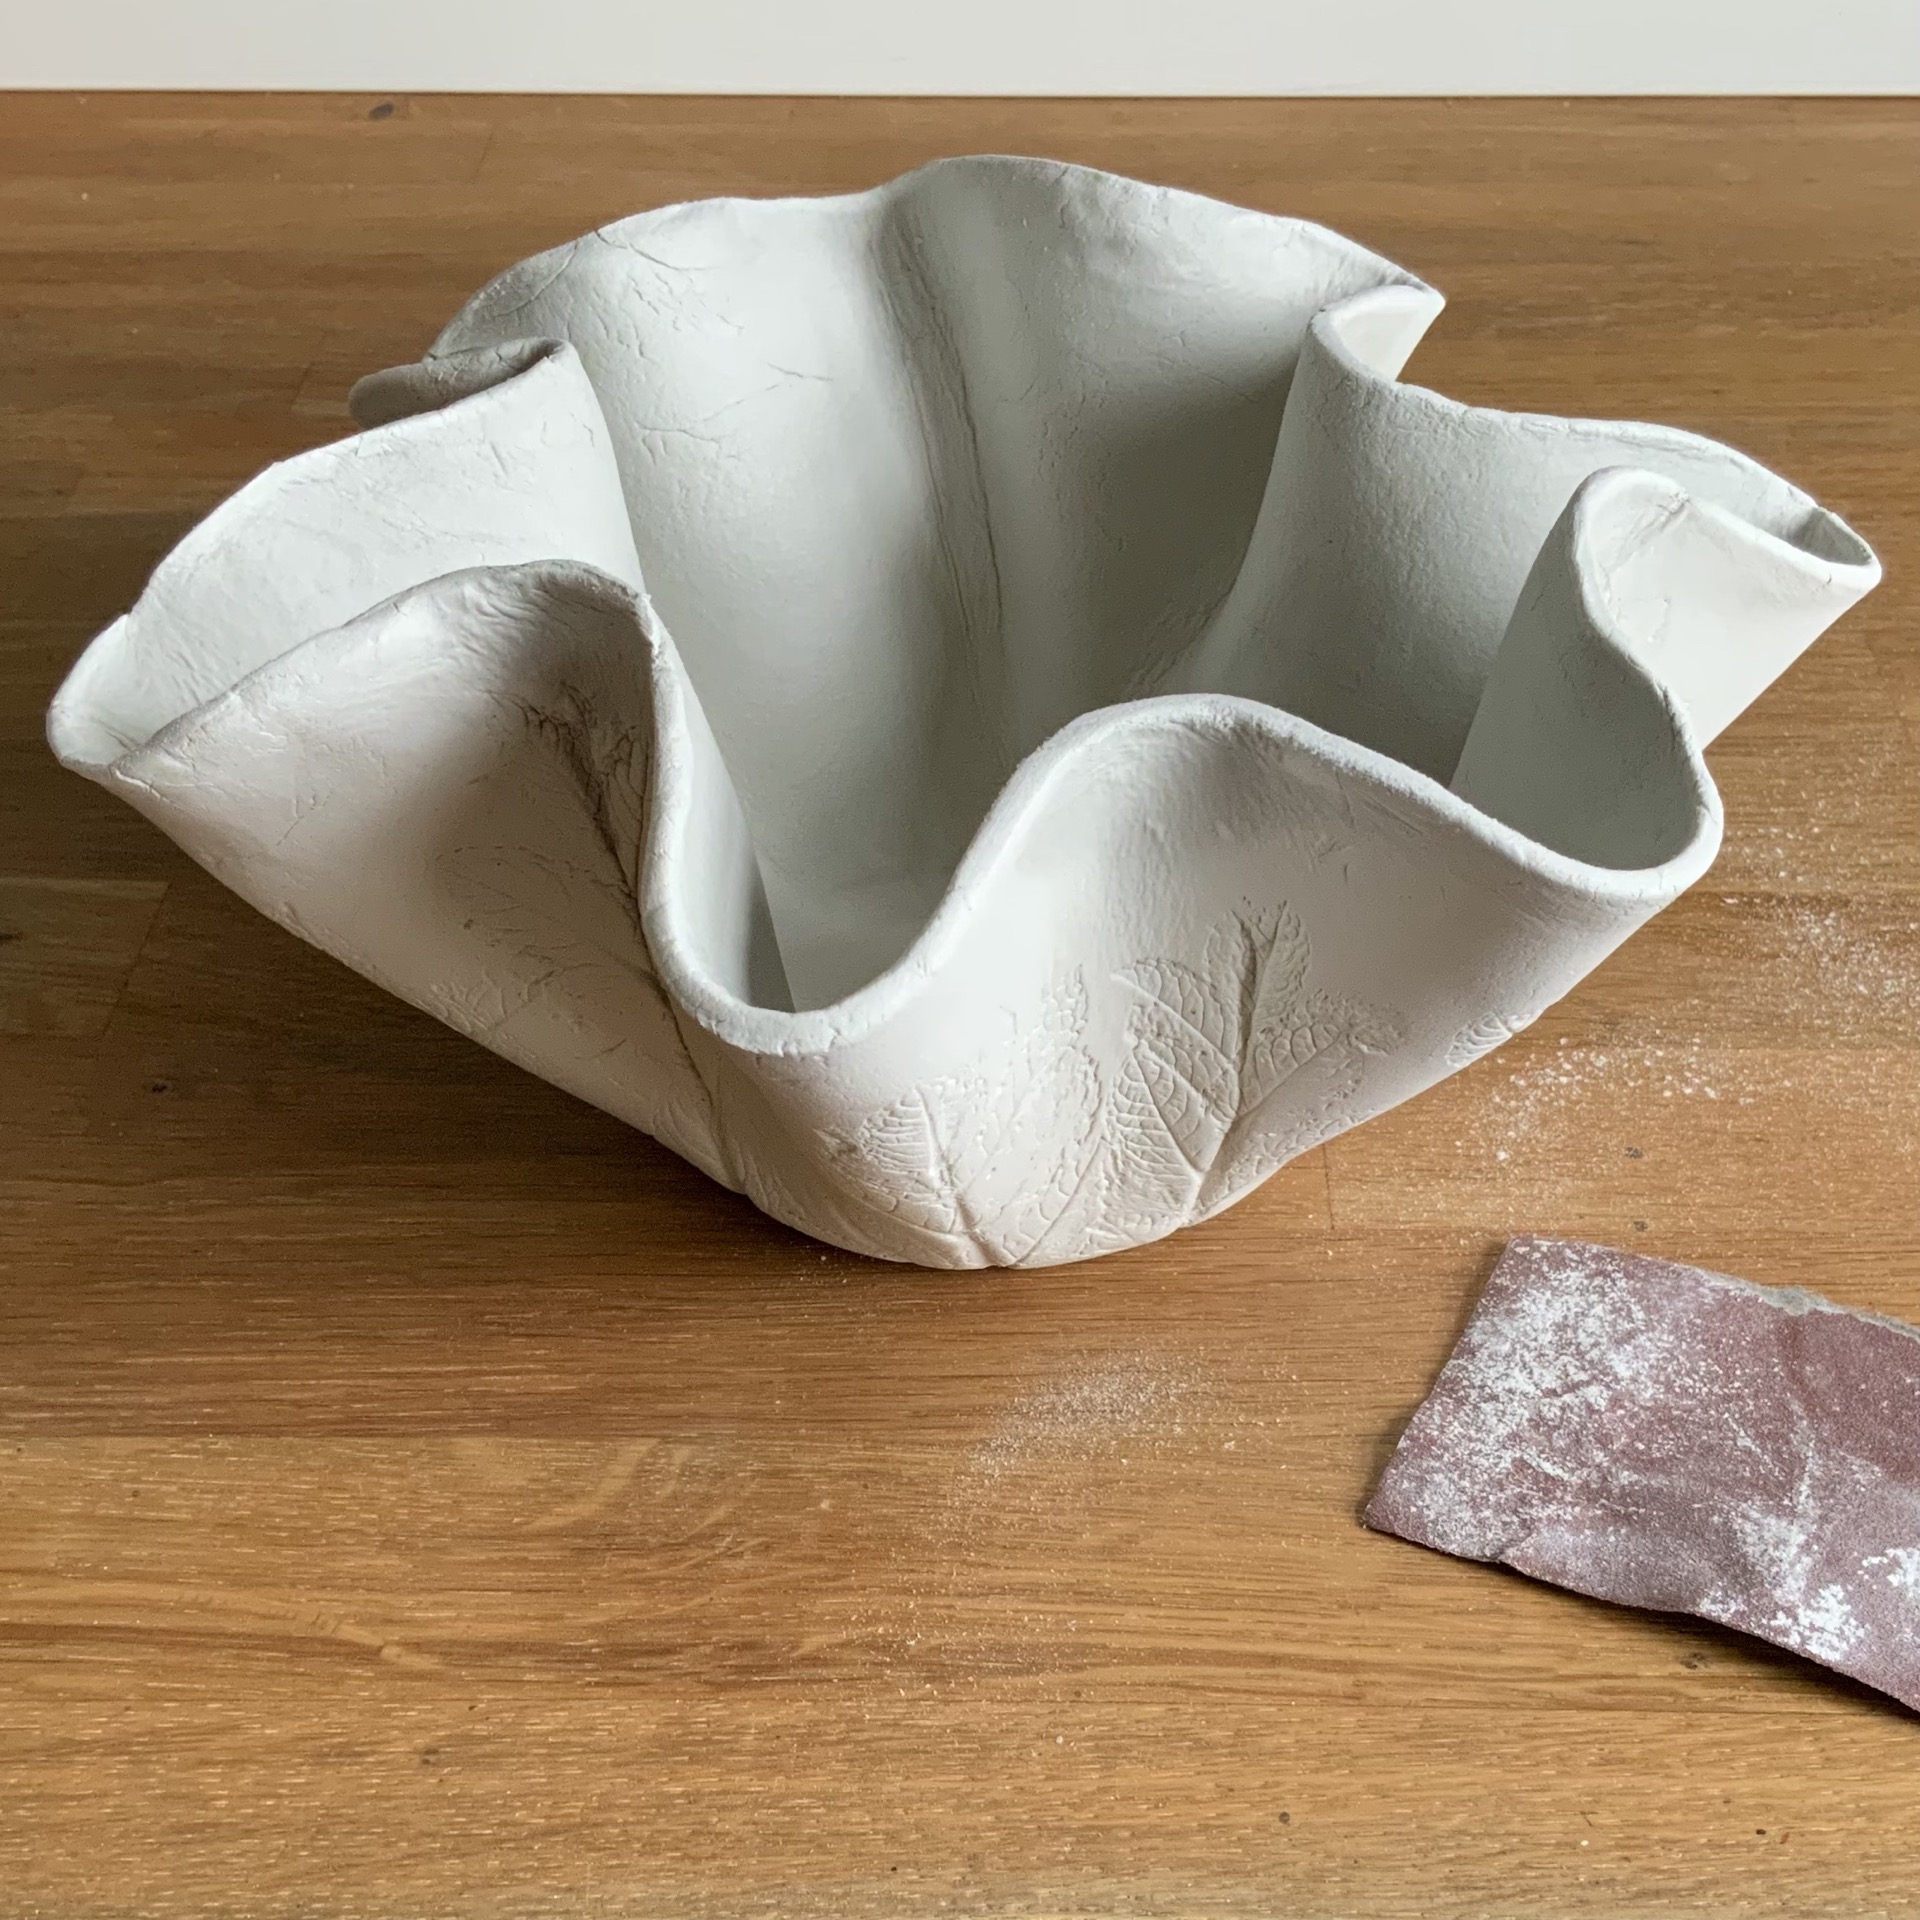
6. When the pen holder is totally dry, lift it from the jam jar, and remove the cleaning cloth. Place the pen holder down the correct way up, on its base. Use smooth sandpaper to neaten the top rim and lightly rub over any cracks and bumps.
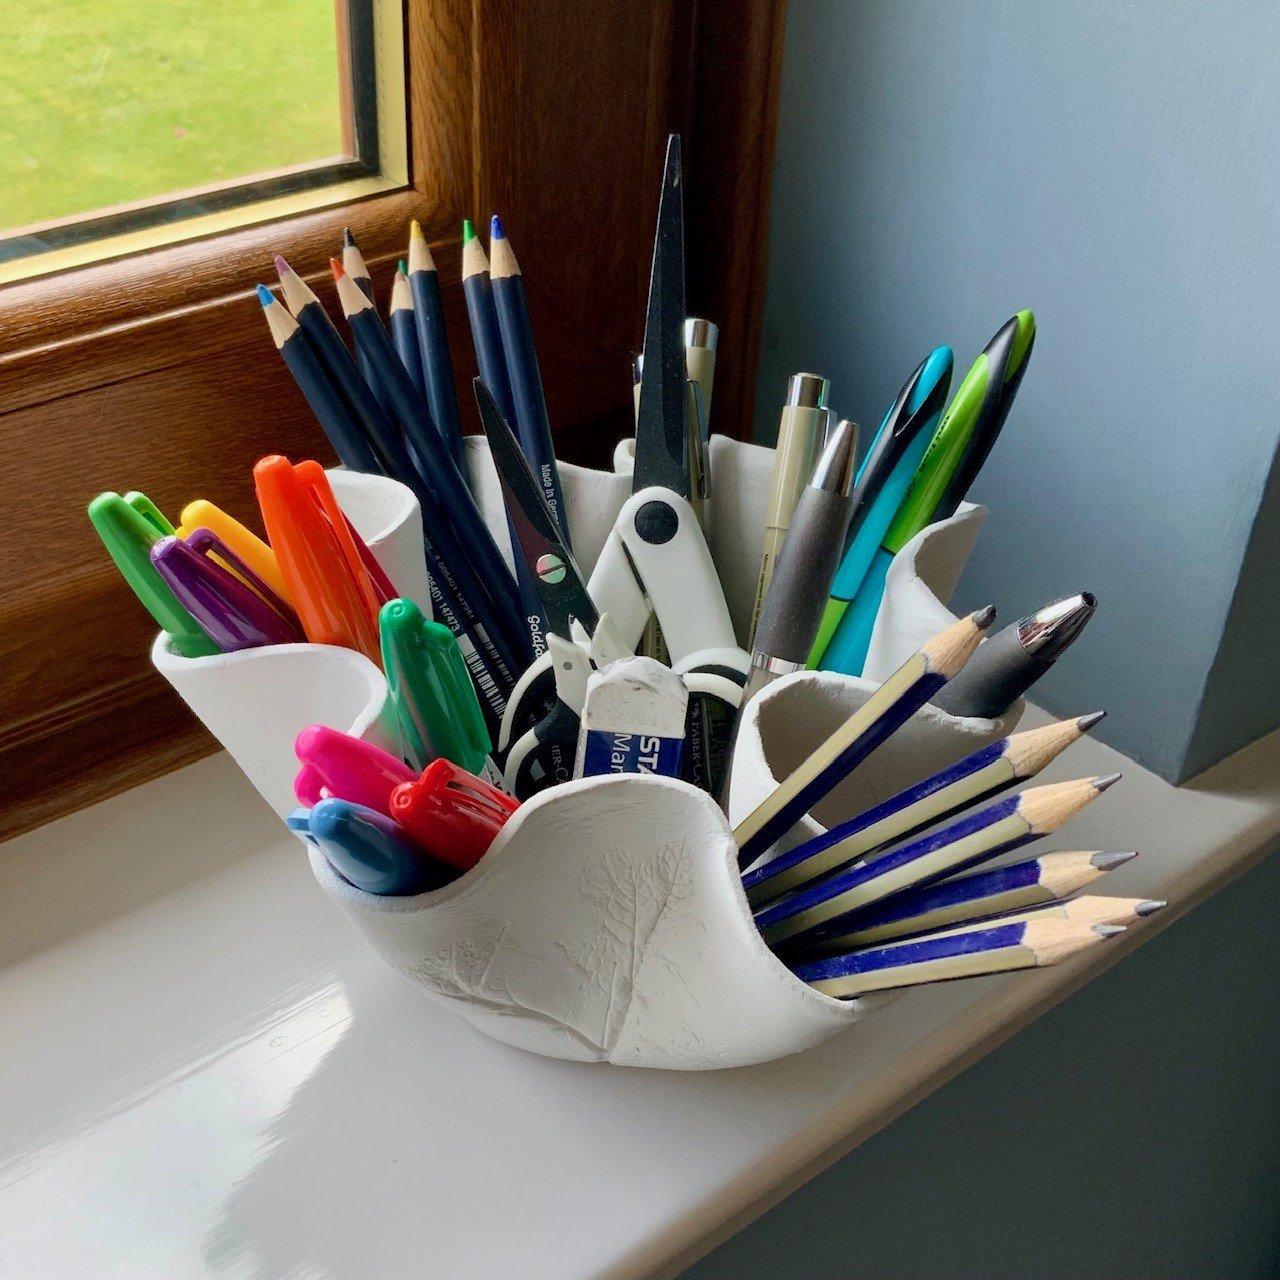
7. Fill the finished pen holder with pens and pencils and admire your stunning work!
Clay the Day!
If you've reached this point, bravo! You've committed to the instructions and are halfway to making your very own air dry clay fluted pen holder that's as practical as it is pretty.
Looking for more clay craft projects? Why not make your own air dry clay nature tags or experiment with polymer clay and make some clay book page holders. Happy crafting!