Quiet books are a great way of getting fidgety children to sit still when there’s not really an opportunity for them to run riot – it could be at a restaurant or in church, or (in my case) in those precious moments before my little one is supposed to get up. It’s something to keep him busy while we do more important things – like sleeping until the alarm clock goes off
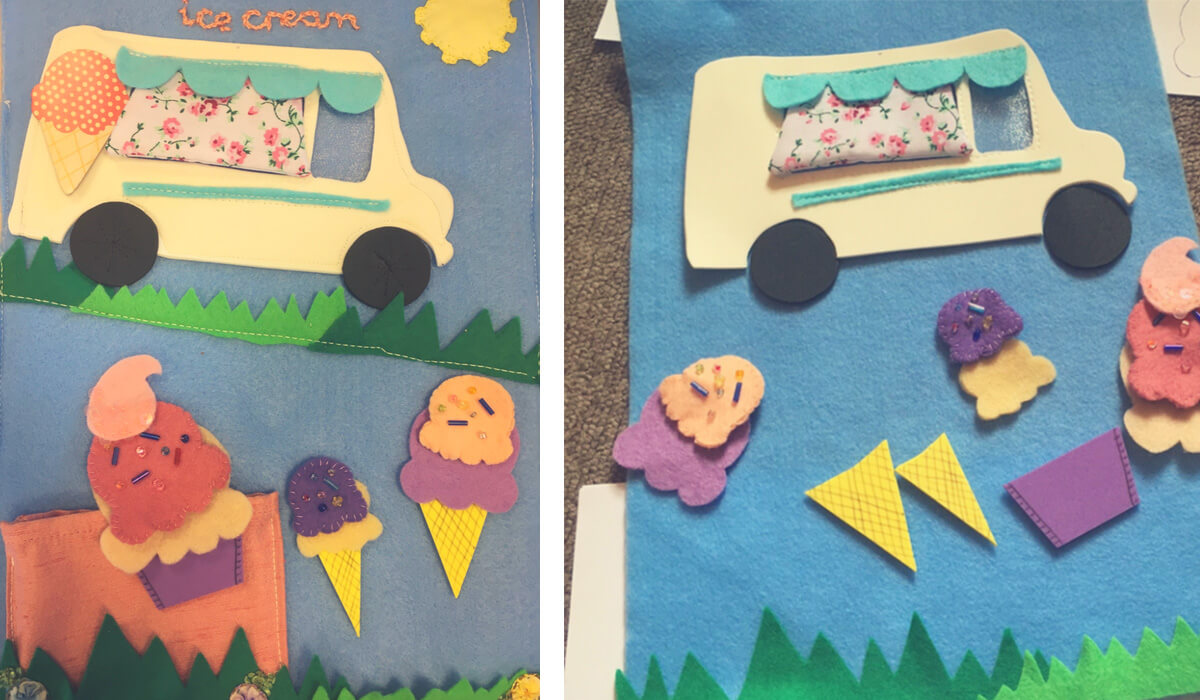
Quiet books are often made with felt – mainly because it’s a sturdy material. But you can use all sorts of other materials. In this template I used some cute floral fabric, foam sheets, a cardboard ice cream cone that I found in my scrapbook supplies, and even some shimmery voile.
This was my first attempt at a template, I’ve only really ever followed other people’s templates and so it was with trepidation that I started out on this project. But actually, once I knew what the theme and the actions were – i.e. an ice cream truck that had a lift up awning and a pocket for ice cream components that Little One could then build into whatever he wanted. Also, I should point out that this was the first time I used my new sewing machine. So, yeah, the lines are a bit wobbly, but hey, it was quicker than hand sewing!
QUICK TIP: Use freezer paper to cut out felt shapes – it makes cutting more precise and doesn’t leave any marks on the felt.
Step 1
Download the template and use freezer paper to cut out the felt shapes. The foam shapes are a little more tricky, so cut out carefully.
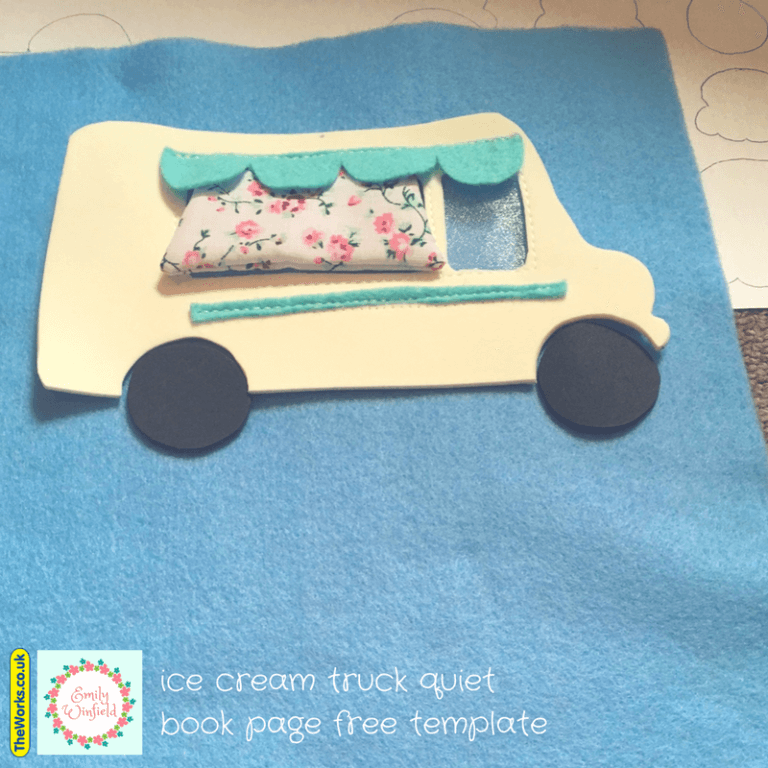
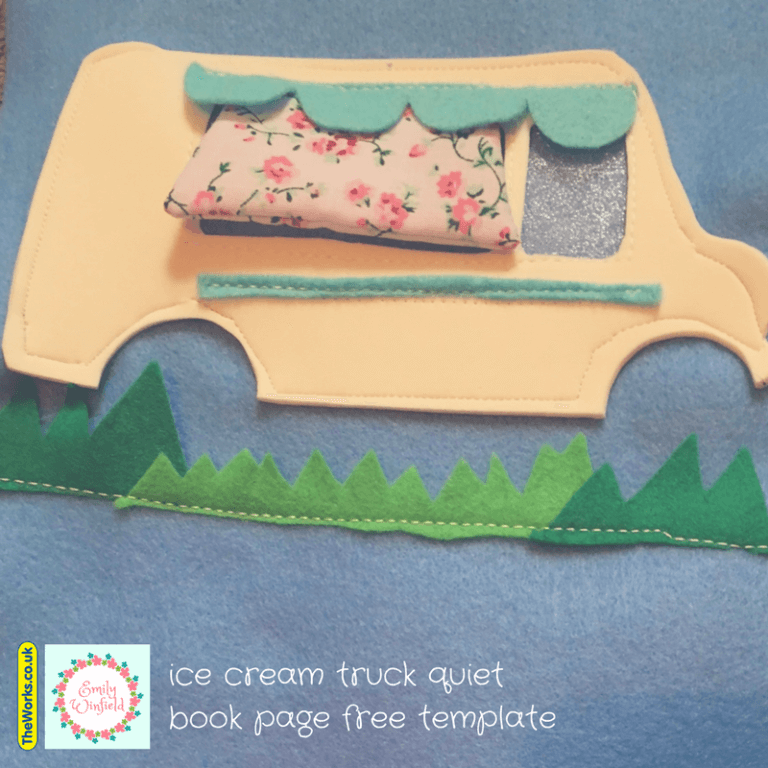
Window – Use the shimmery voile and sew on the back of the cut out windows – sew around the edges of the windows to secure
Awning – Cut out, fold inside out and sew the sides up. Fold outside in again and then, holding it lined up at the top of the window, sew the blue felt bunting over the top to secure both at the same time.
Stripe – Sew very simply under the window.
At this stage, leave the wheels off, but just make sure they line up nicely under the van.
Step 2
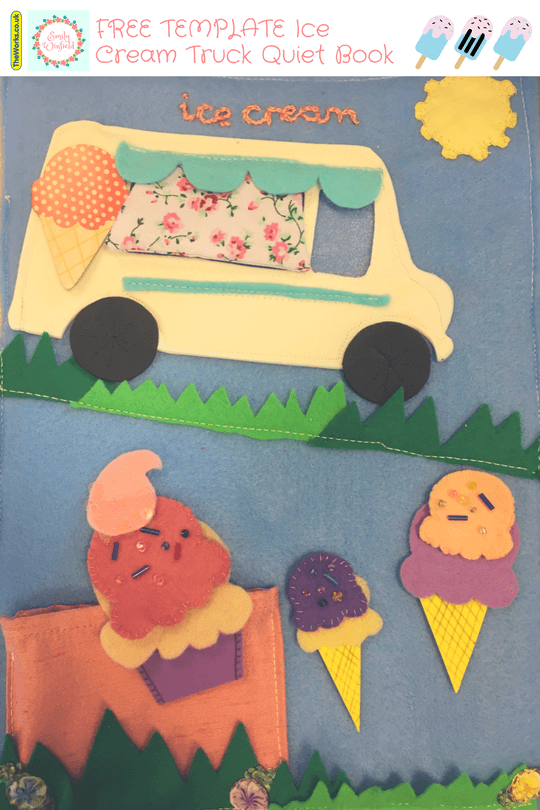
Ice Creams – Use different coloured/shaped beads to decorate some of the ice creams. Use a biro to create the crosshatch on the cones and edging on the ice cream bowl.
Lay everything out to get an idea of sizes.
Step 3
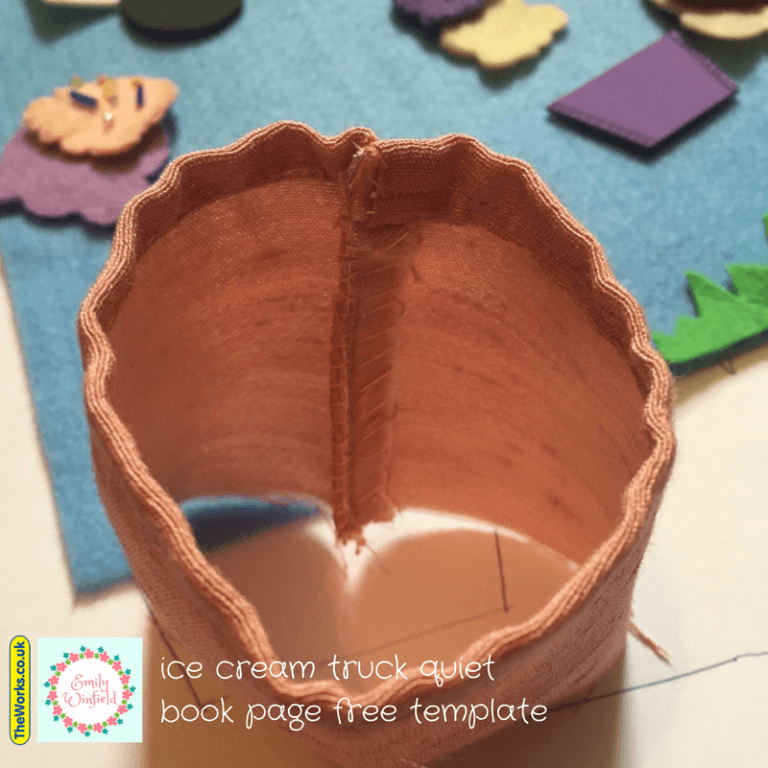
Pocket – Fold over and hem the top edge. Then attach the side edge
Step 4
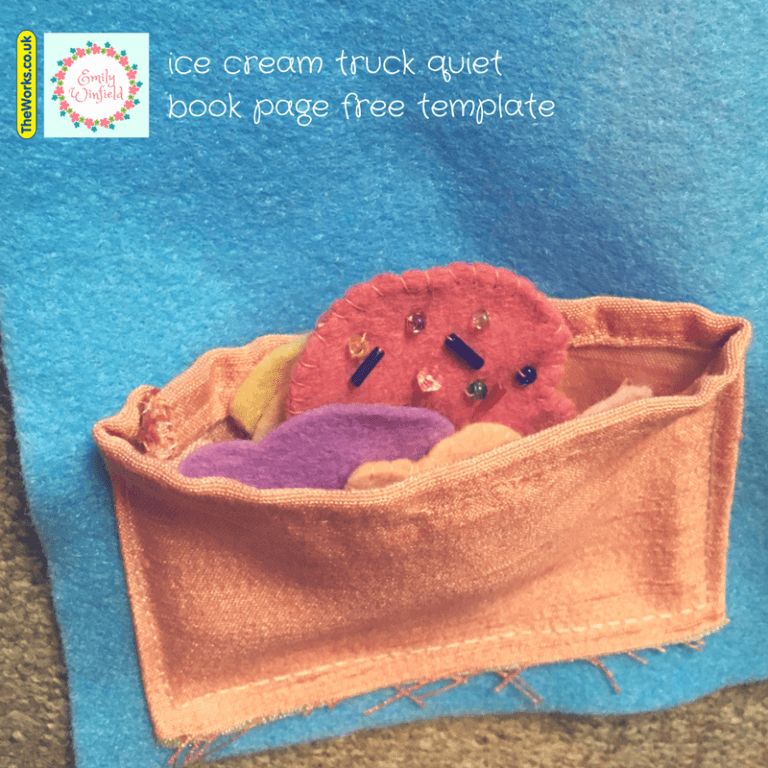
Pocket – Attach to the page. Don’t worry about the edge at the bottom, it’ll be covered by the grass soon.
Step 5
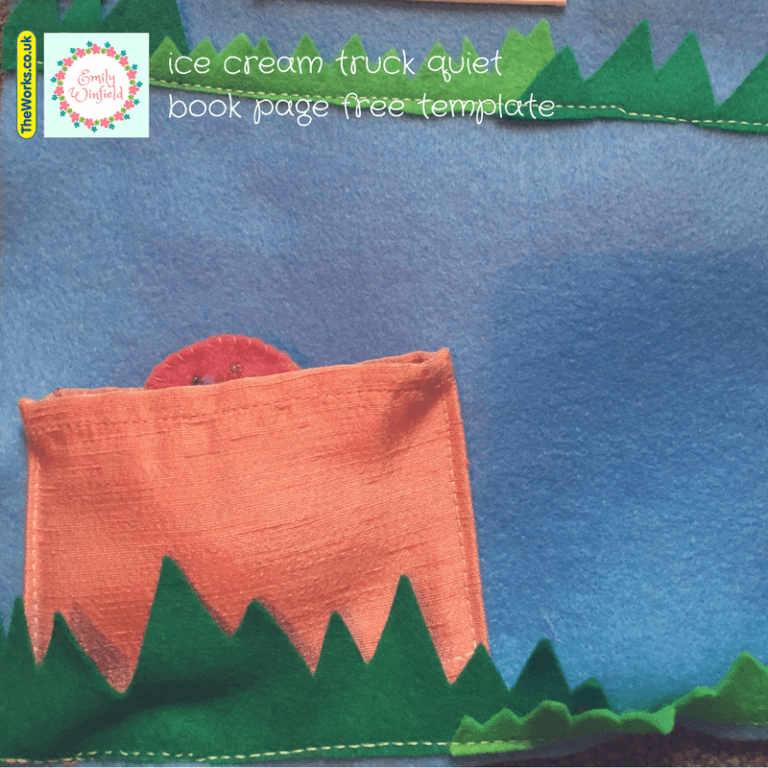
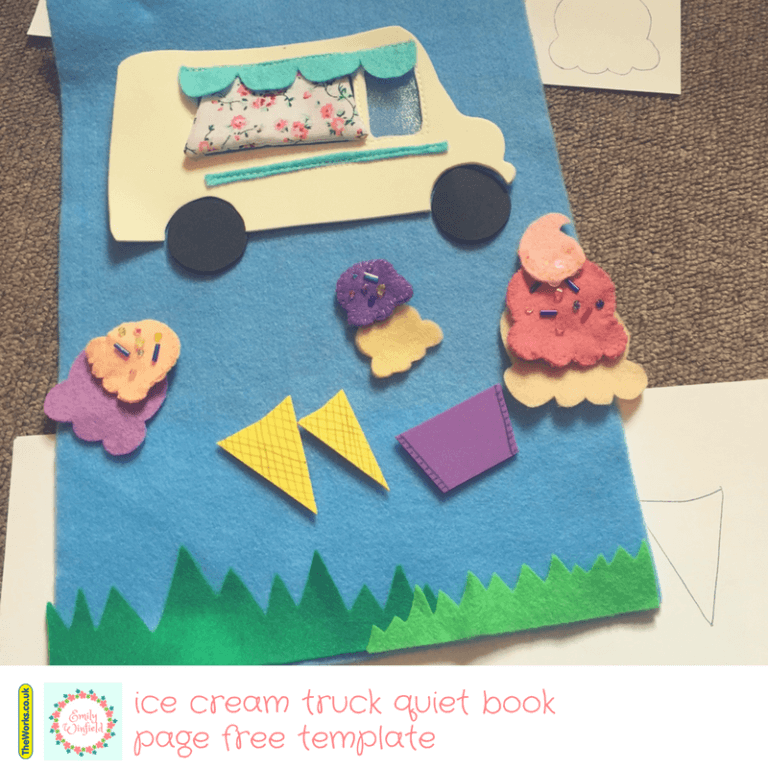
Grass – Very simply attach the grass at the bottom of the page with a run on the sewing machine. You could use green thread instead of white, I was just being lazy!
Step 6
Grass – Do the same with the top layer of grass, overlapping the colours.
Ice Cream Truck – Following the edges of the truck, sew it to the page.
Step 7

Wheels – Not shown in this picture, but attach the wheels. I chose to hand sew some spokes.
Title – Use embroidery floss to create an ice cream title
Sun – Cut out and use blanket stitch to attach it to the page.
And there we go, you should now be completed and have yourself an ice cream truck page.