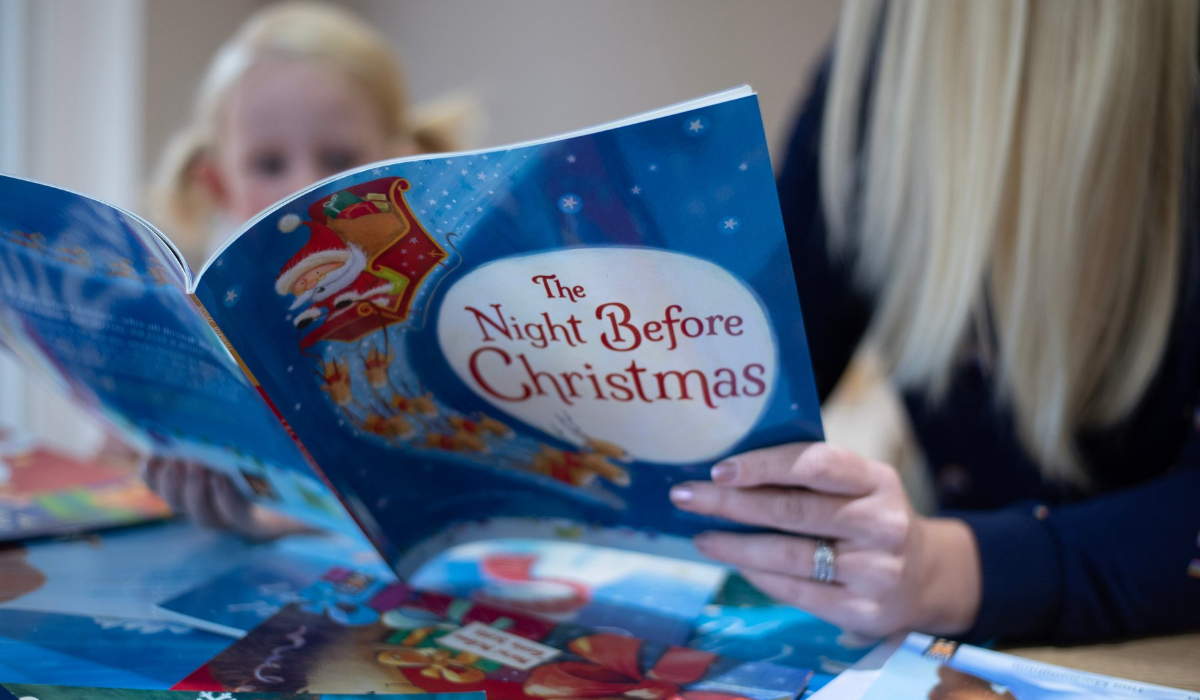
Picture the scene, the Christmas tree is sparkling, the fire’s roaring and the little one’s have settled down for the evening, ready for tonight’s Christmas story. It is the type of image you’d expect to see on a postcard, or in one of the stories themselves. And even though reality won’t quite live up to the image above, Christmas stories are a great way to create a bit of excitement for the day.
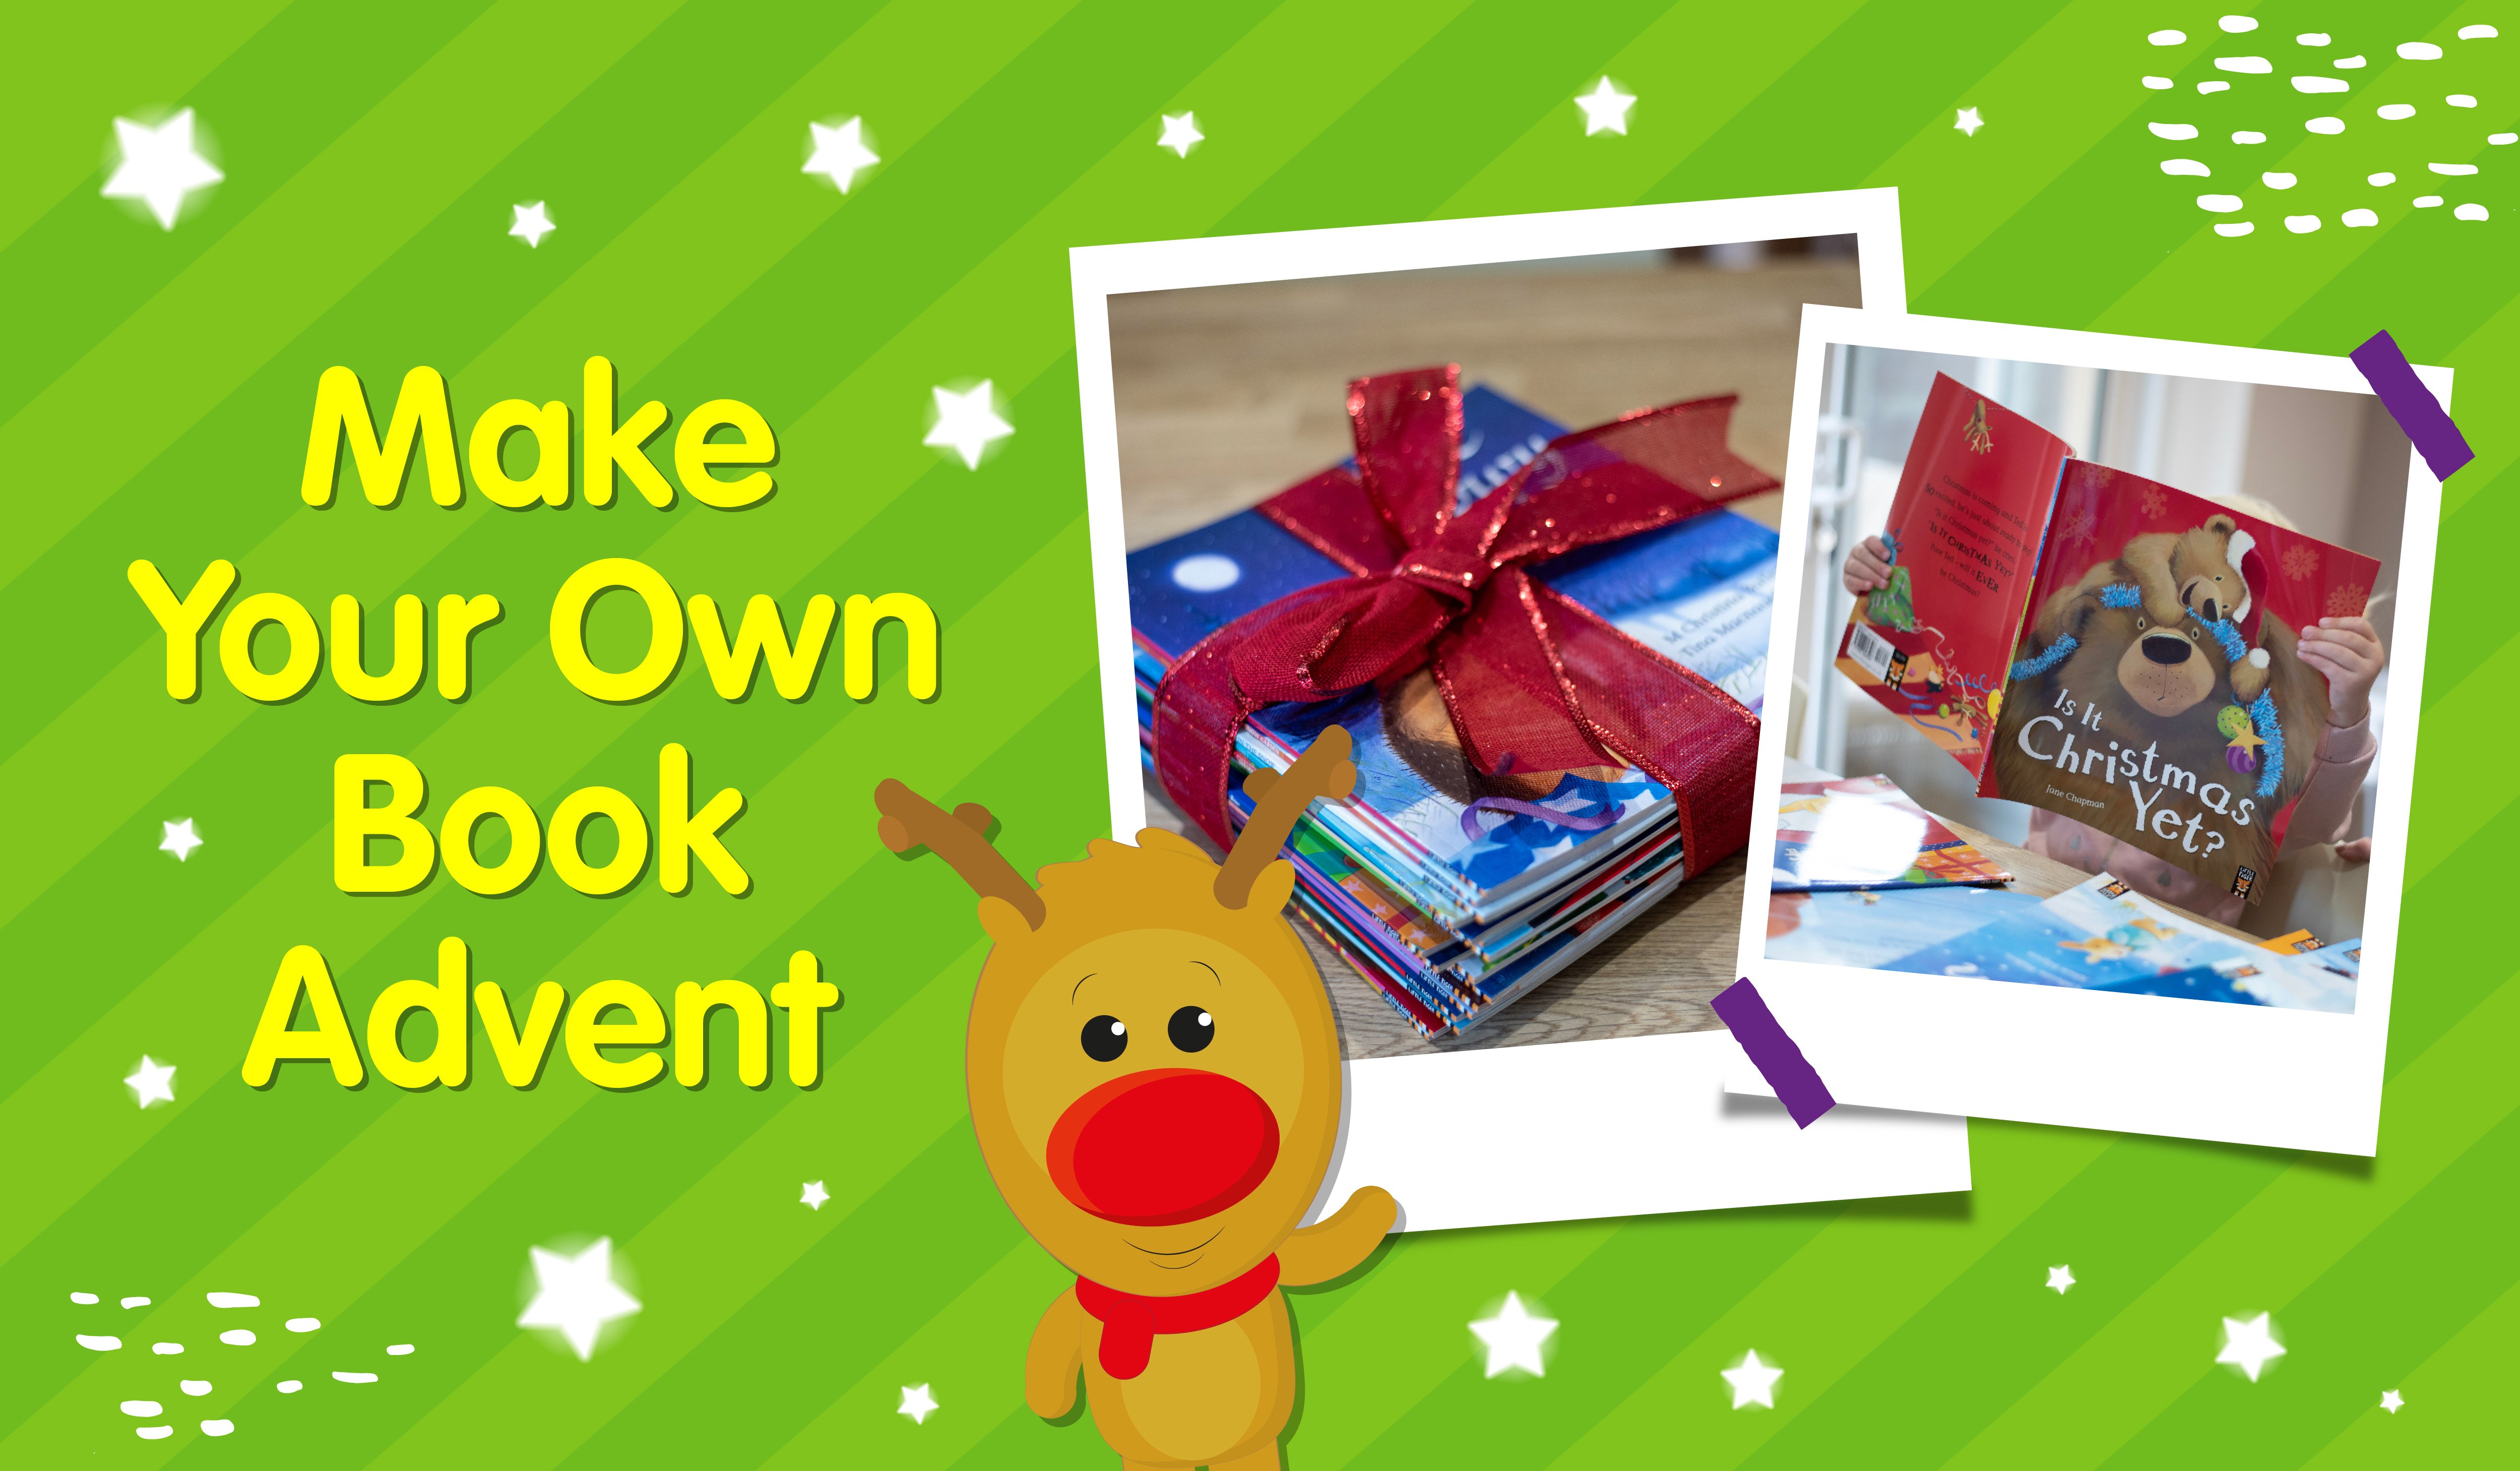
One really cute way we’ve found to combine Christmas stories and count down to the big day, is to make your own storybook advent calendar.
By creating a book advent calendar, you’ll create a little bit of excitement for Christmas and reading as you peel back some wrapping paper each night to see what story you’ll be reading. The other added benefit is that you’ve got a month’s worth of bedtime stories laid out in front of you, so you don’t have to scramble around wondering what to read tonight.
So if that sounds like a win-win to you, then break out the craft supplies and follow our super simple guide to making a storybook advent calendar.

Supplies you’ll need:
- ● 24 Christmas picture books for kids
- ● 3 different styles of Christmas wrapping paper
- ● Tape
- ● Christmas tags
- ● Embellishments
- ● Christmas ribbon
- ● A basket or box to display
How to make your own book advent calendar
Step 1
It probably goes without saying, but the most important part of this advent calendar is to make sure that you’ve enough classic, Christmas kids books to fill 24 days. If you don’t then you may need to pick up some extra books to fill in the gaps.
If you’re buying new stories then make sure you think about variety (repeating the same basic story could become a bit tedious for your kids, let alone you) as well as making sure you spread out the stronger ones. Remember not every picture book is going to be a winner, so to keep your kids engaged through the 24 days I’d space out the best stories and make sure that you finish with your strongest.
Once you’ve chosen your books, it’s time to get wrapping!
Step 2
Take care to wrap each book individually, using different wrapping paper for variety. It’s Christmas time so make it special and add ribbons and embellishments so the kids feel excited unwrapping your books every day.
Step 3
Add simple tags to each wrapped book and write the day to be opened. Remember to make sure your 24th book is your special Christmas eve title!
Of course, you don’t have to number your books, if you prefer the children to pick their own parcel to unwrap then that’s fine too.
Step 4
Now it’s time to display your book advent calendar. Take a wicker basket or wooden crate, and place your wrapped books inside.
If you choose to label the books, remember to jumble them up so they are not in order, giving the children a bit more of a run-around on finding the right book!
Step 5
Lastly, pop your finished Christmas book advent calendar under the Christmas tree and wait for 1st December to turn up.
So there it is, a simple and easy way to make your own book advent calendar. Enjoying a picture book with the kids each night can then become a family. You don’t have to replace the books each year either, simply re-wrap them and the children will enjoy familiar tales each year as they grow up.
A book advent calendar is also a great gift for another family, if you’re organised enough to give it in November then why not!?
Enjoy your homemade book advent calendar and that little piece of family Christmas magic every night in the lead up to the big day.