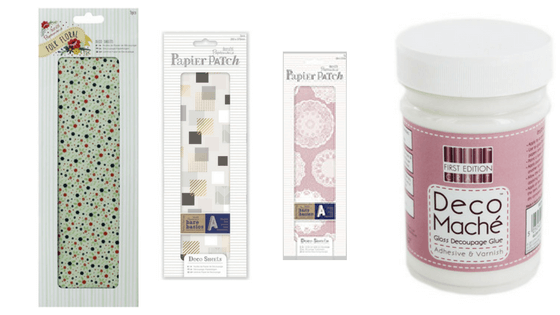
OK, I have a confession. I never did decoupage at school. I know, I know… how did I miss out on this seminal moment in any crafter’s childhood? So you are already a step ahead of me in decoupage skills if you did any glue and paper-based activities at school.
But it seems pretty simple right? I love new craft techniques and so I’ve gone and done some research from some of the top decoupage experts that the internet has to offer. I’ve compiled top tips on decoupage for absolute beginners.
So, my main questions about decoupage were:
1. What can you decoupage?
2. Do you have to use a special decoupage glue?
3. Do you have to use special decoupage papers?
OK, so first up. Question one…
1. What can you decoupage?
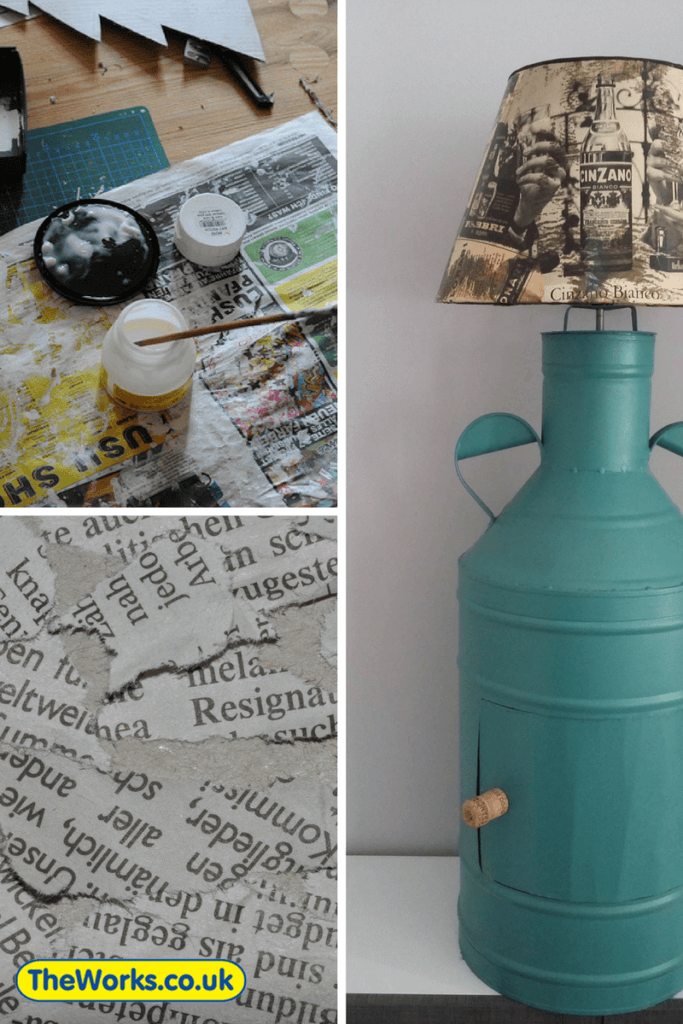
Through extensive research I’ve found that you can decoupage almost anything. Apart from food. Or kids. Although I might give that a try too. It’s mostly wood, plastic, metal (yes, metal!) ceramic or paper – which seems odd given that I always thought decoupage was pretty wallpaper for small objects. But you can use it to revive or upcycle furniture, you can even use it on canvasses or fabric.
2. Do you have to use a certain kind of glue for decoupage?
Nope, you have a choice and it’ll probably depend on the type of project you’re doing.
Polyvinyl acetate … yup, good old PVA glue like we used to use in school – that delightful stuff that you used to spend hours peeling off your fingers at the end of the lesson – joyous times.
Special decoupage glue, and the bonus is that it doubles up as a varnish at the end, which appeals to my frugal nature (and lack of storage space for too many more craft supplies – we’re at capacity, people!). Very slightly more expensive but it’s created specifically for this task and will give a better finish.
You can used thinned out white glue.
For some projects you can even use wallpaper paste.

3. Do you have to use special decoupage papers?
Nope – joy of joys you can use almost anything – newspaper cut outs, wrapping paper, and even some types of fabric. You can use photos, but it’s best to make high quality photocopies as they’re easier to work with. The golden rule seems to be that the thinner the better. You could use:
• ticket stubs
• tissue paper
• candy wrappers
• metallic foil papers
• notecards
• maps
• newspaper

What I Also Learned About Decoupage
So it turns out that there is a bit more to making a really good decoupage item. I’m glad I learnt all this before I started.
Begginers tips for Decoupage
Top Tips for Prep
This depends on the surface
Wood – needs sanding smooth dust needs to be wiped away, then you can do priming or base coating
Metal – wash with soap and water and then wipe with a damp cloth dipped in white vinegar. Then you can apply a base coat
Canvas – wipe clean and then add a primer
Papier Mache – as for canvas
Glass/Ceramics – Wash with soap and water. Rub down with damp cloth dipped in rubbing alcohol. NB – once decoupaged you can’t really use the item for food or put in the dishwasher
Terra Cotta – Wipe clean, seal the interior of the item with a gloss and then paint the outside with a basecoat
Top Tips for Cutting
If you’re printing out images at home, use bright white paper and then let the ink dry thoroughly.
Where possible, cut using a sharp blade and at a slight angle so that you get a beveled edge – this will give a smoother edge once glued.
Top Tips For Gluing
If you crinkle the paper up before you apply the glue you create cracks for the glue to sink into, which can avoid air bubbles and lumps.
You might want to test the glue you’re using on the paper – it can make inks smudge.
Apply the glue with a wet brush – this dries without any of the telltale brush strokes.
Use your fingers to smooth the paper.
Thin the glue a bit if using on glass. If too thick it will go lumpy as glass is non-porous so it has nowhere to go.
Top Tips for Finishing
After your project has dried completely, you can apply a lacquer – a couple of coats will help protect the decoupage paper and the more layers, the more the sheen and the more the paper will start to look like it’s painted on. You can use PVA glue or a special lacquer. Lacquer is good for projects like furniture that might see a bit more wear and tear – just don’t let any dust settle on the item between coats, otherwise it’ll be there forever!
Top Tips for Troubleshooting
Got bubbles?
Use a damp cloth to smooth them out while the glue is still a bit tacky.
Edges lifting up?
Grab a toothpick, lift the edge and apply some more glue. Smooth out as usual.
Edges a bit raggedy?
Apply a border! The easiest way of covering up any rough edges or misaligned pieces of paper.
I’ll report back as soon as I’ve attempted decoupage at home. I’ll be checking out the wooden crafts section at The Works – there’s so many more products now. Including the fairy door that every house in the UK must have by now – we’ve sold so many of them!! Can’t wait to try out mine (just bought 2!). But did you know there’s a fairy house – with working doors and cute little windows?